
Tool Time: Two Stage Air Compressors
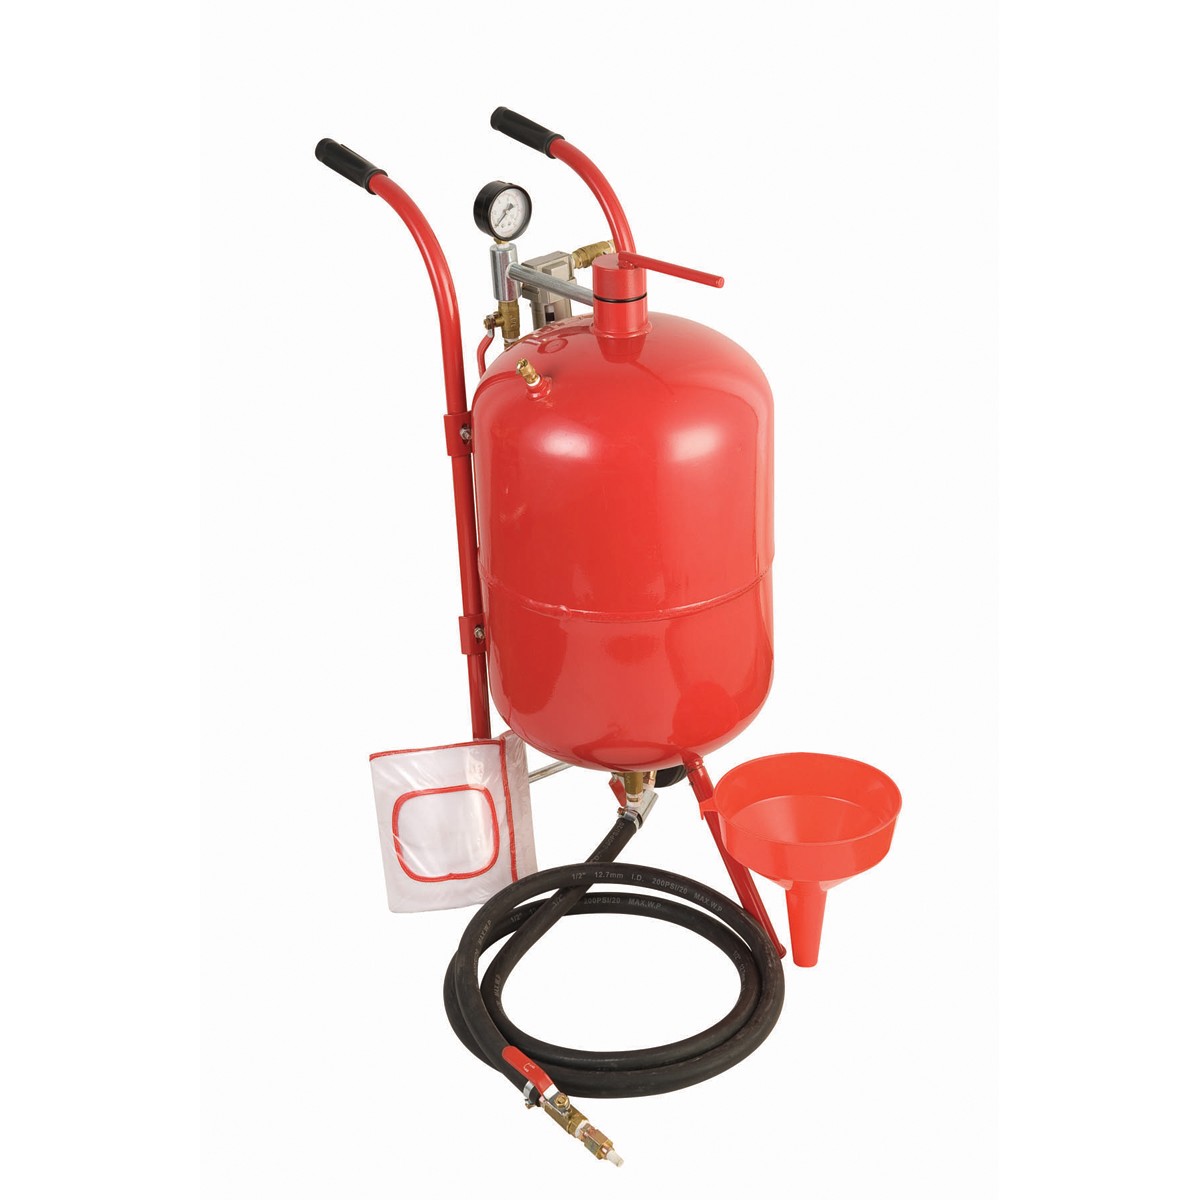
I originally started looking for a bigger compressor for sandblasting. I was trying to use my Dad’s oilless craftsman compressor but it wasn’t able to keep up with the air demands of the sandblaster and the nozzle kept getting clogged (partly due to moisture). I just have one of the cheap pressurized tank blasters you can get at harbor freight or tractor supply:
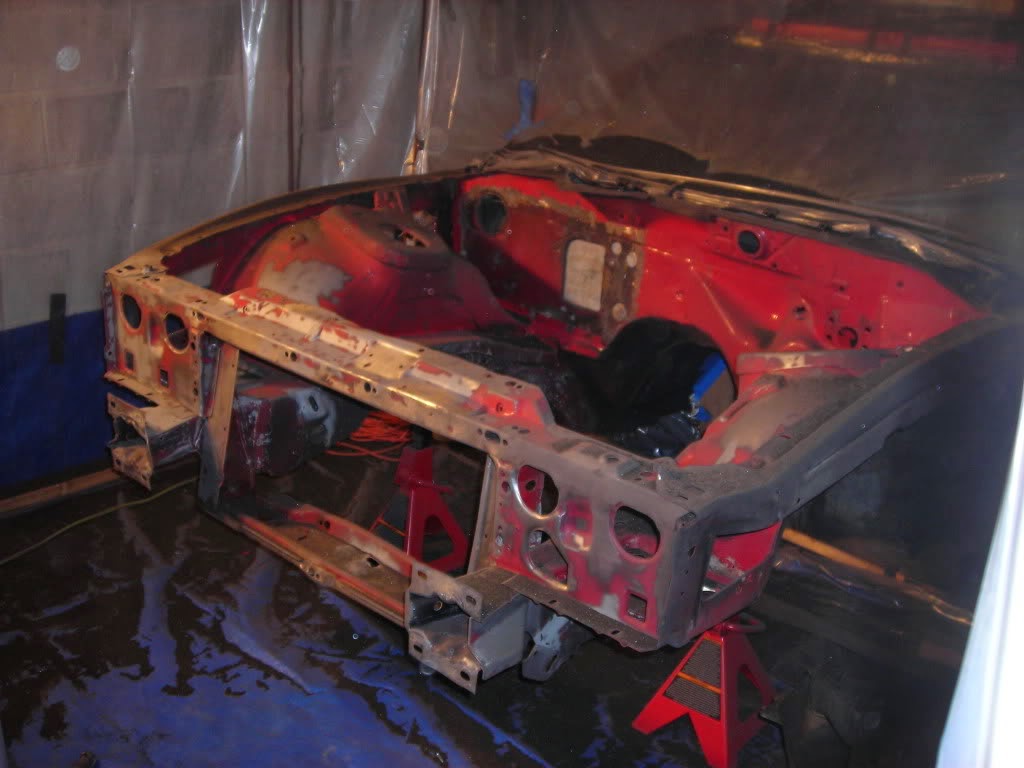
While they’re probably not ideal for heavy use, if you’re just using it occasionally they’re okay. I was using mine for sandblasting my Camaro:
Other than getting clogged and draining the compressor, it worked pretty well while it was working. I was using Black Diamond, supposed to be a low silica medium that’s pretty cheap. I found a post online that showed how a guy just dropped a copper coil in ice water to use as a makeshift air dryer, I also got an aluminum AC condenser at an auction that I’m planning on using as an intercooler. Together this should make for some pretty dry air.
So when I realized the 60 gallon Craftsman compressor wasn’t going to be big enough I started searching craigslist and ebay for older two-stage compressors. I found an 80 gallon Curtis C-96 from 1973 in town for $100. The guy selling it was real nice and when I went to pick it up he ended up just giving it to me for free. Then I found a 60 gallon Saylor-Beall 705 from 1977 for $35 on eBay in Philadelphia. But it wasn’t listed as a Saylor-Beall at the time I bought it, just a 5HP compressor, it looked pretty rough too. My Dad ended up picking this one up for me when he was there for work. Both had 5HP three phase motors to begin with. Having only single phase, I was planning on building a rotary phase converter and went as far as to buy a huge 25HP motor I found in Kentucky when we were driving back from my sister’s. My Dad ended up buying two 5HP single phase Leeson motors for me though so I sold the idler motor to a guy in town who was gonna use it for a CNC mill he had (as a phase converter).
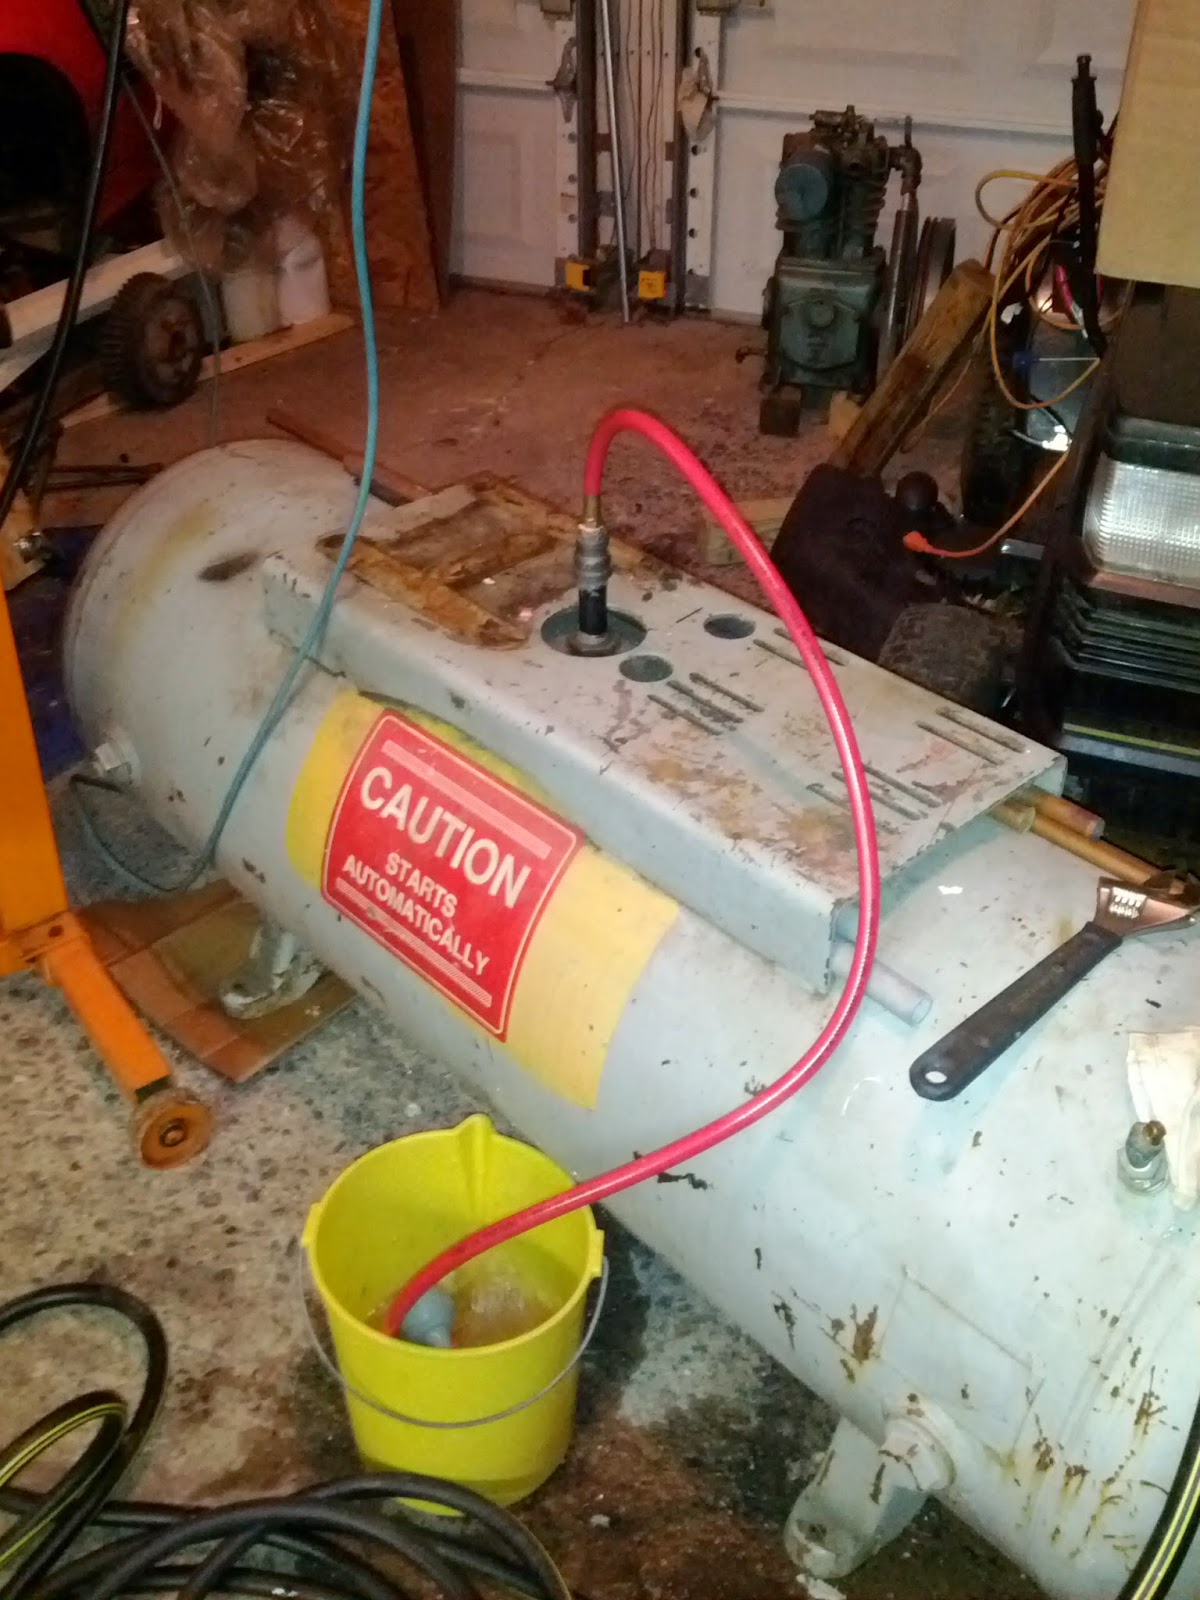
Both pumps are supposed to put out about 17 CFM @ 175 PSI. Much more than I’ll probably ever need. Unfortunately I don’t have any pictures of them from before I took them apart. First thing I wanted to do was test the tanks to make sure they were still safe. The real way to do this is to have an ultrasonic hydrostatic test done but I couldn’t find anyone near me who does this. I called the fire companies (they usually test fire extinguishers and welding tanks) but said a compressor tank was too large. So I did my own test where I filled the tank with water and used a grease gun with a grease fitting on top of the tank. I started out using grease but realized the smarter thing was to just fill the grease gun with water (a messy mistake). Making sure there is no air anywhere is the key to making this work. You have to fill the tank and plug the holes as it’s being filled. The Curtis pump is in the background:
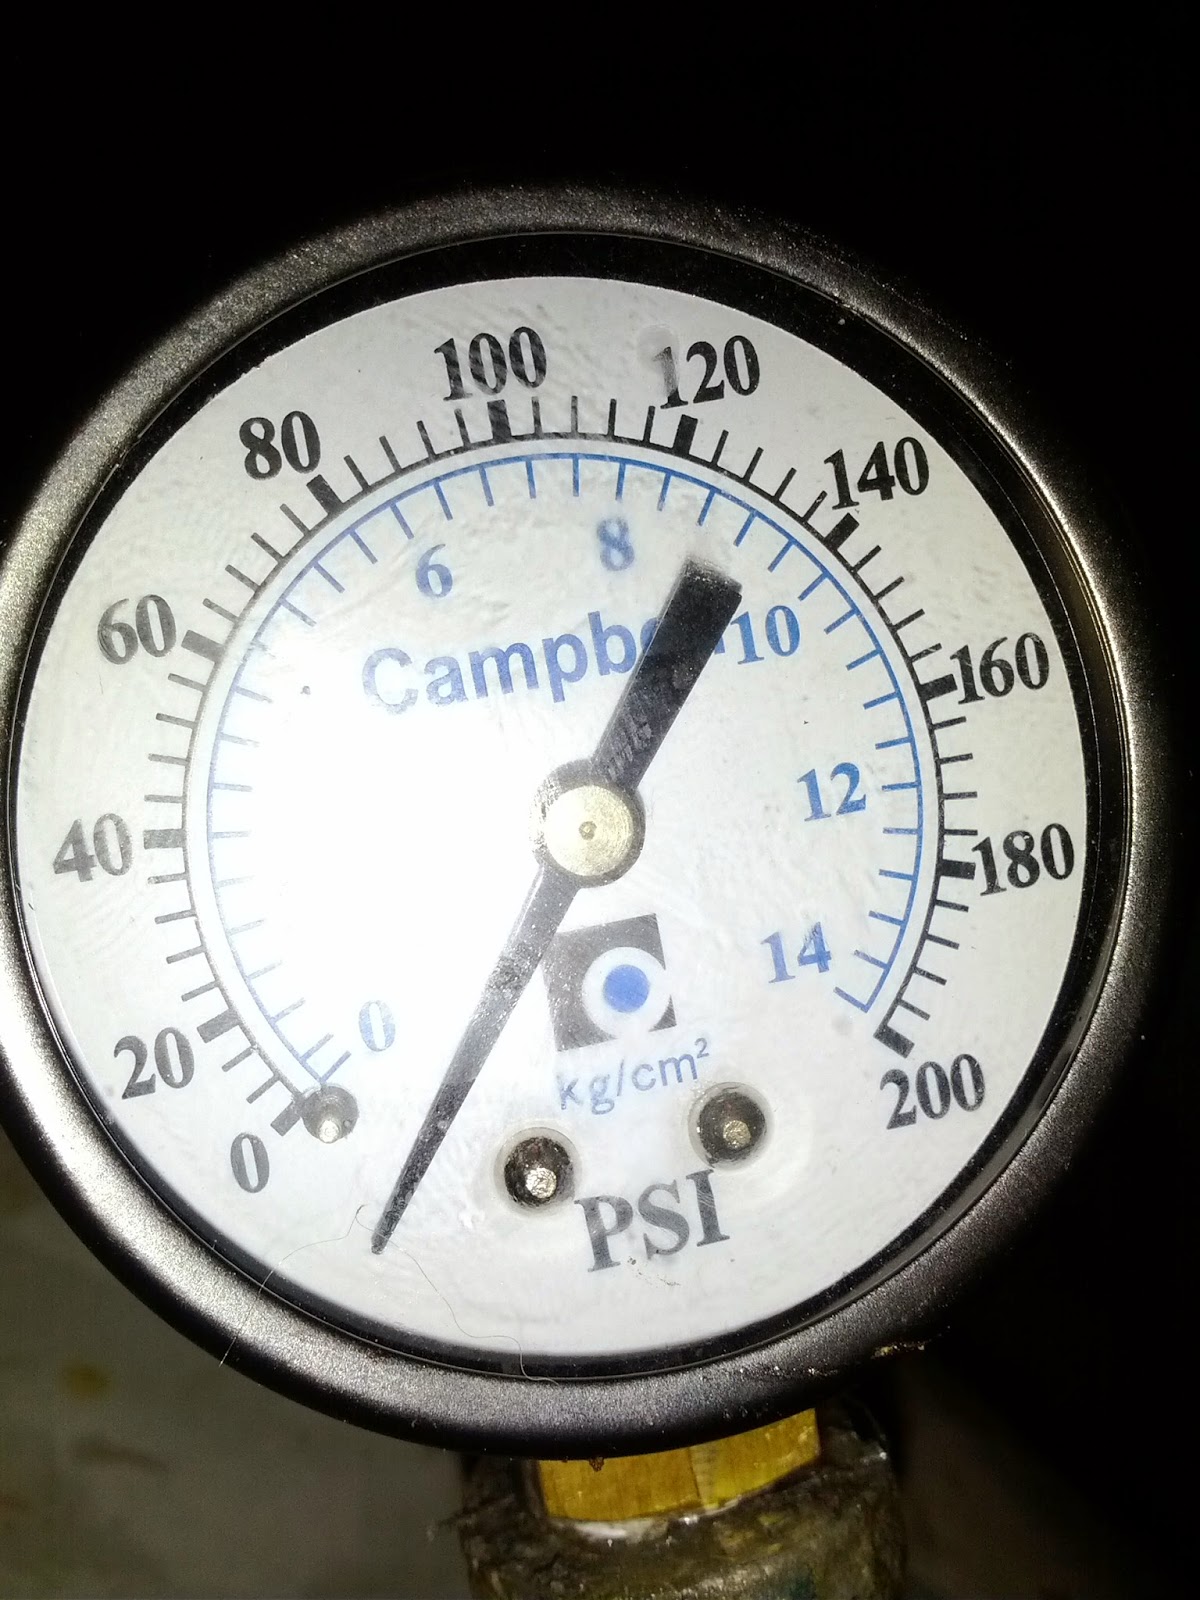
The 60 gallon tank ended up having a pin hole in the bottom so I scrapped it. I wish I had cut the top off to use as the baseplate for the pump and motor though. But the 80 gallon held pressure so I pumped it up to about 260 PSI. The working pressure printed on the tank is 200 PSI. I’ll have the pumps turn off at 175 PSI and have 200 PSI relief valves.
Then I sanded and painted the tank hunter green. The pump on top is the Curtis pump after I washed it off:
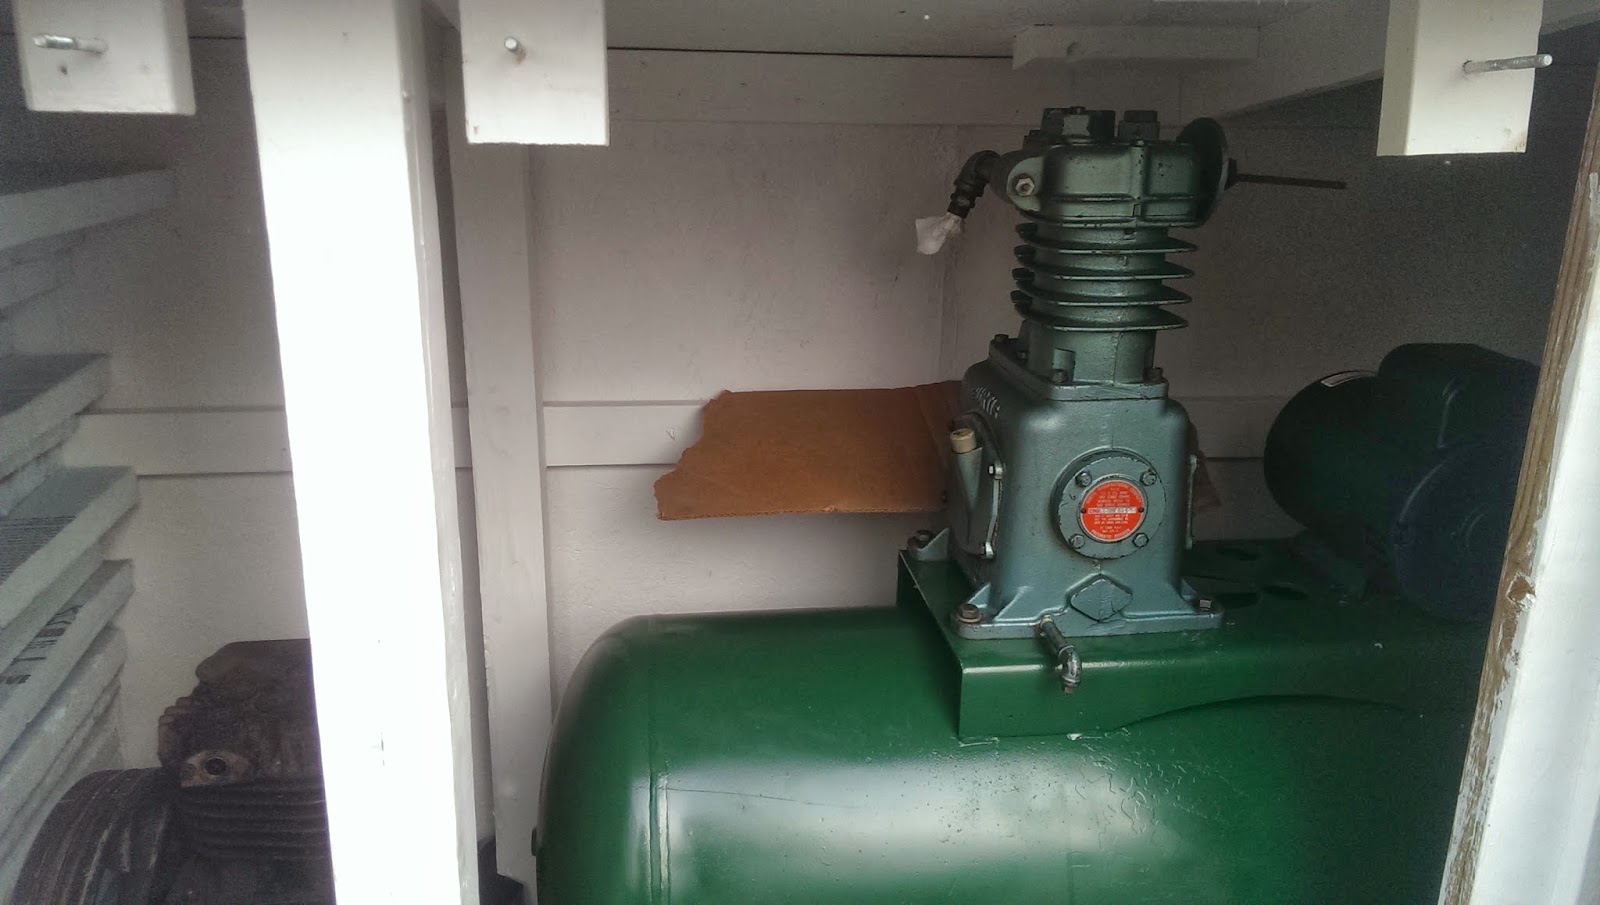
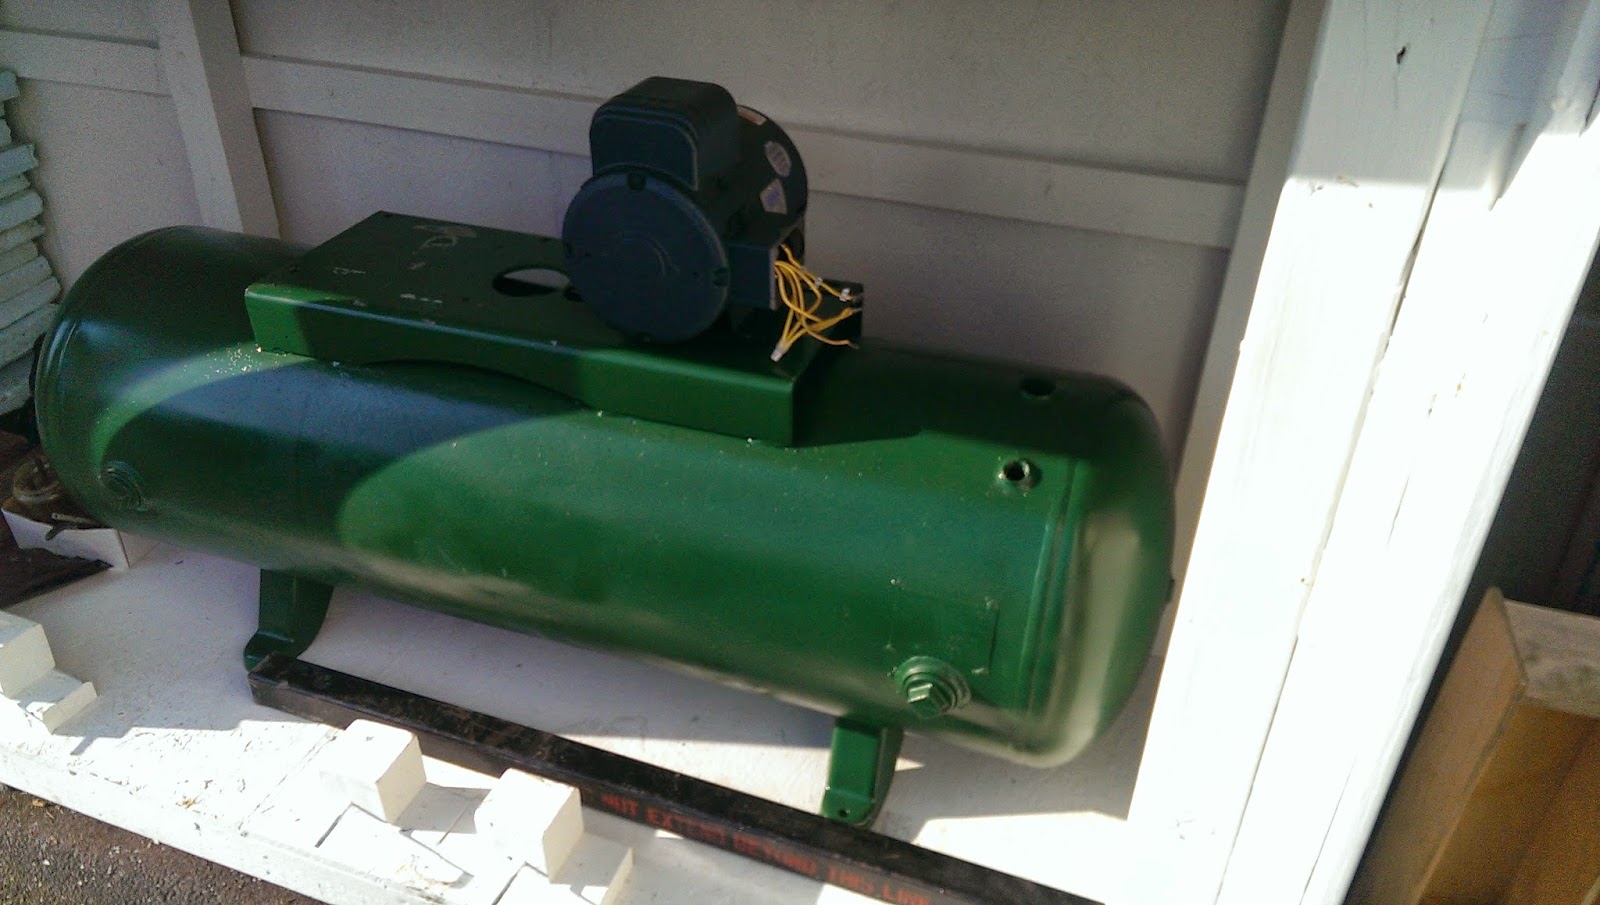
The shed it’s in is another project. There isn’t much room in the garage so I built a shed using OSB for the compressors. It sits on the side of the driveway.
Here is a picture of the Saylor-Beall before I cleaned it:
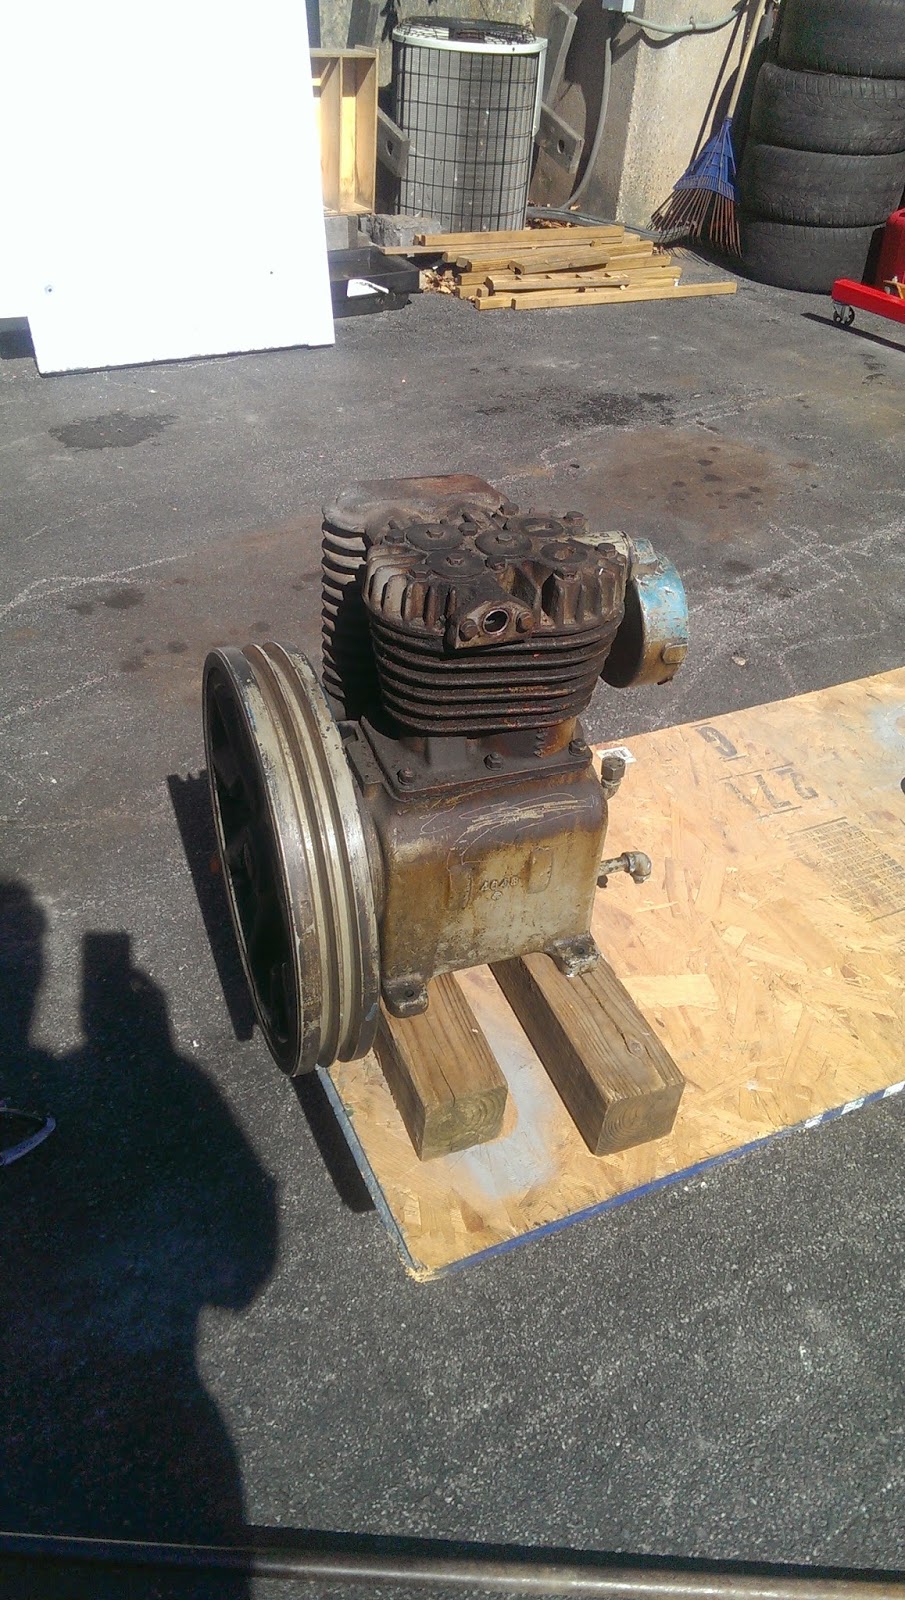
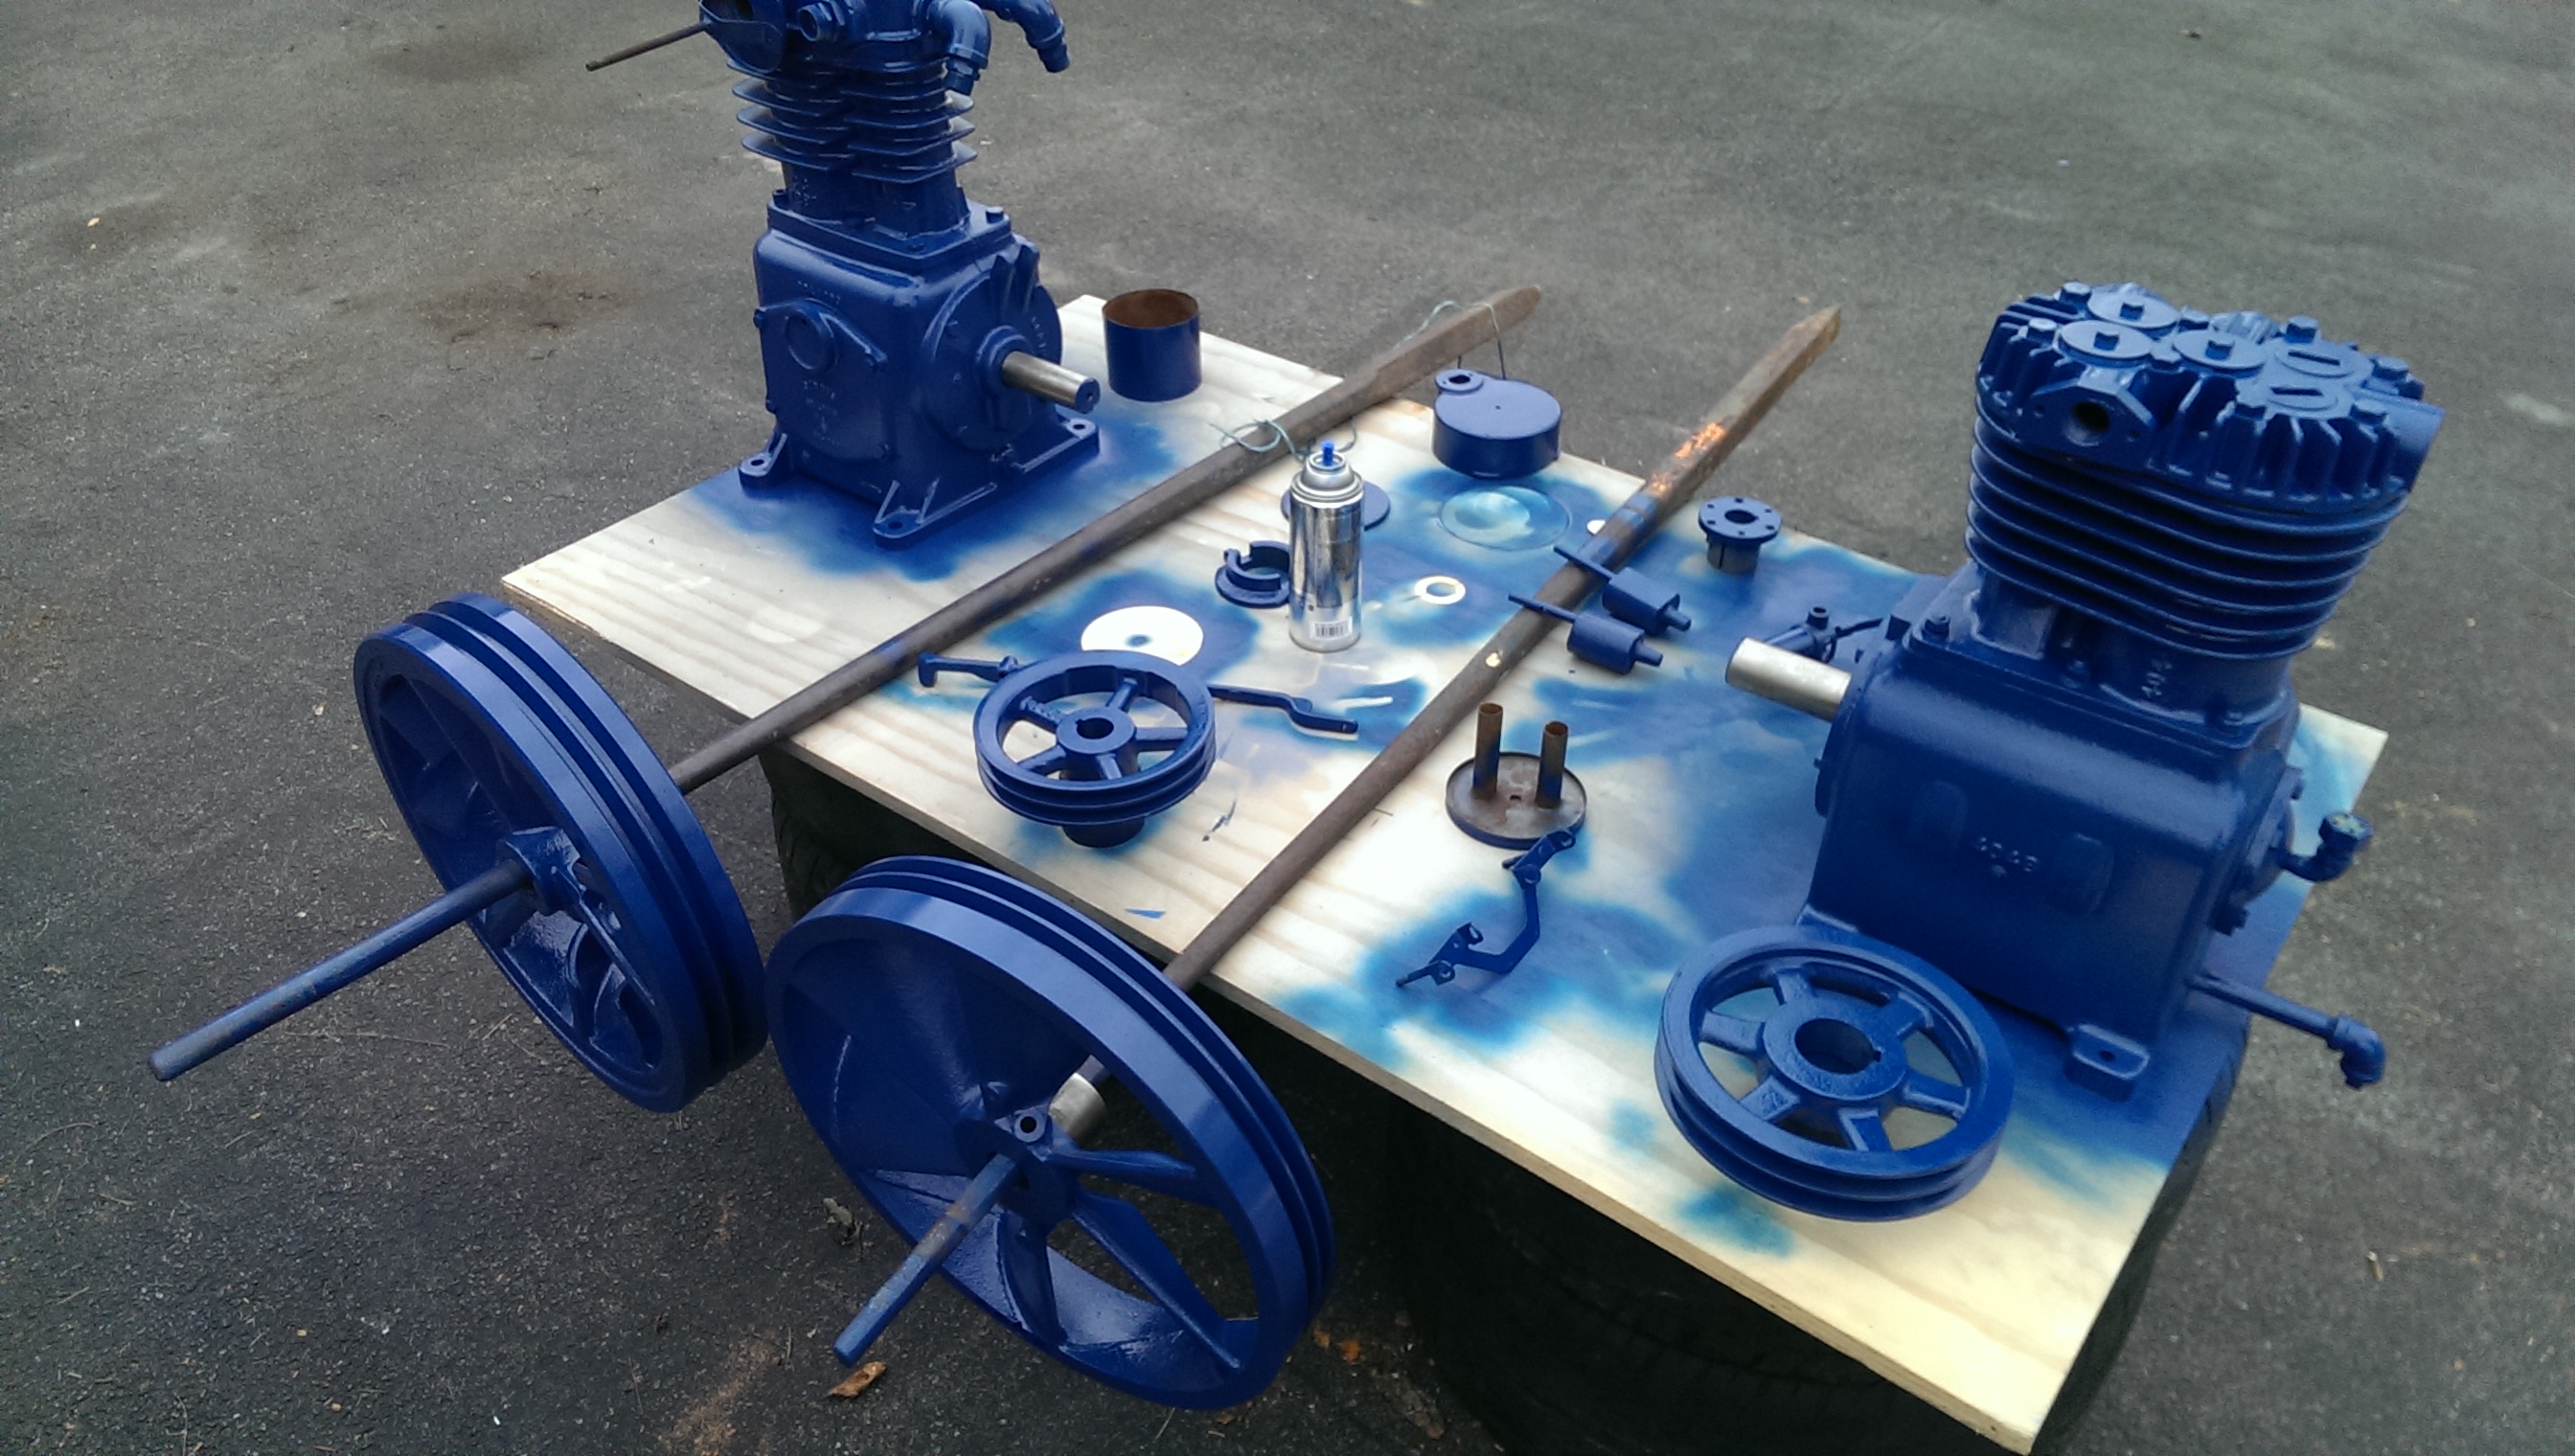
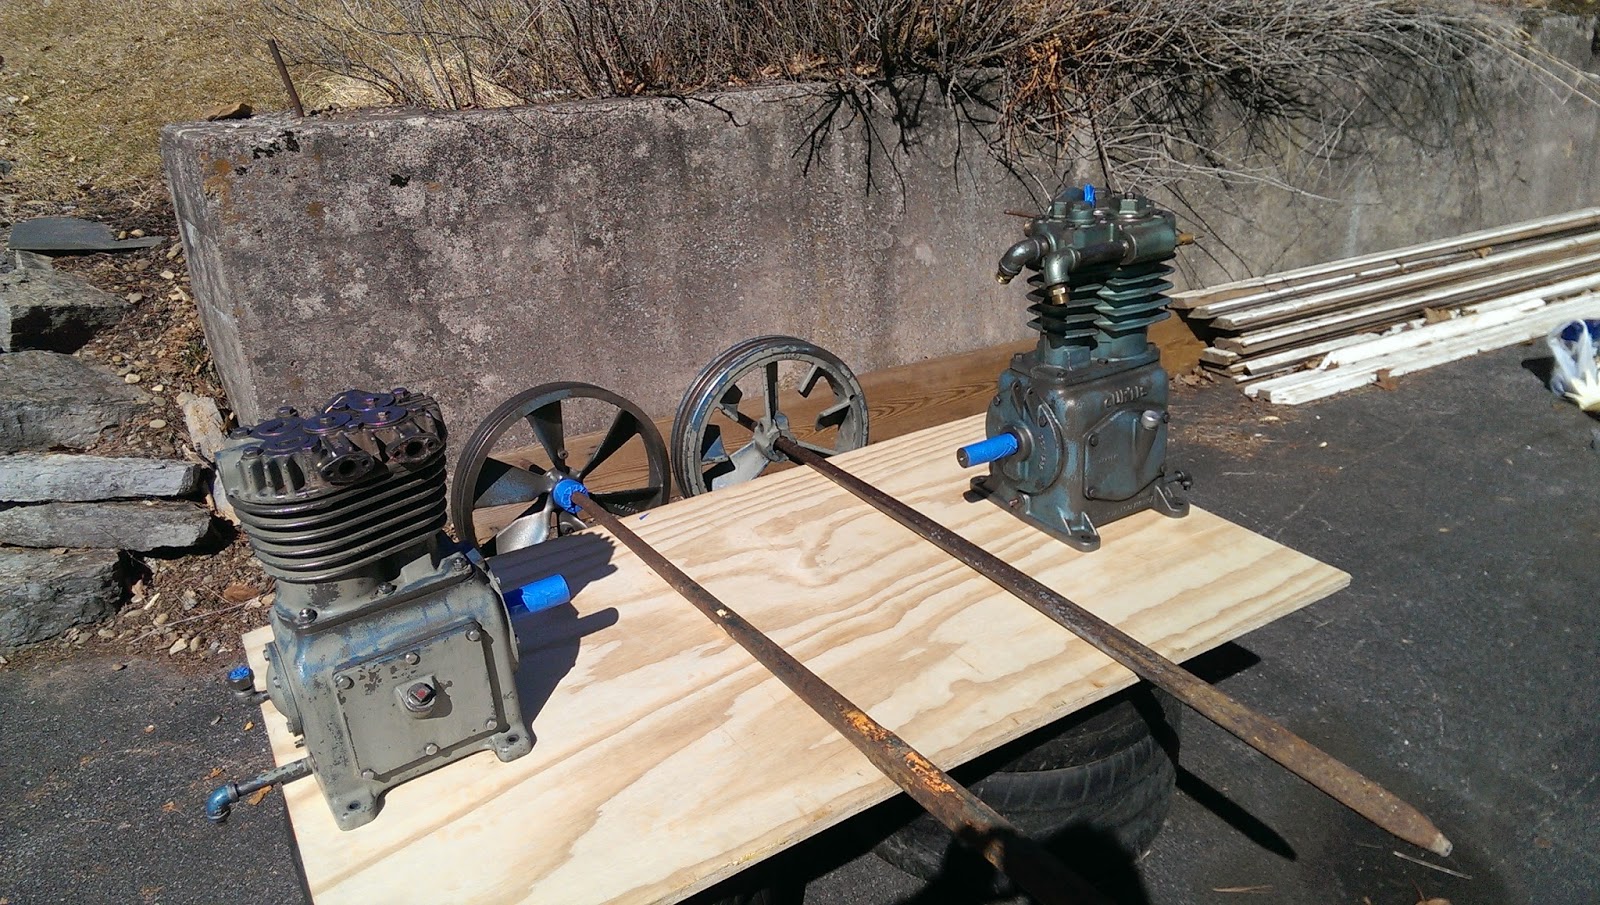
Both pumps and various parts after going over with a wire wheel:

Here’s before paint:
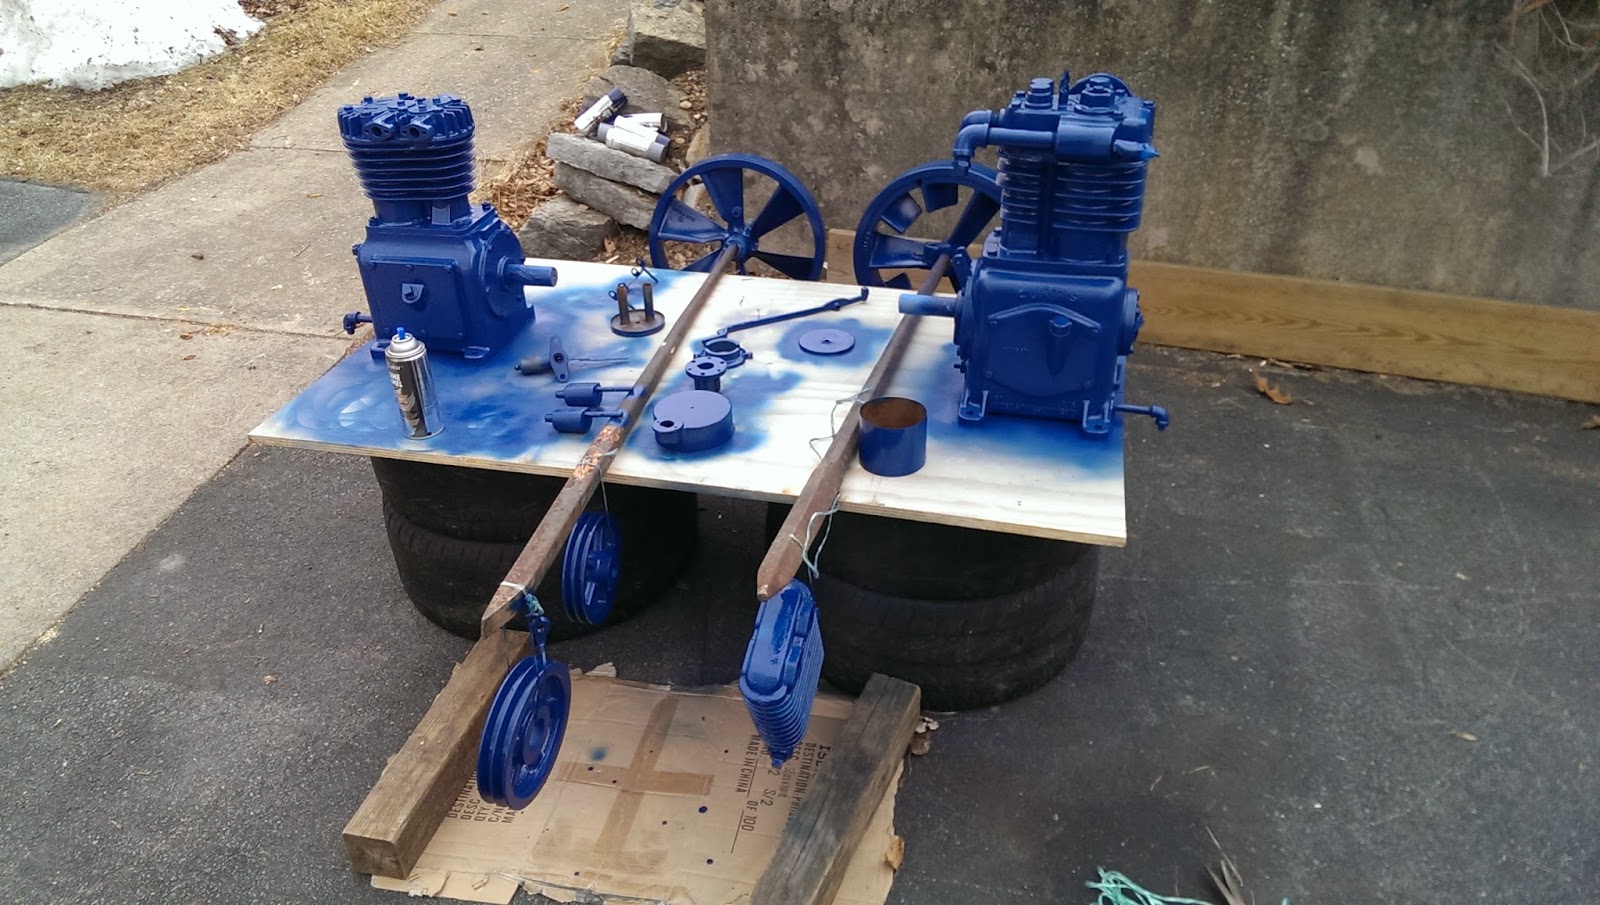
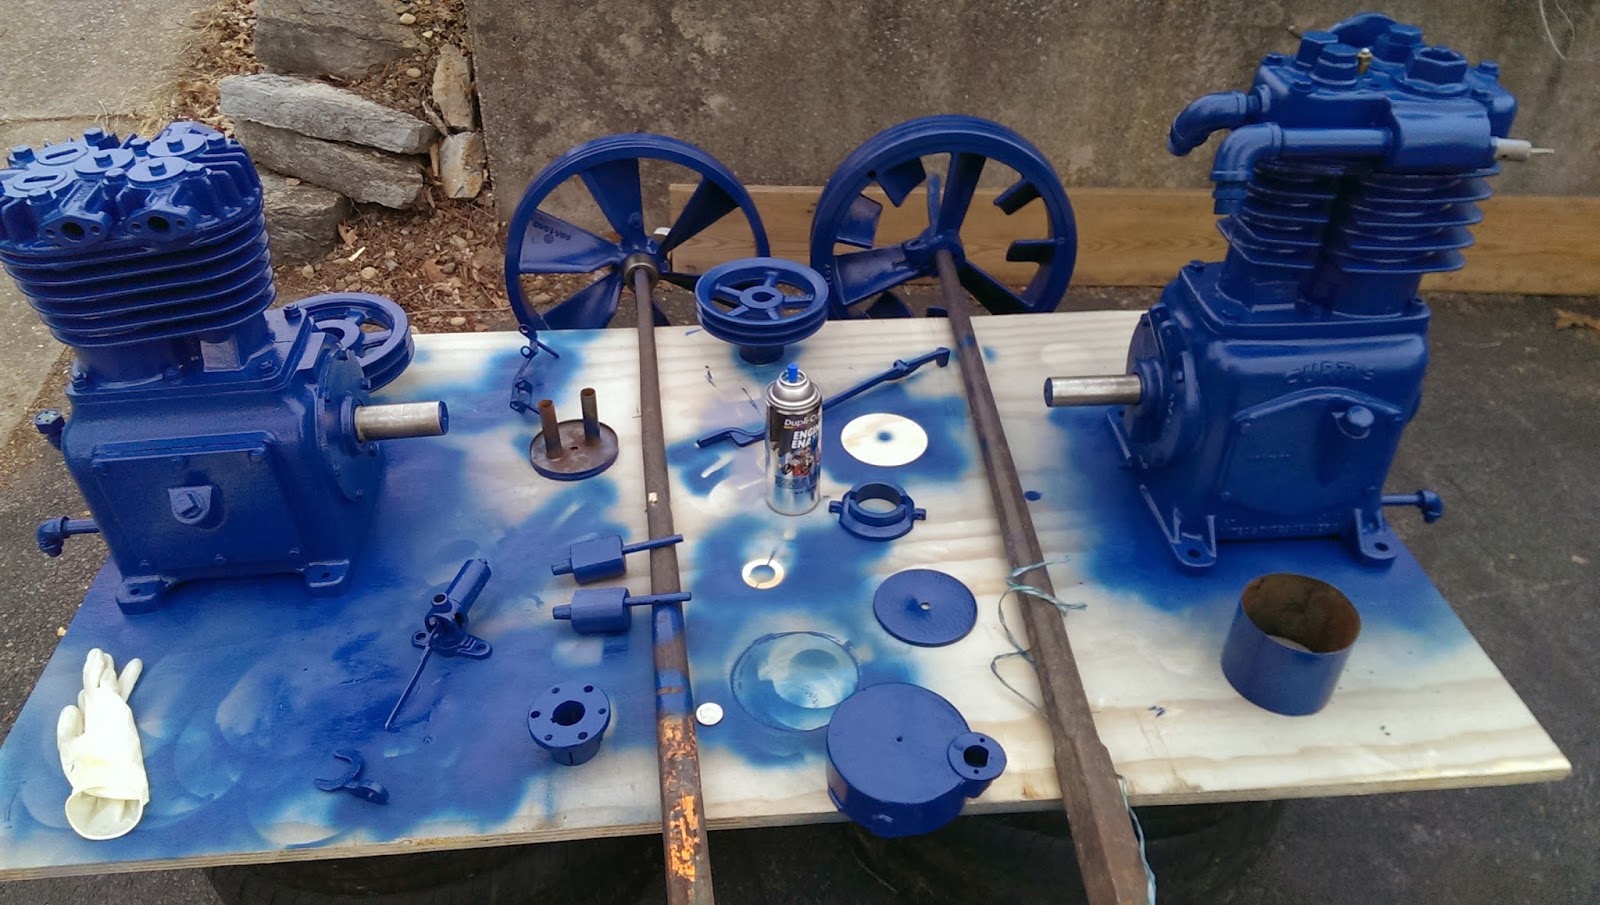
Here’s after primer and paint (ford dark blue engine enamel):
Since I didn’t keep the old base plate I had to build a new one. I had really wanted to mount both pumps to the same tank but I had already spent more money than I planned buying contactors, relays, various fittings and paint. Extending the top plate would cost too much in materials so I decided not to do it for now. I had some square tubing from an old engine hoist of my Dad’s I broke (I got him a new one) and I bought some 1/2” steel plate:
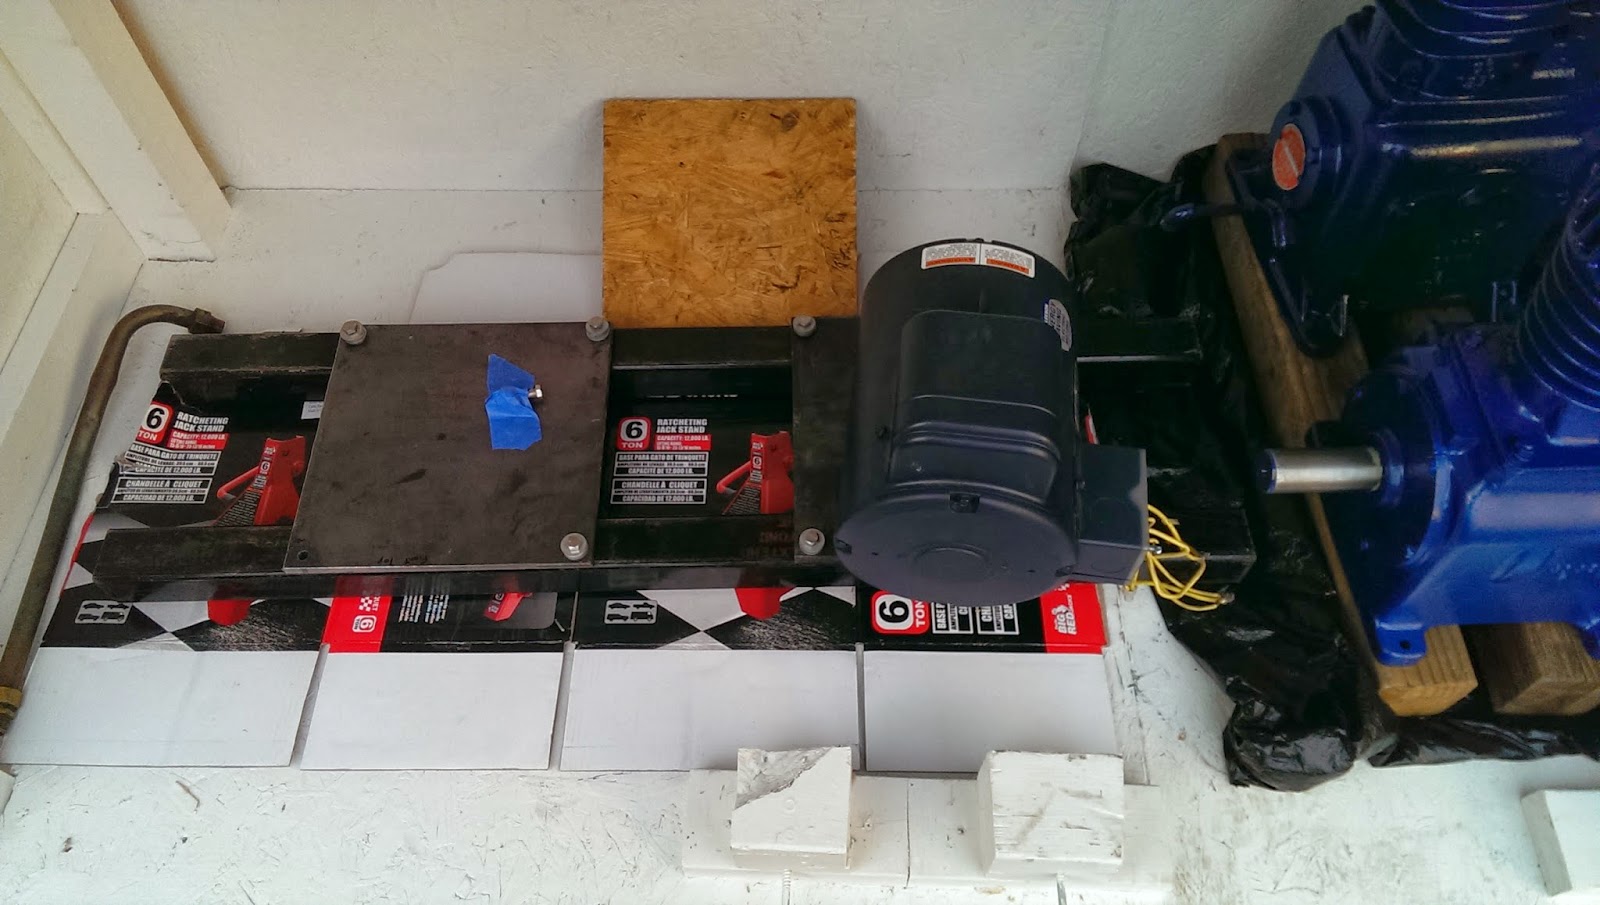
This is where it sits now, I moved to Virginia and the rental house I’m in doesn’t have 220V in the garage so I probably won’t be able to use these until we buy a house. I just have to finish drilling and tapping the plates to mount the pump and motor. I already have two contactors (the motors have their own thermal overload protection), an alternating relay, a time delay relay, a pressure switch with unloader, two tank check valves, a 10ft - 1/4” copper coil and a bunch of fittings to get everything plumbed and wired. I also bought a box of non-detergent oil off Amazon to change the oil with after I run some cheap oil through it to clean it out. The pumps are both almost 40 years old but I’ve tested them both and they seemed to run pretty good. Both Curtis and Saylor-Beall have pretty good reputations and have rebuild kits available. I’ll probably rebuild them at some point in the next few years, then they’ll last the rest of my life.