
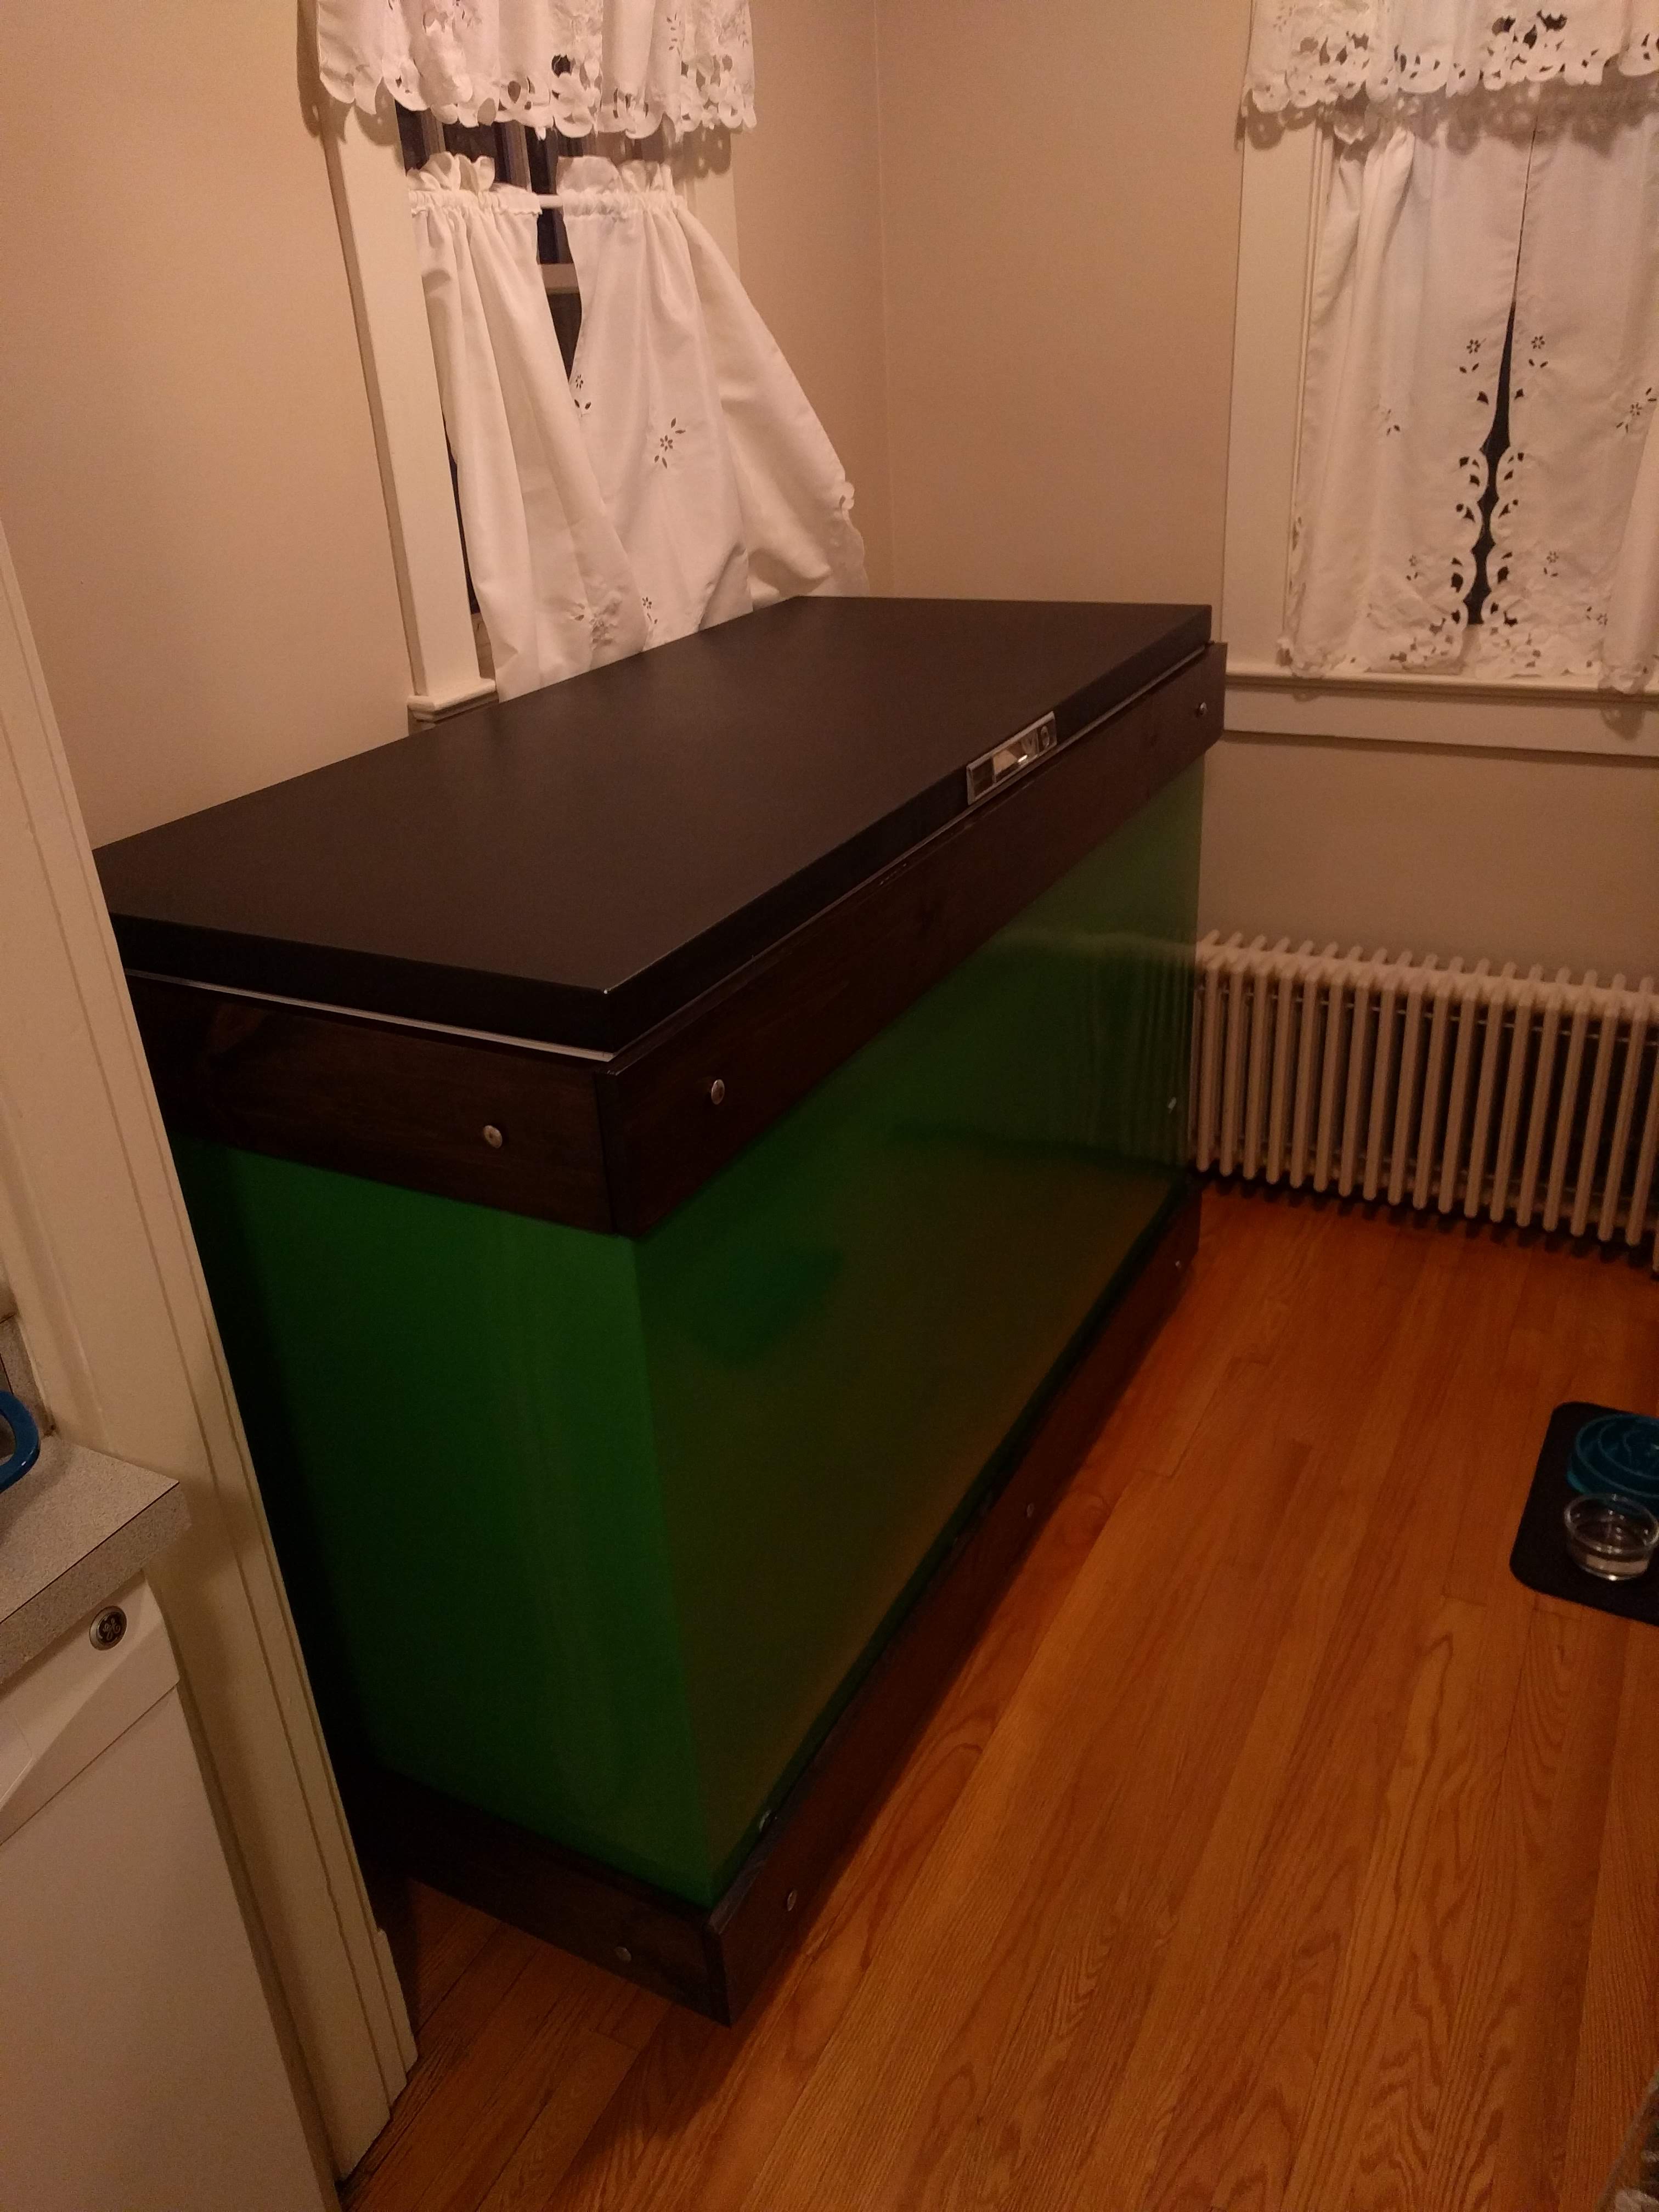
Green Keezer
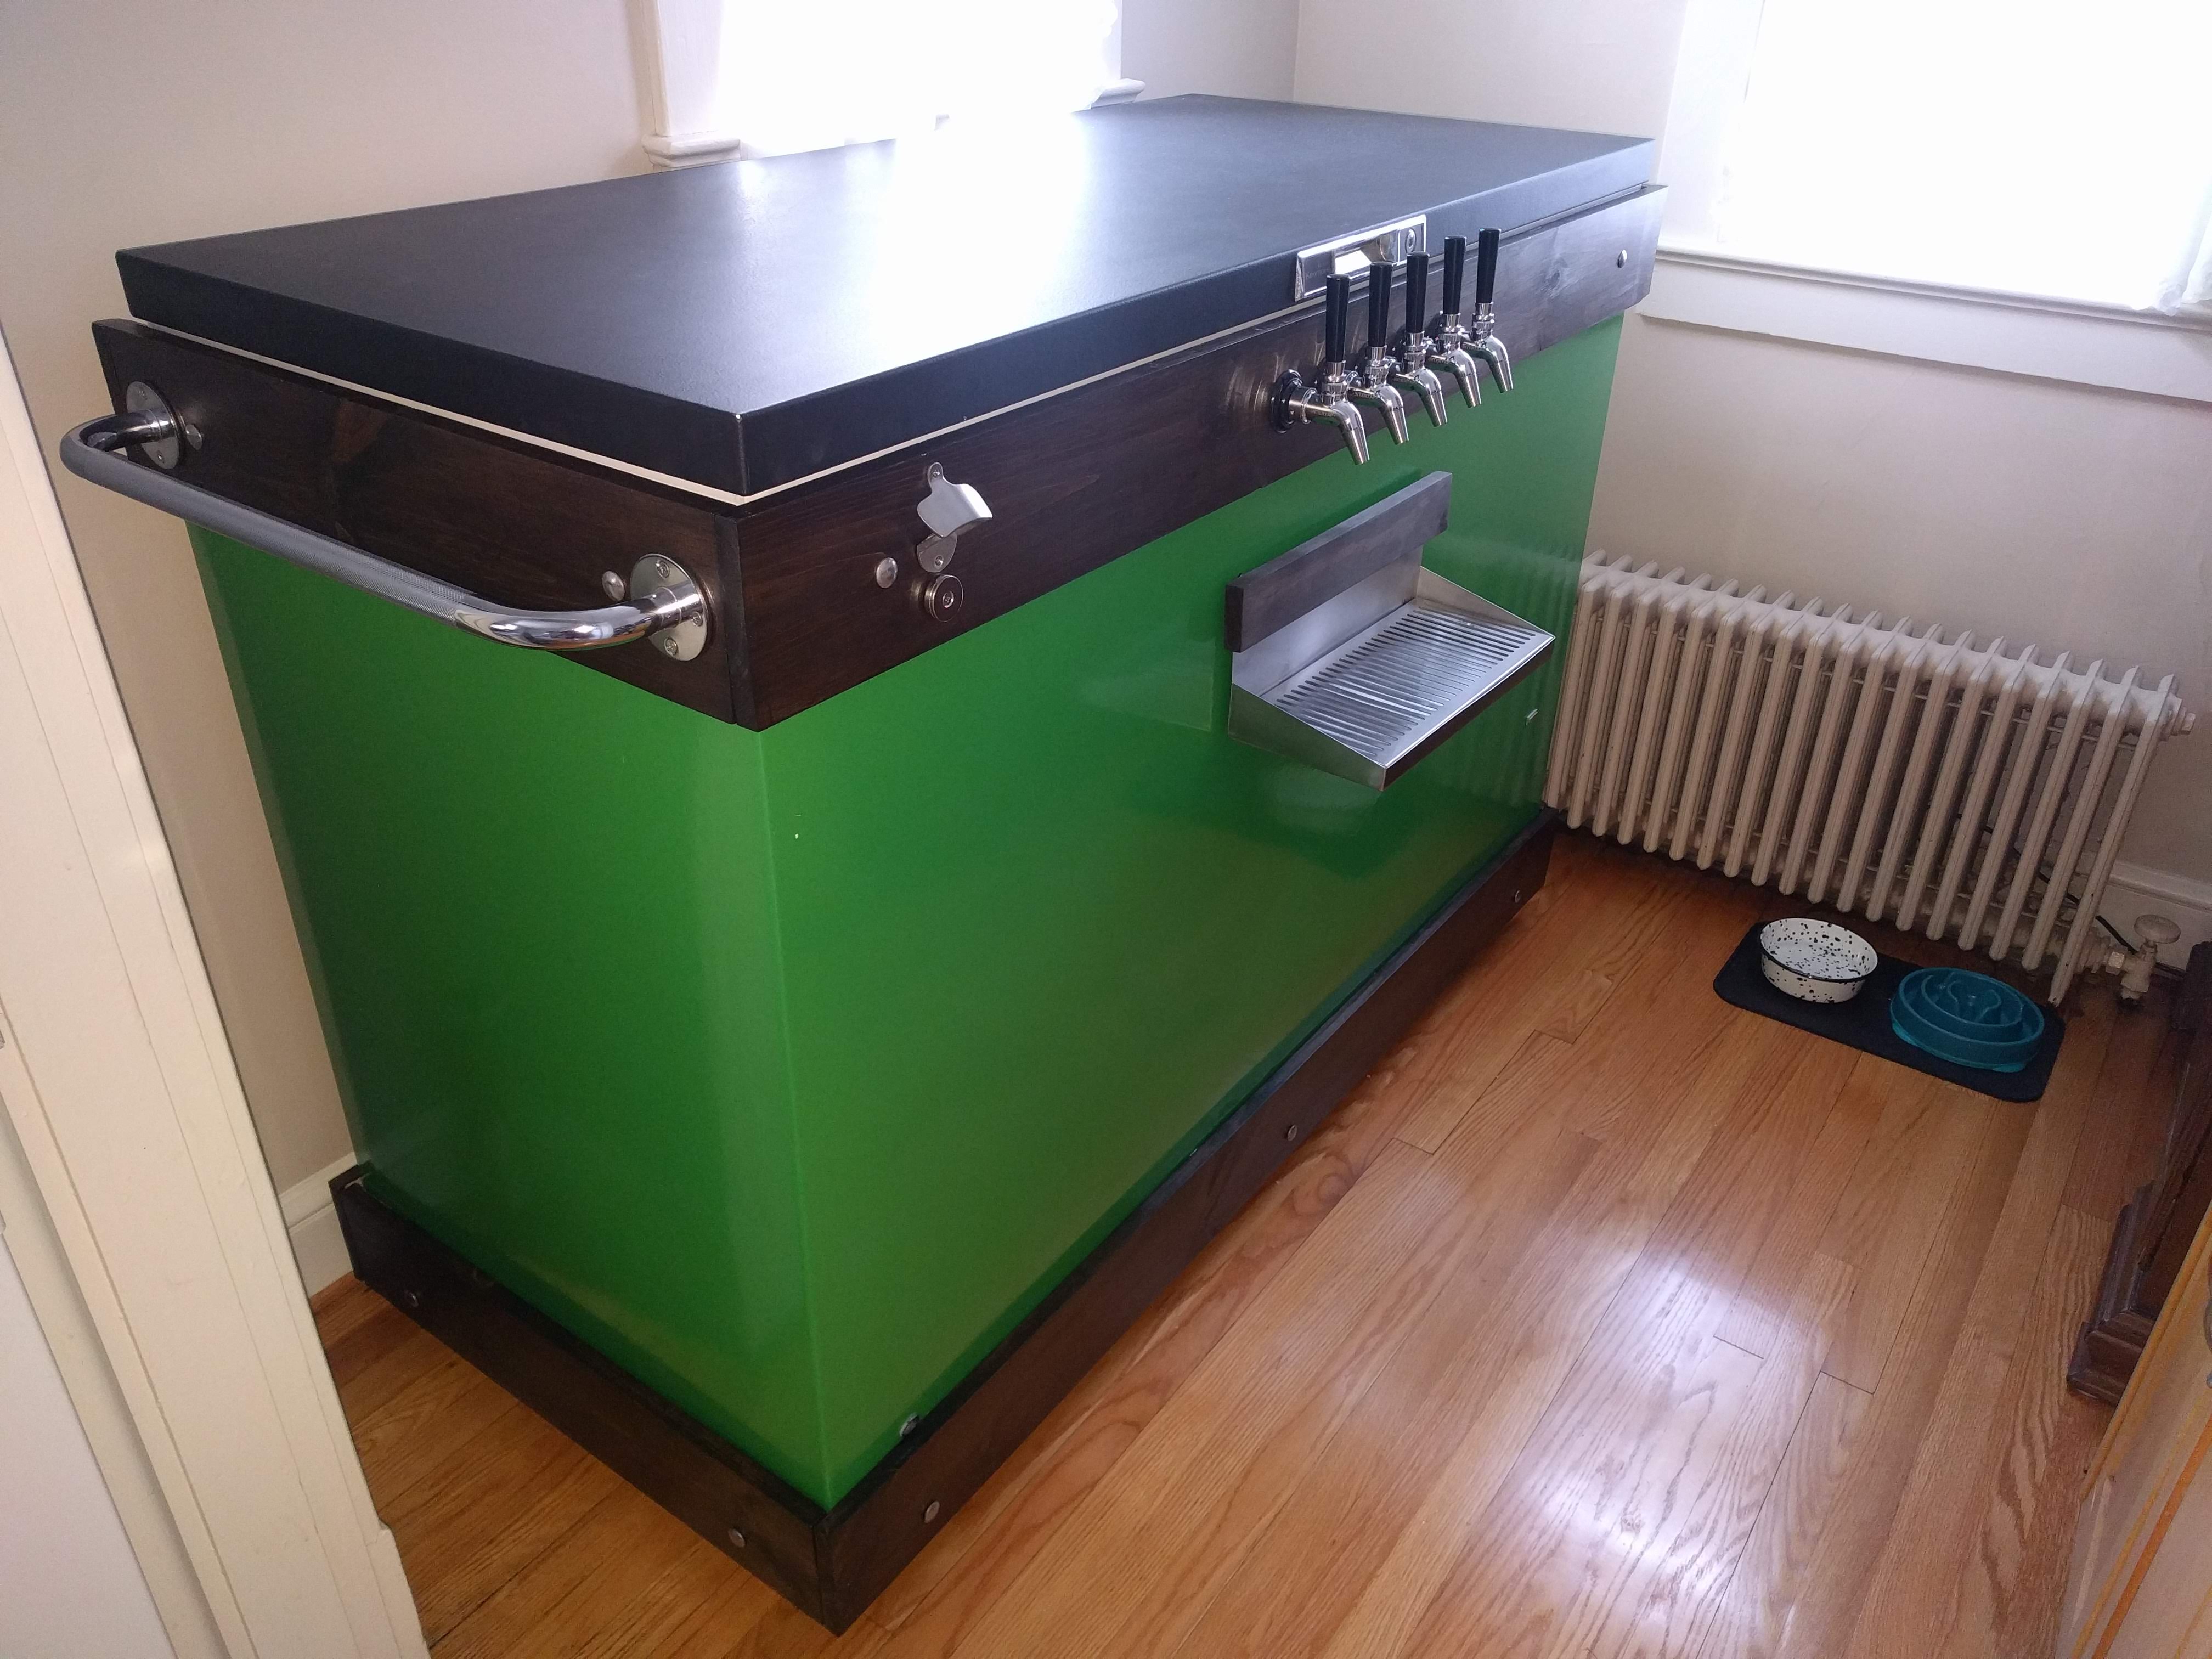
My Kegerator/Keezer built from a 23.1 cu.ft. Kenmore Spacemaster chest freezer with 5 Intertap self-closing faucets and stainless steel drip tray.
Summary
I recently started building a homebrew setup and have gotten a little carried away with this project. I was planning on bottling the beer but I’ve always liked the idea of having a kegerator and have wanted one since before college. I began looking at buying a mini fridge but realized I’d probably want more than one tap for serving. I found other people used a chest freezer and decided I liked the idea of a “keezer” more than a mini fridge or upright refrigerator.
Go Big
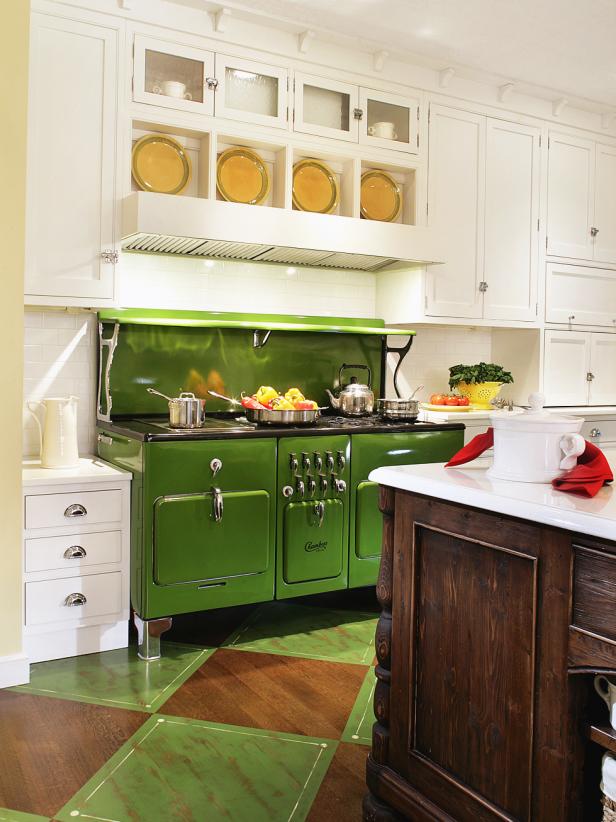
When planning what size freezer to use I was originally thinking I only needed enough room for 2 or 3 five gallon kegs. But after looking at other builds my eyes got big with envy. I decided I wanted at least a 15 cu.ft freezer, that way I would have room to expand. I also figured it would be easier to justify a bigger one to begin with than to convince my girlfriend we needed a larger one later on. Since my girlfriend’s favorite color is green, I’ve found that the easiest way to get her on board with a new project is to tell her we can paint it green ;). So here was the inspiration for the Green Keezer:
The Freezer
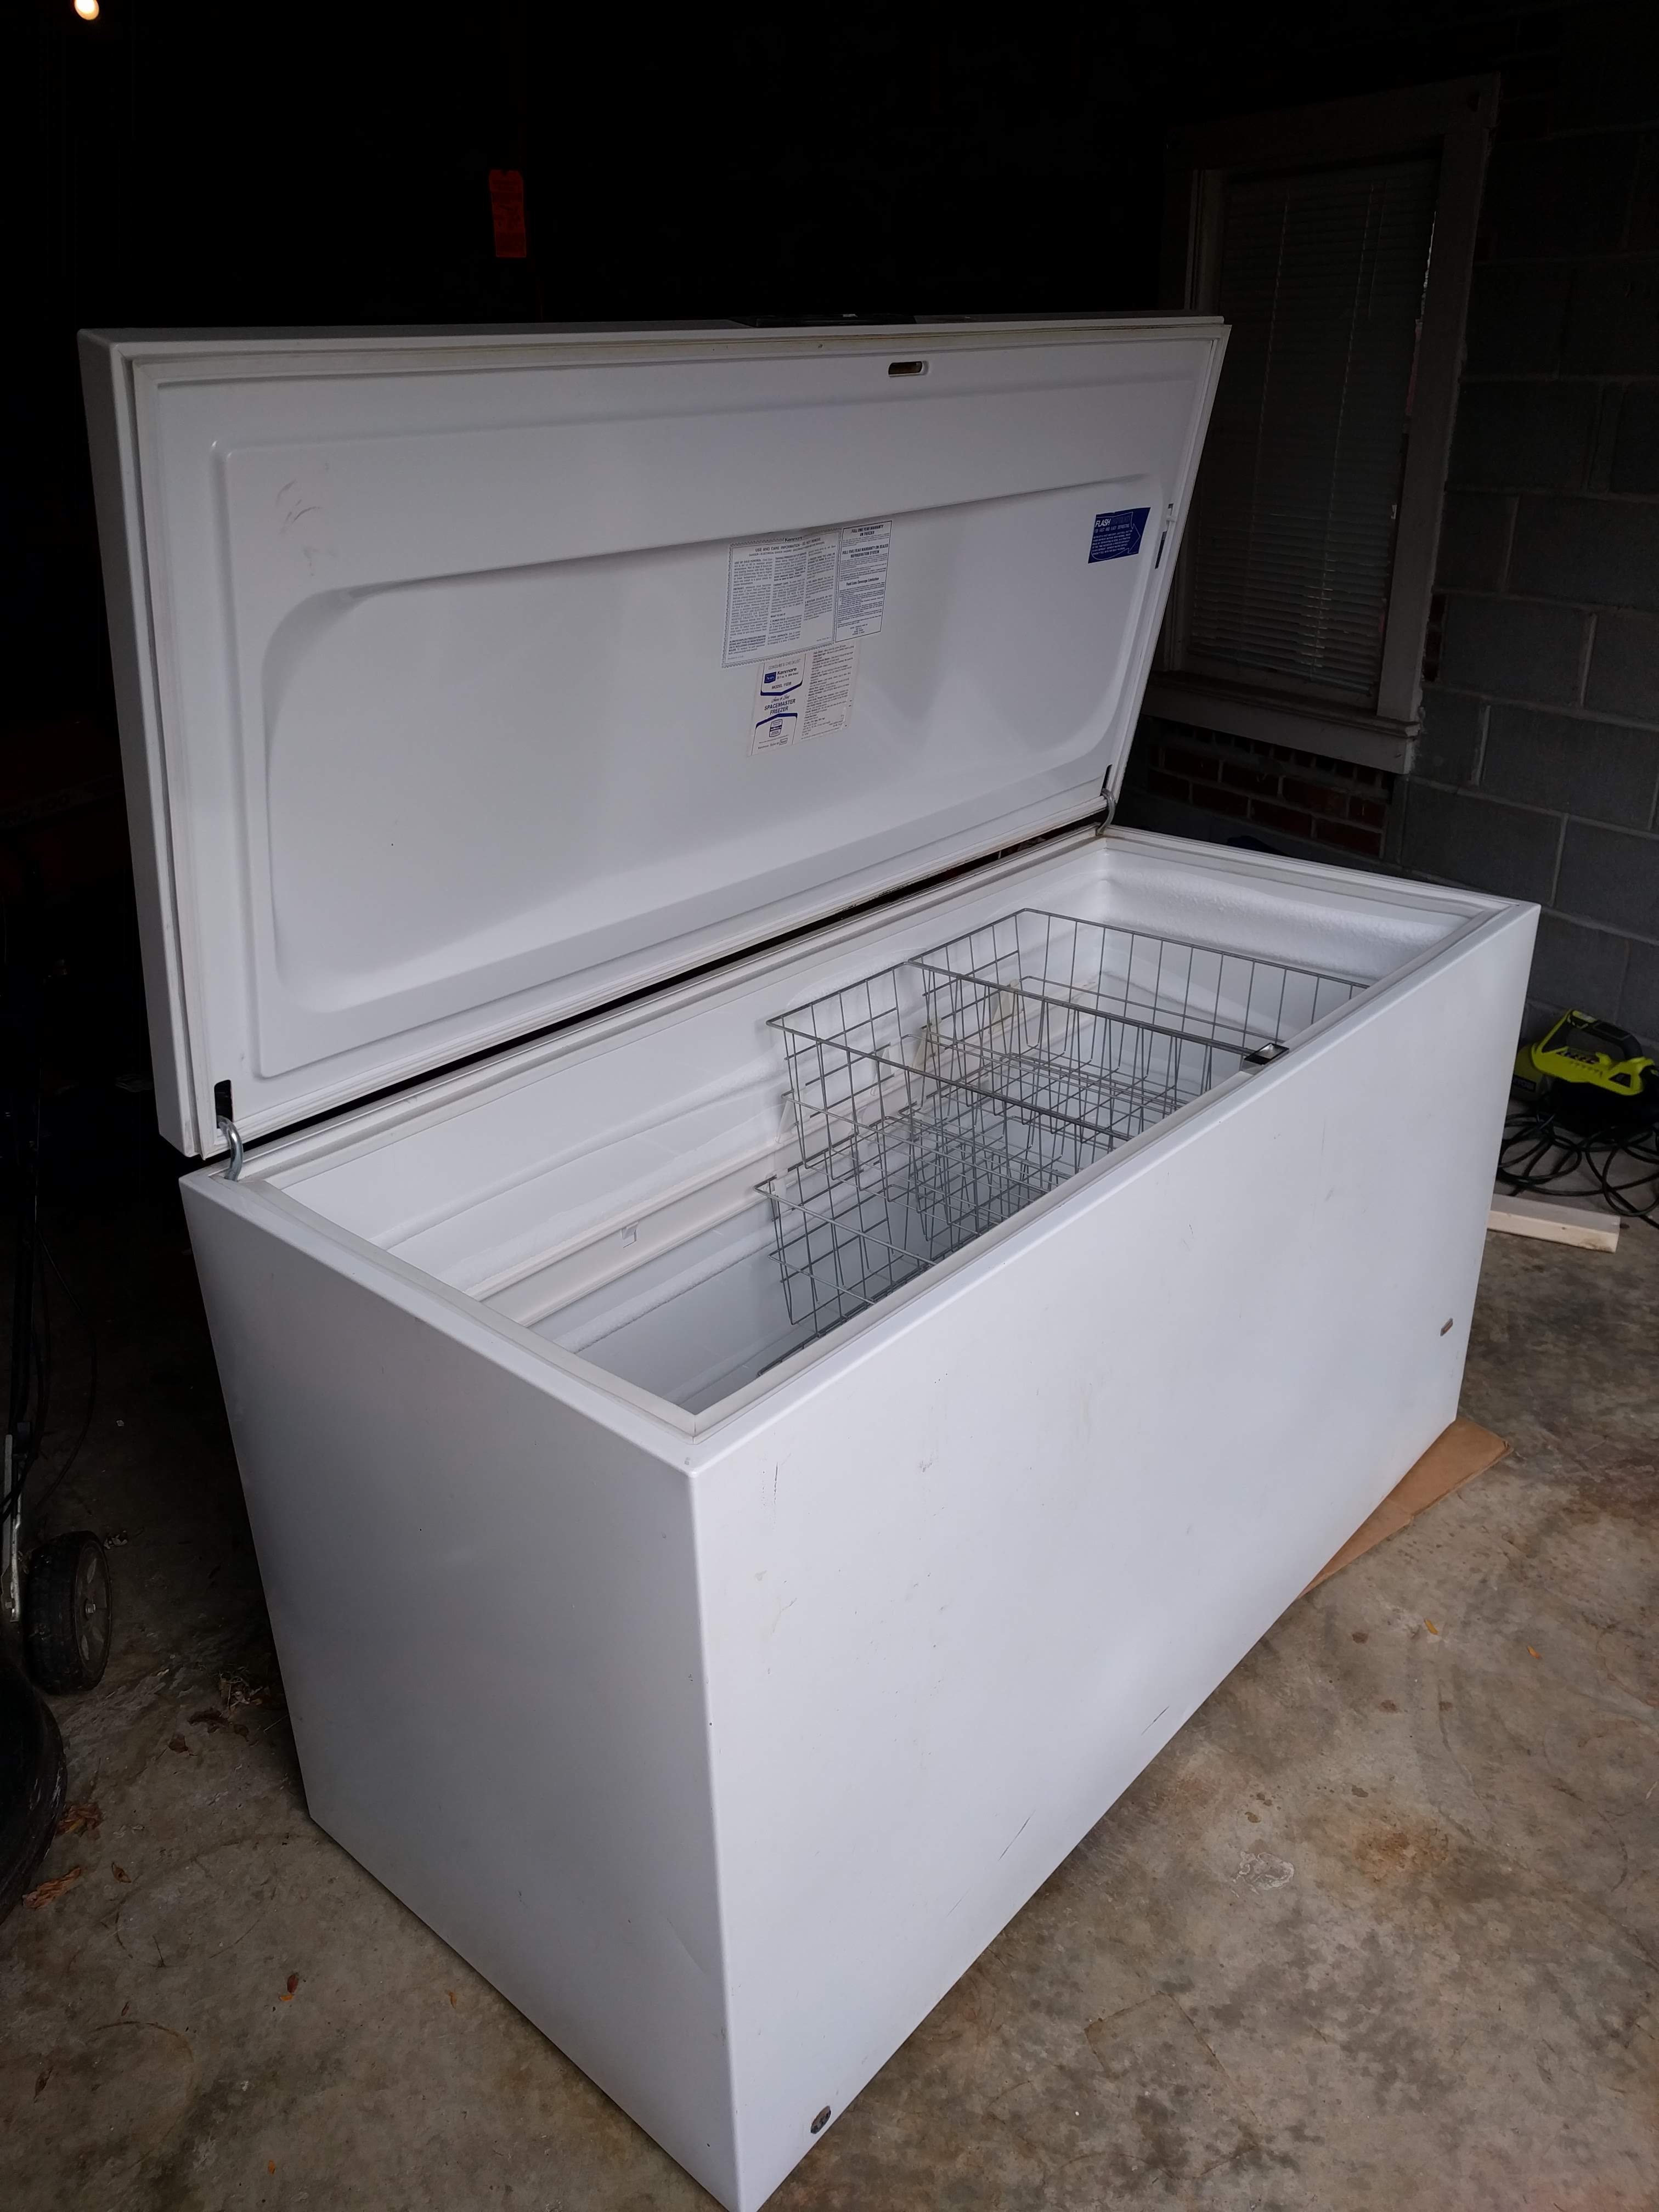
I began watching Facebook and Craigslist for chest freezers. Surprisingly, they seem to go pretty quickly. I found a 14 cu.ft freezer for $100 and bought it:
In order to get a smooth surface for painting I was thinking I would do a skim coat of bondo before painting. But after looking at the freezer in person I realized this was going to be a lot of work. Newer freezers have that textured sheet metal they started using in the 90’s. If I wanted a keezer that looked good enough to keep inside, I decided I wanted one with smooth sheet metal. This meant finding one from when they used flat, thick sheet metal to build them.
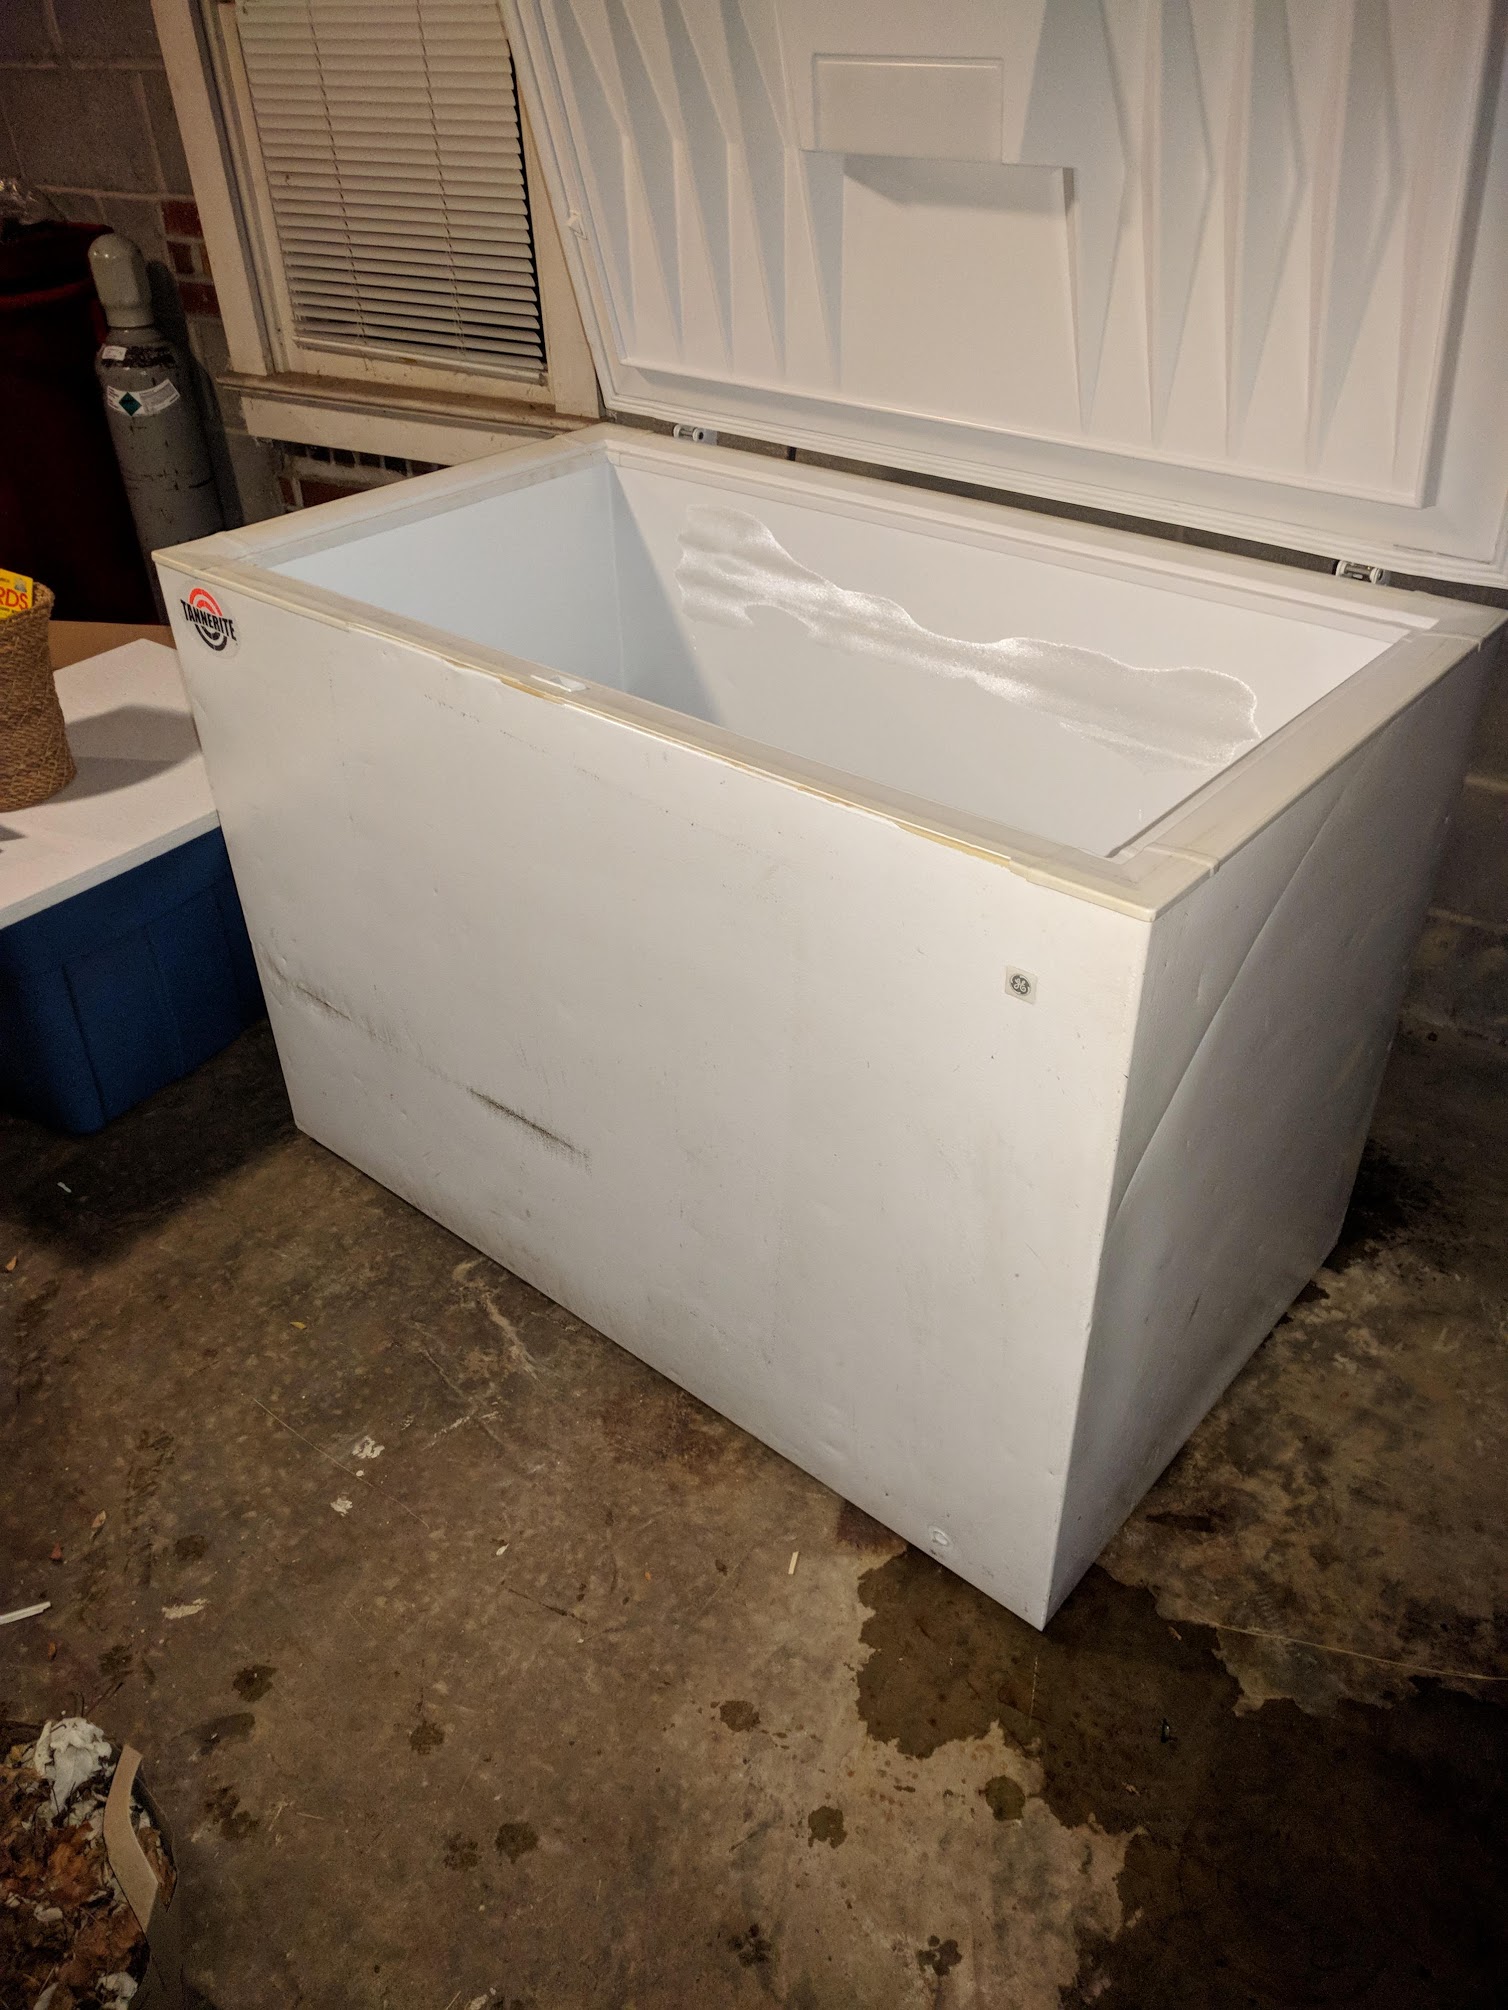
I ended up with this 23.1 cu.ft. Kenmore Spacemaster, I think it’s from the 1980’s:
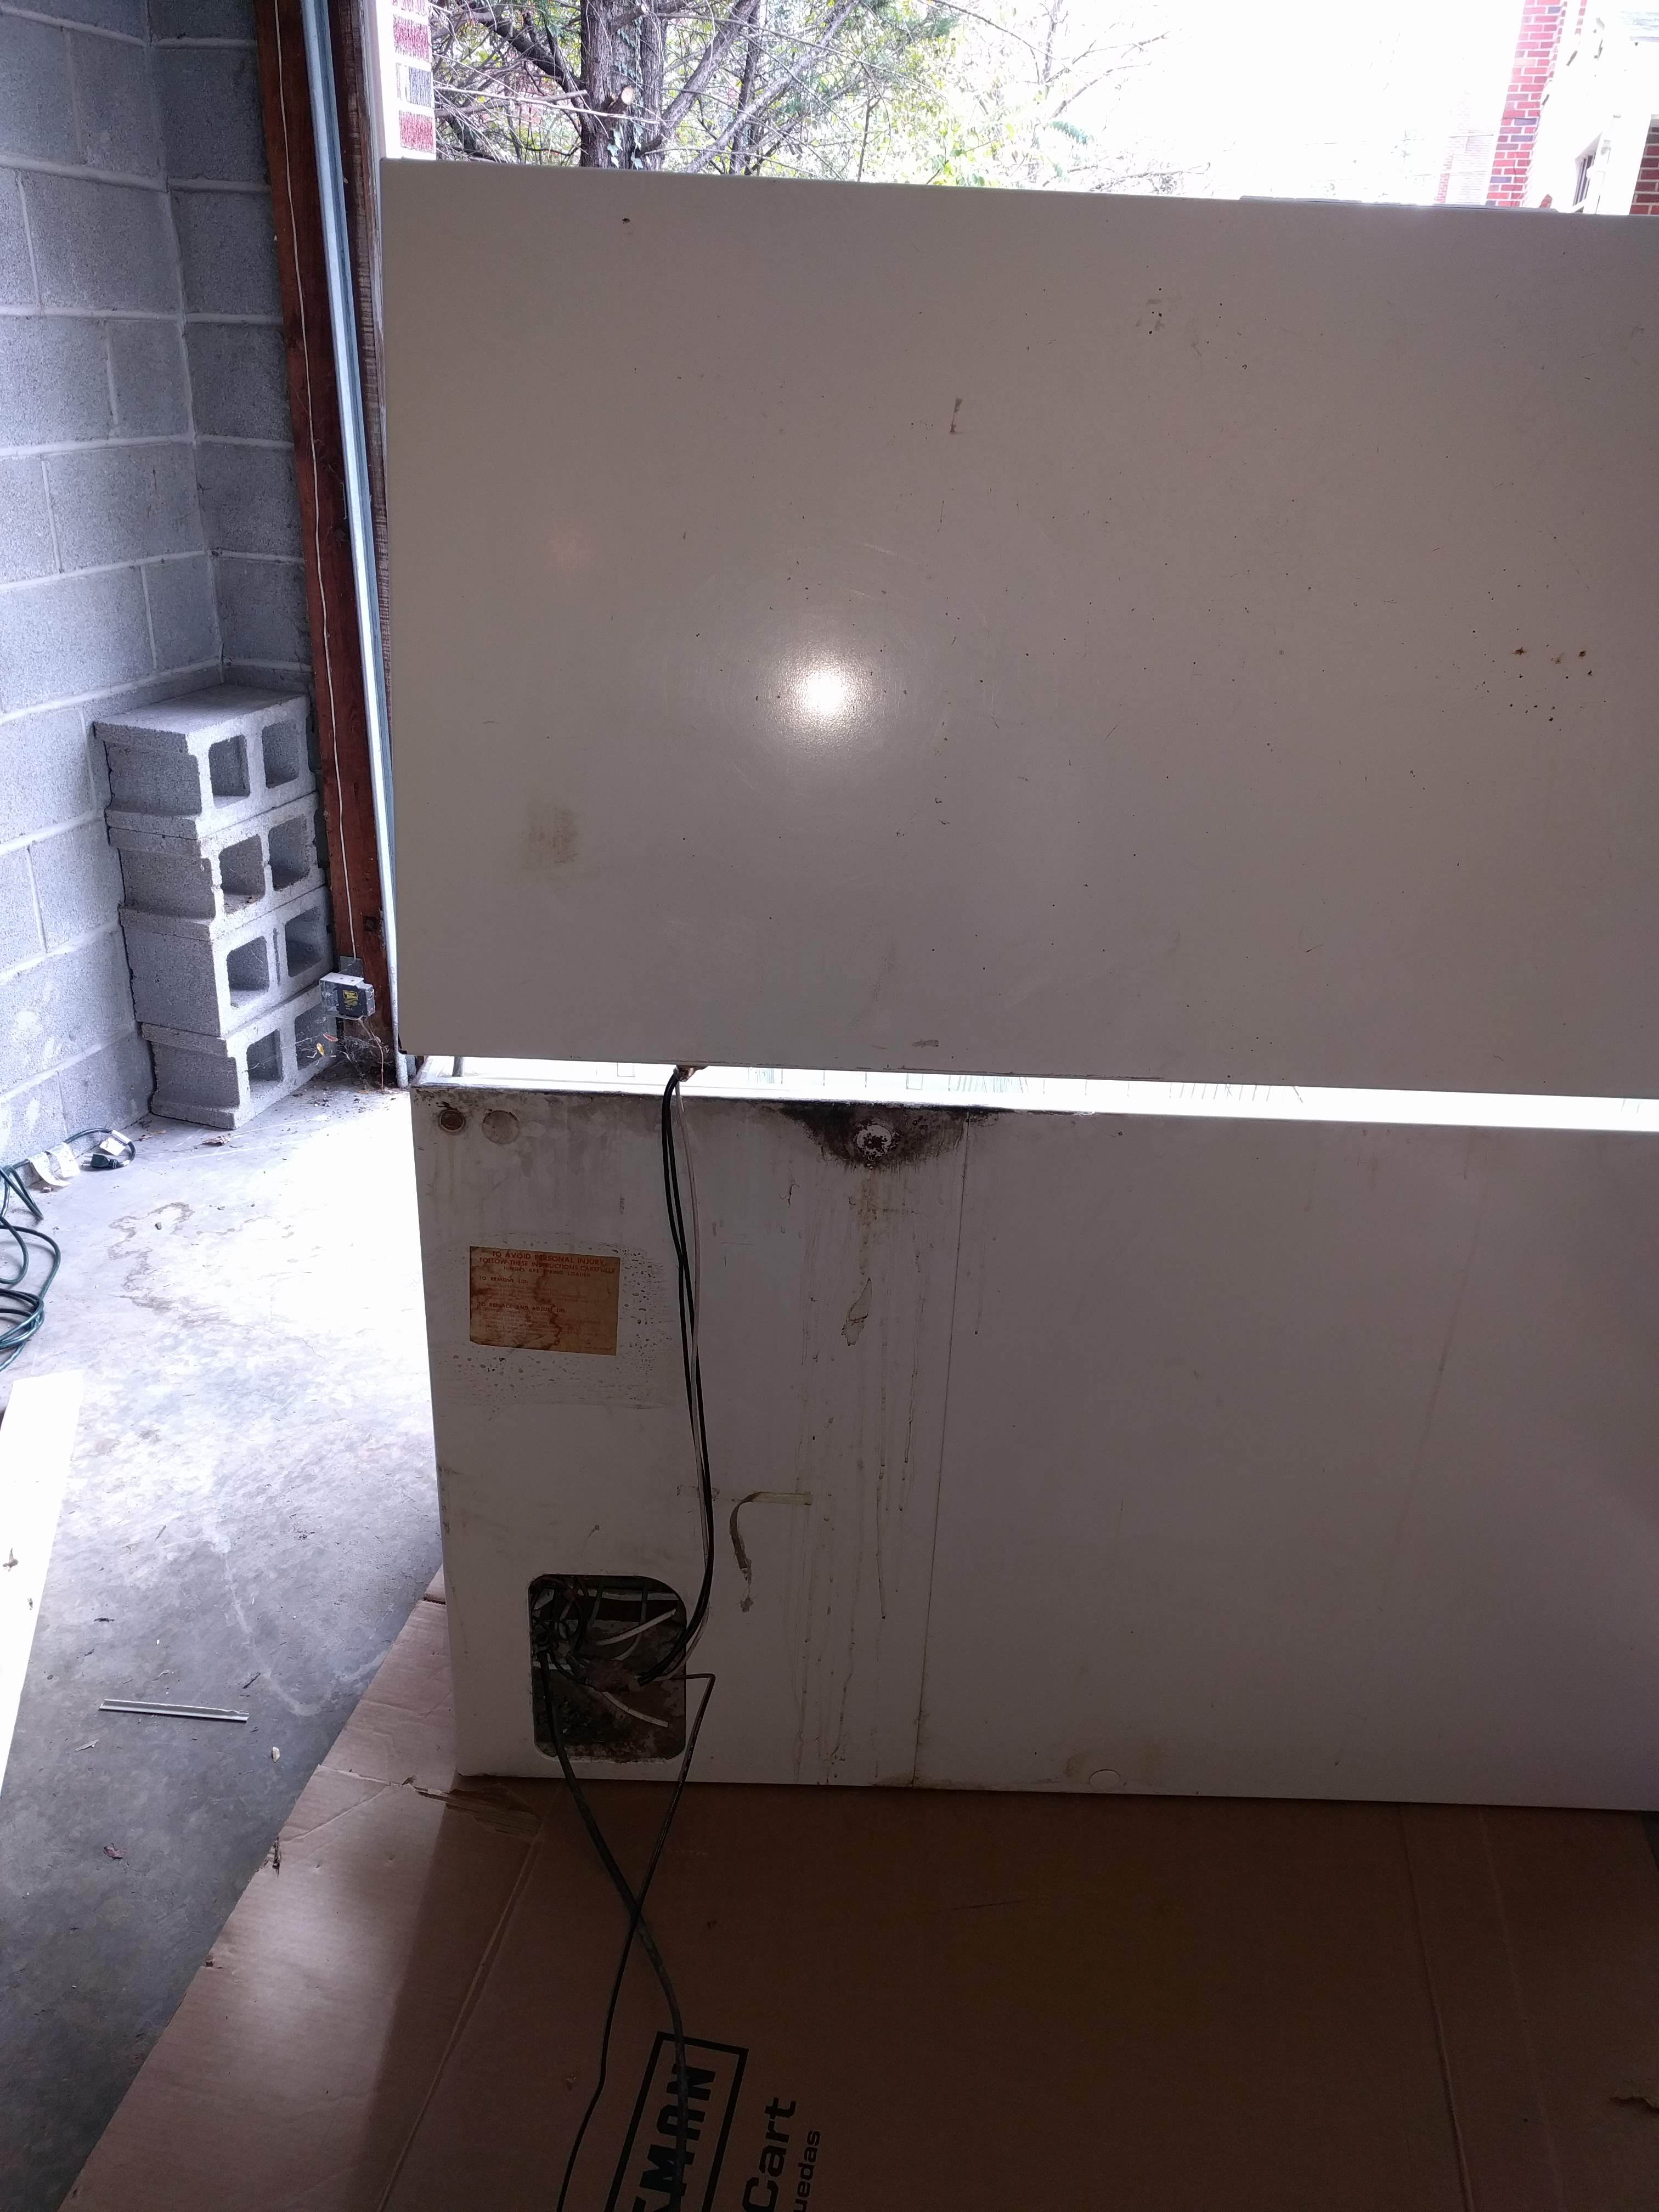
It had a little mold on the back but was otherwise in really great shape and ran well.
The Paint
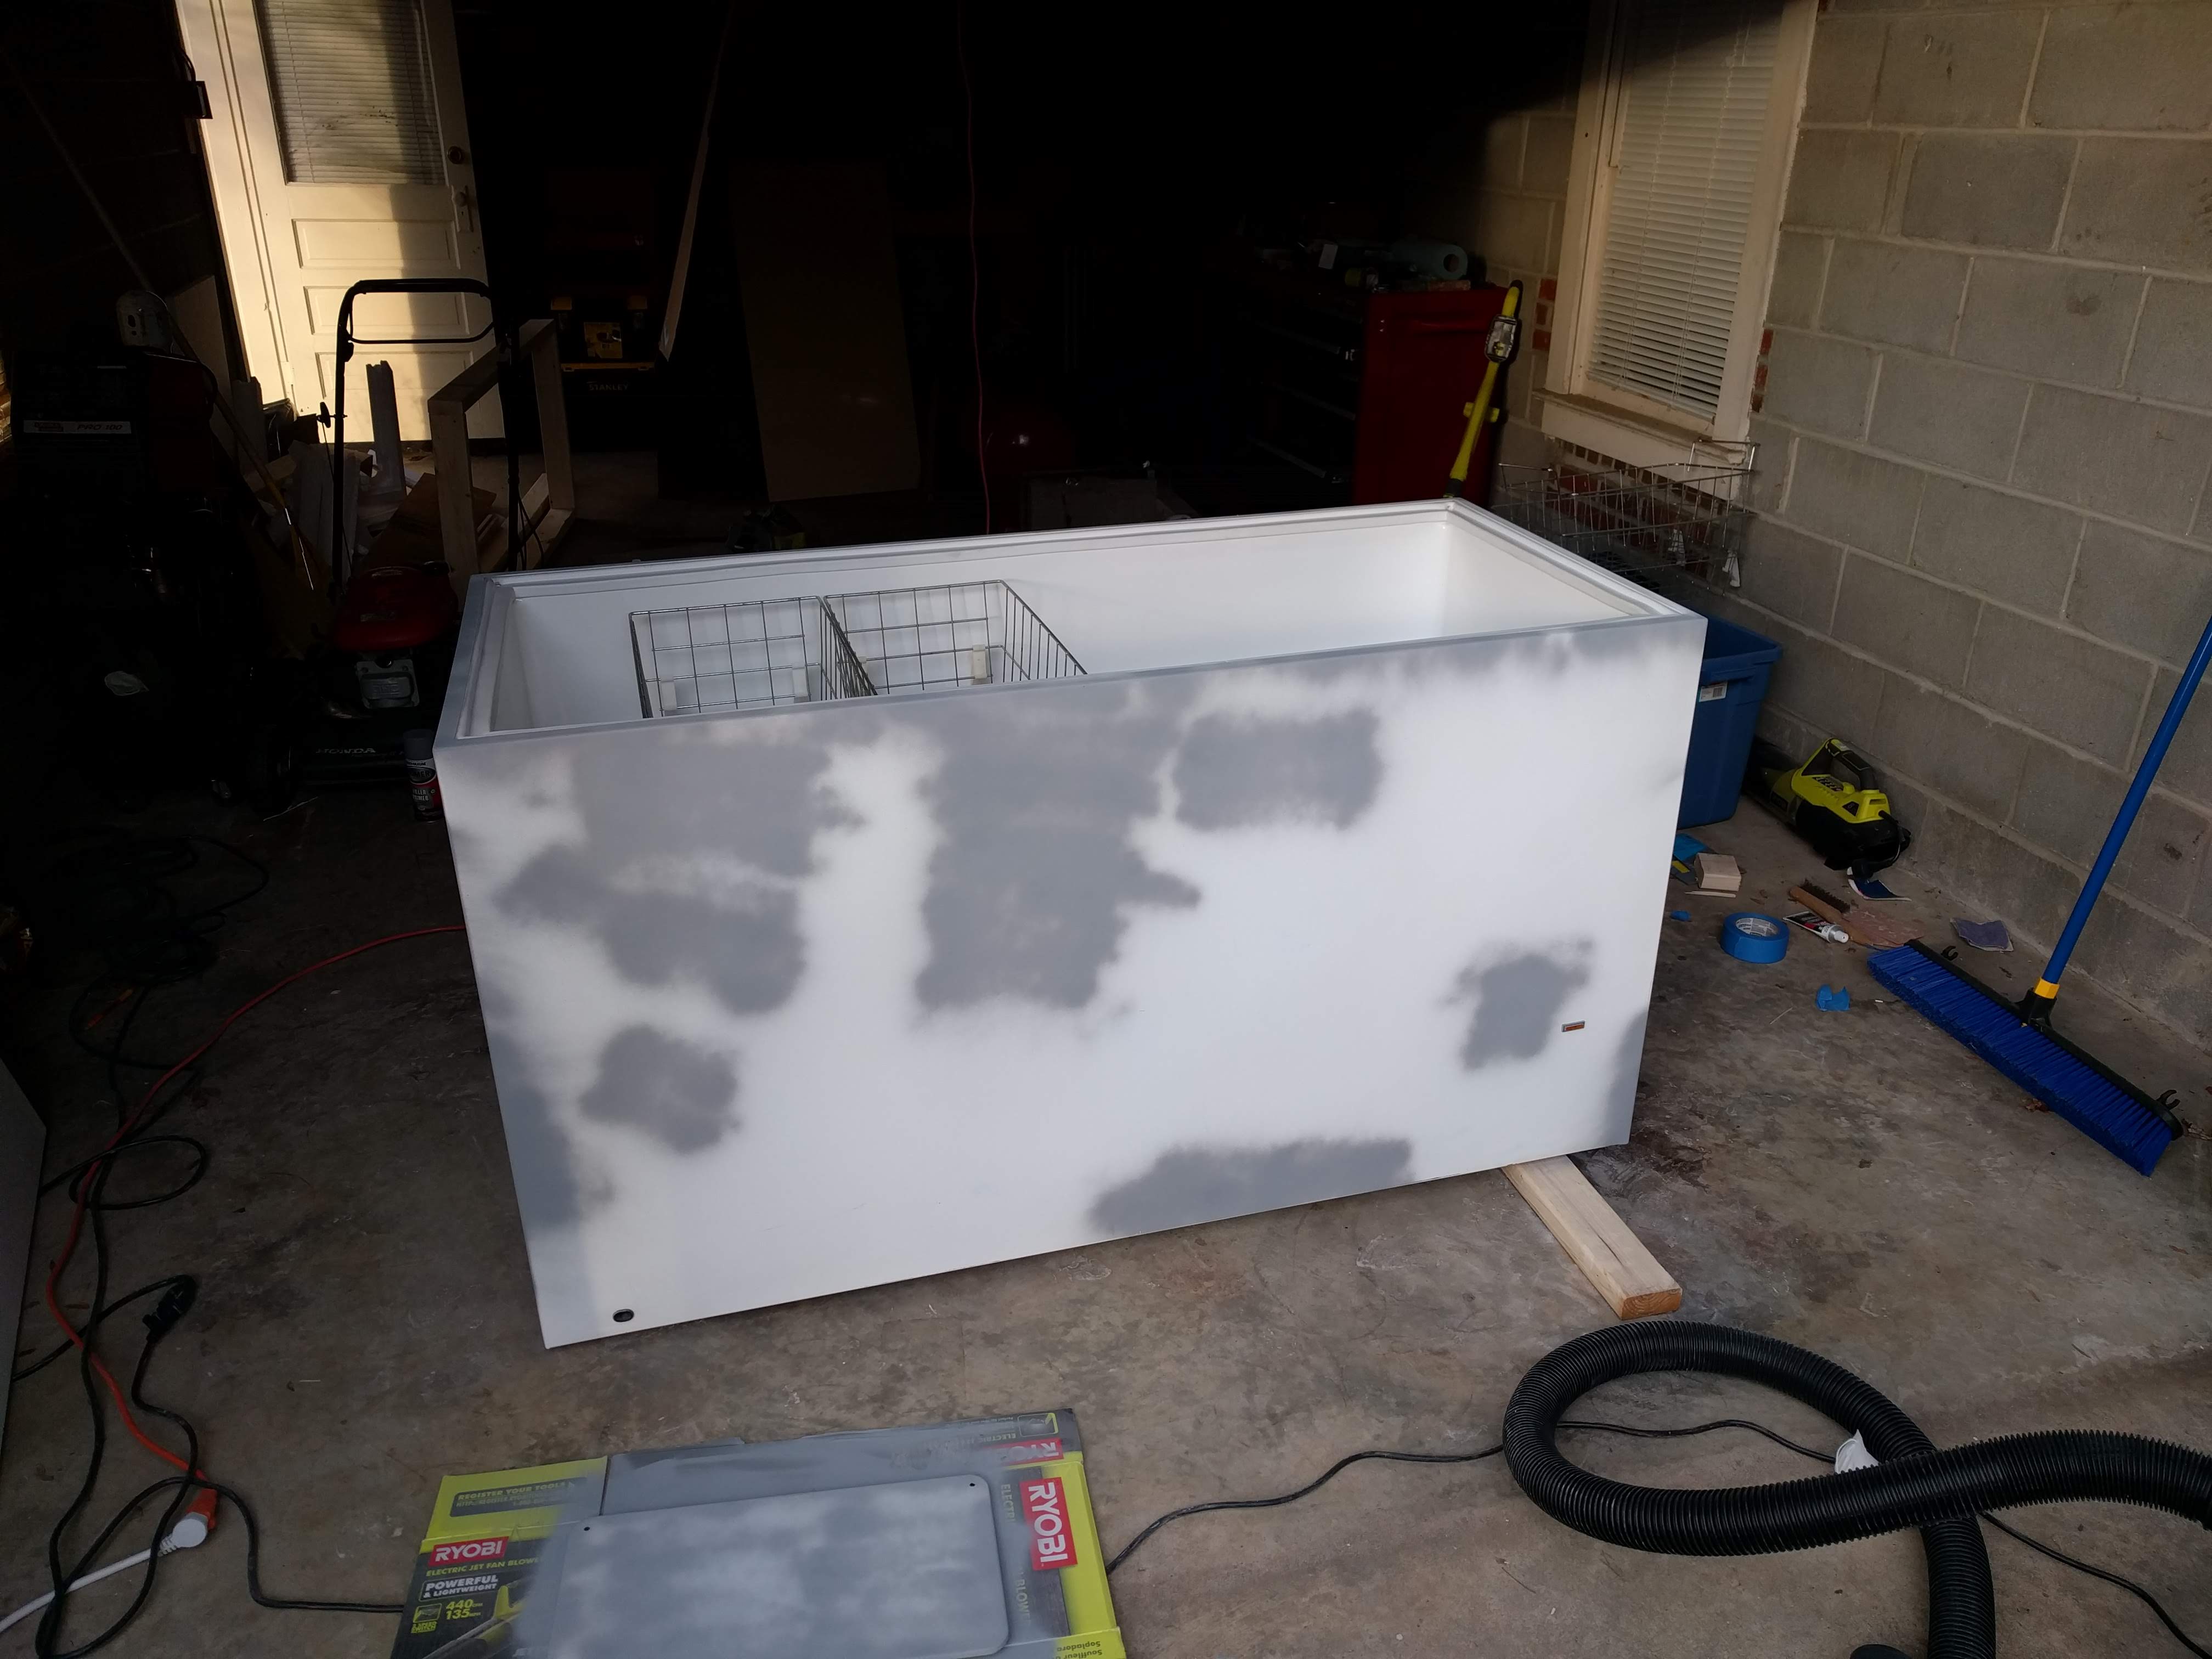
There were a couple of dings/scratches I put bondo over after sanding it down. I then lightly sanded the whole thing and primed the low spots and gently sanded again.
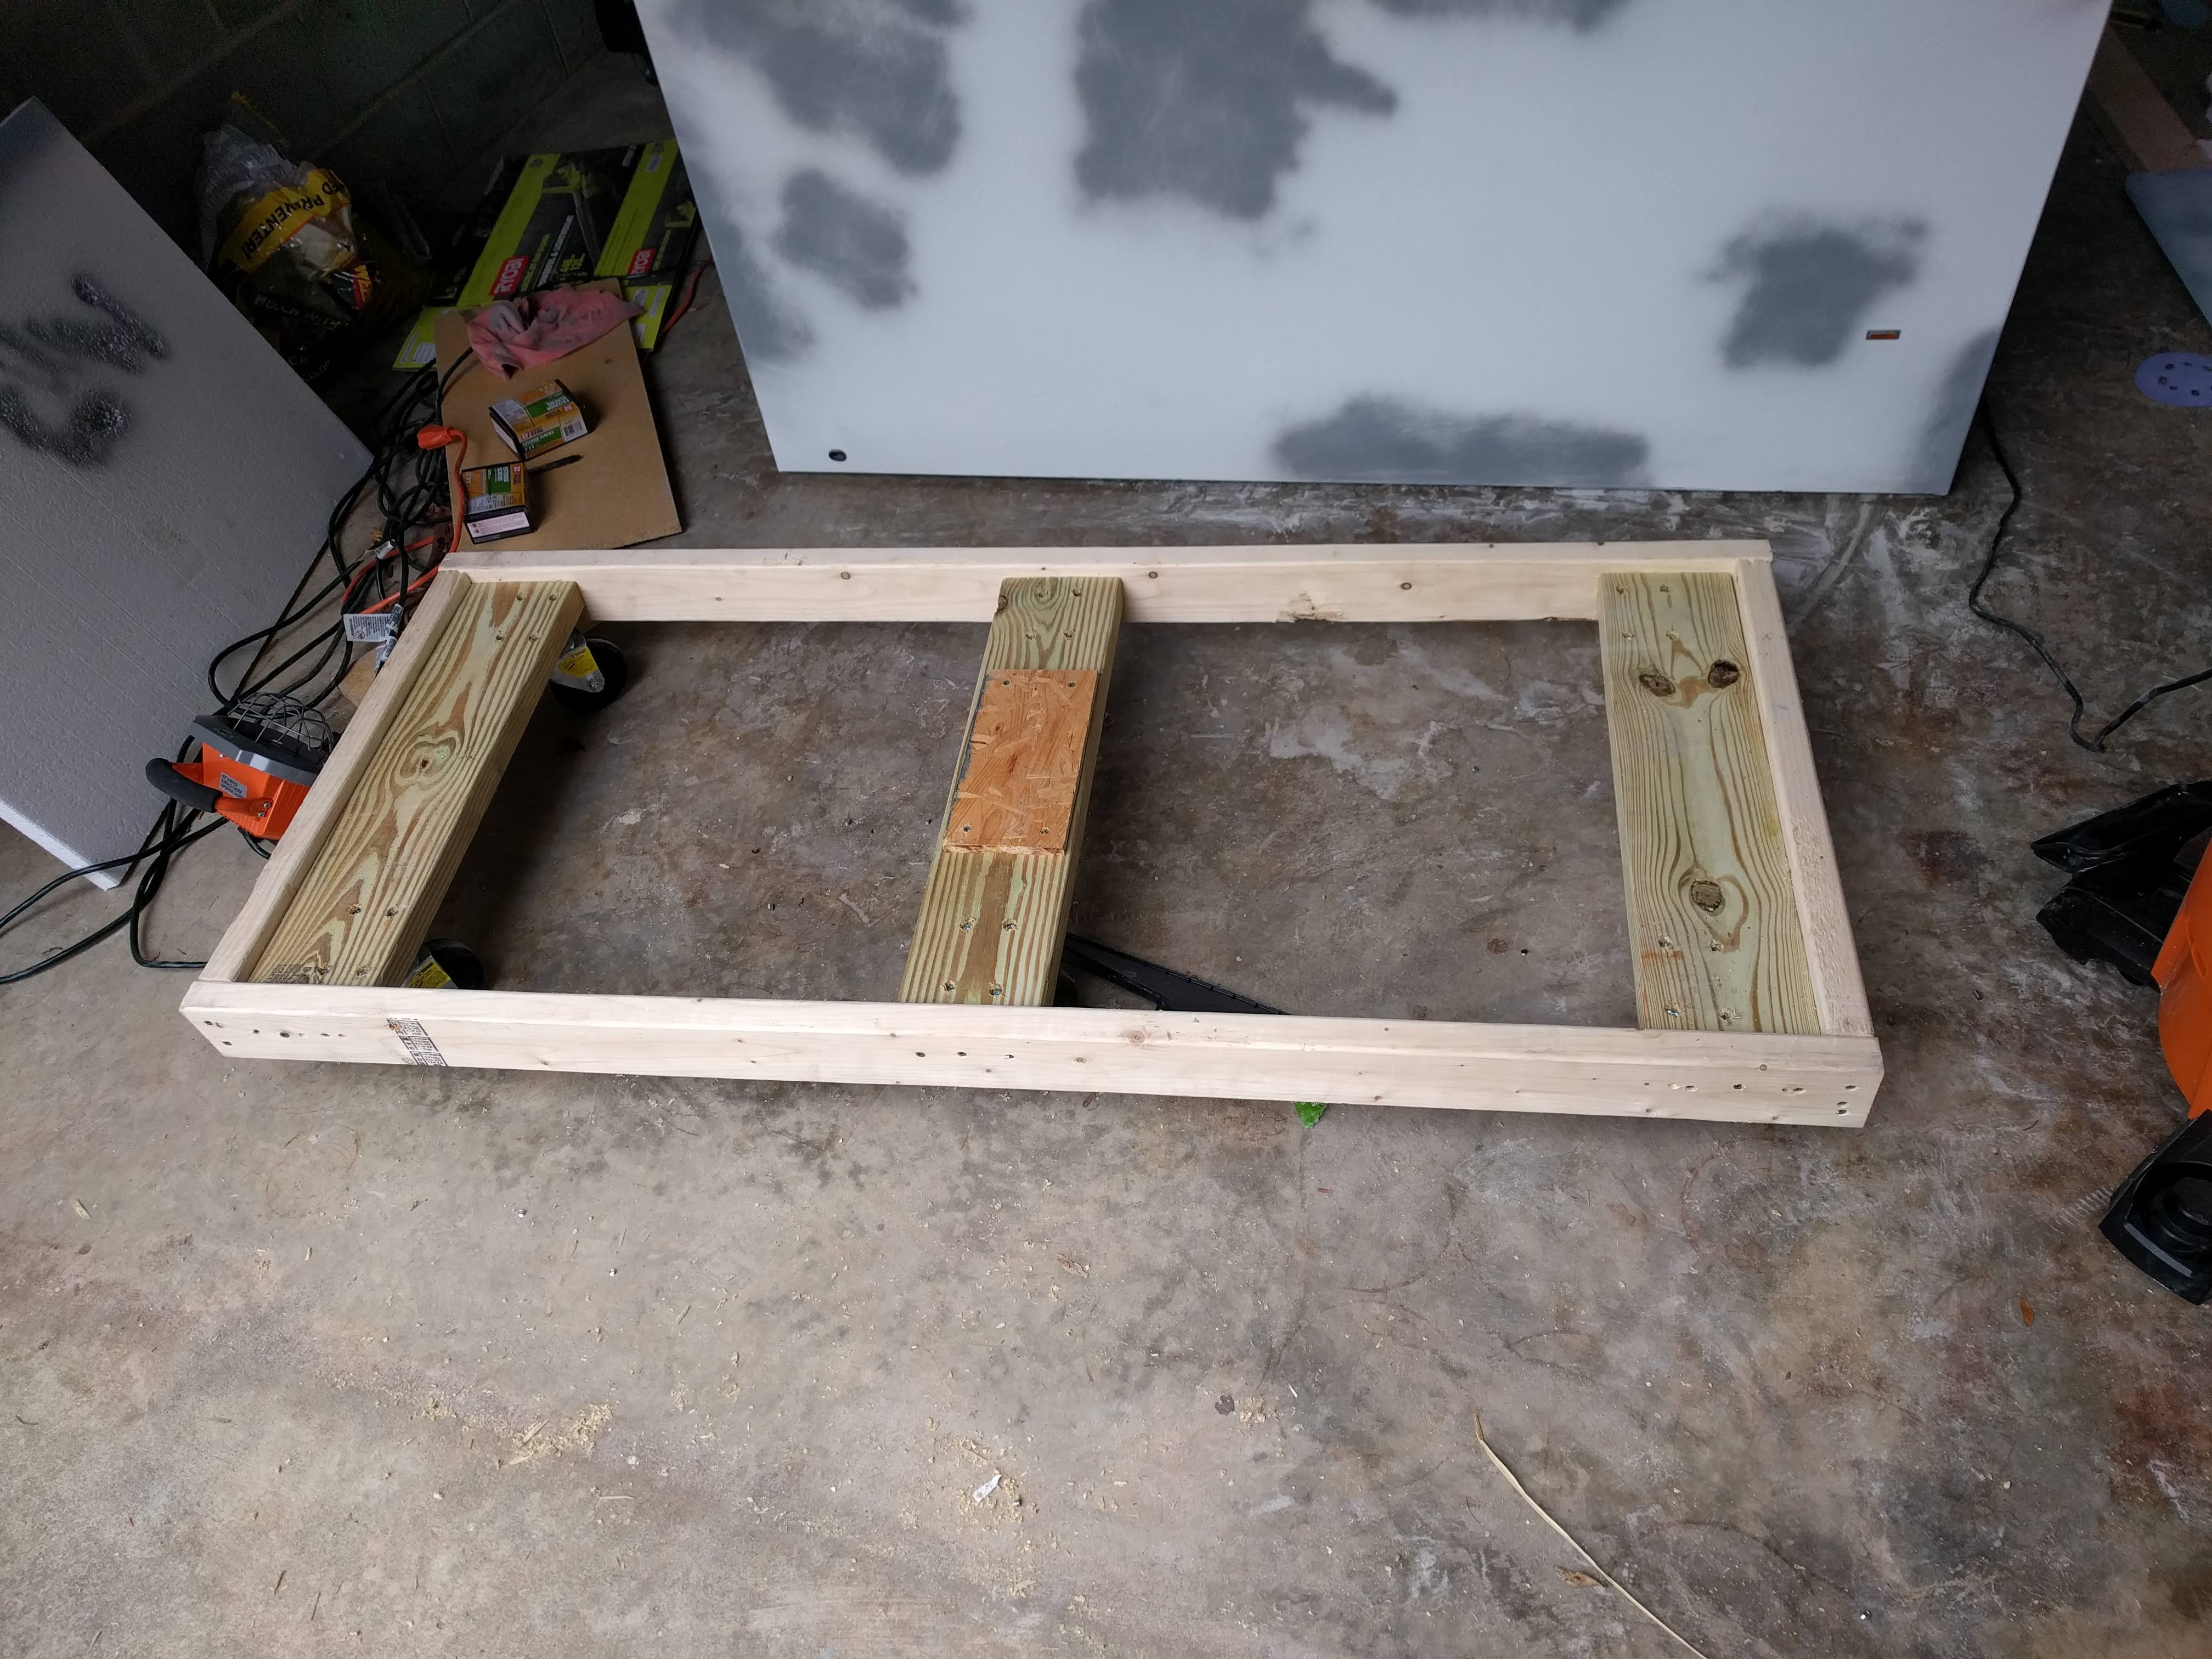
I lucked out with a warm fall day for priming but it was too cold afterwards so I had to move inside for painting. I decided to go ahead and build the bottom frame to make moving it around easier. I used Harbor Freight non-marking casters. The outside 2x4 sits under the bottom rim on the freezer and the offset 2x6’s support the feet.
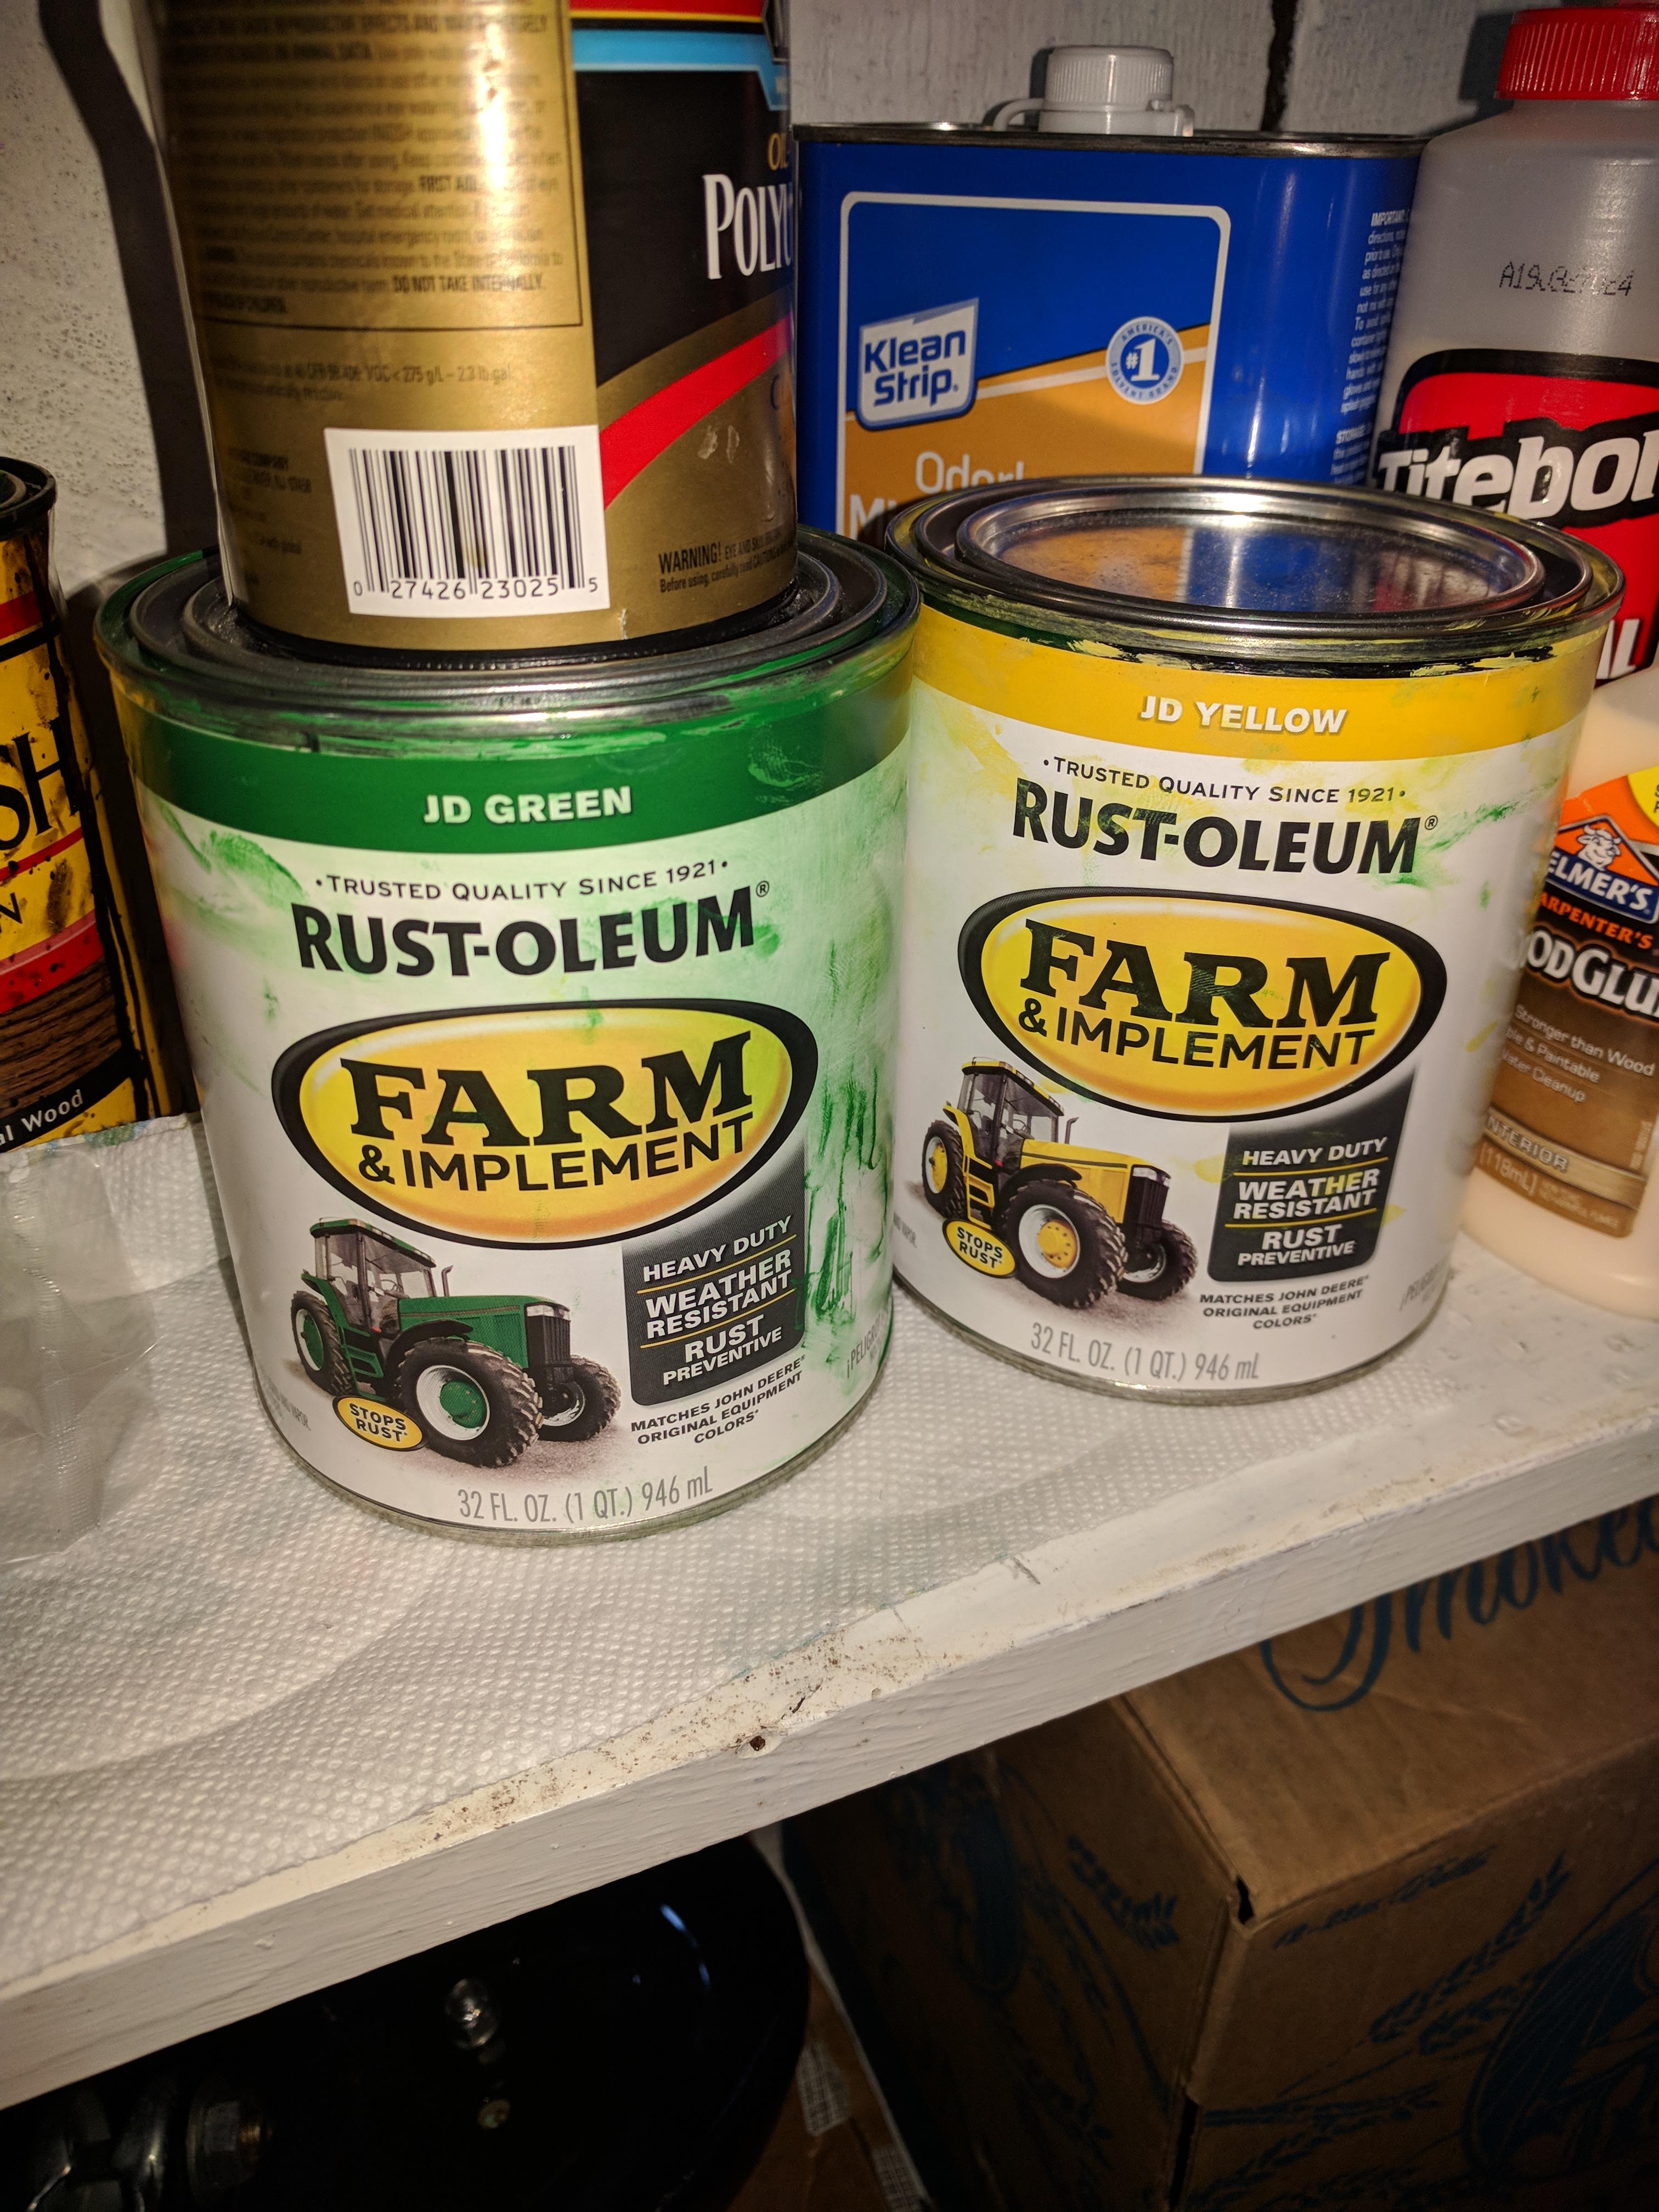
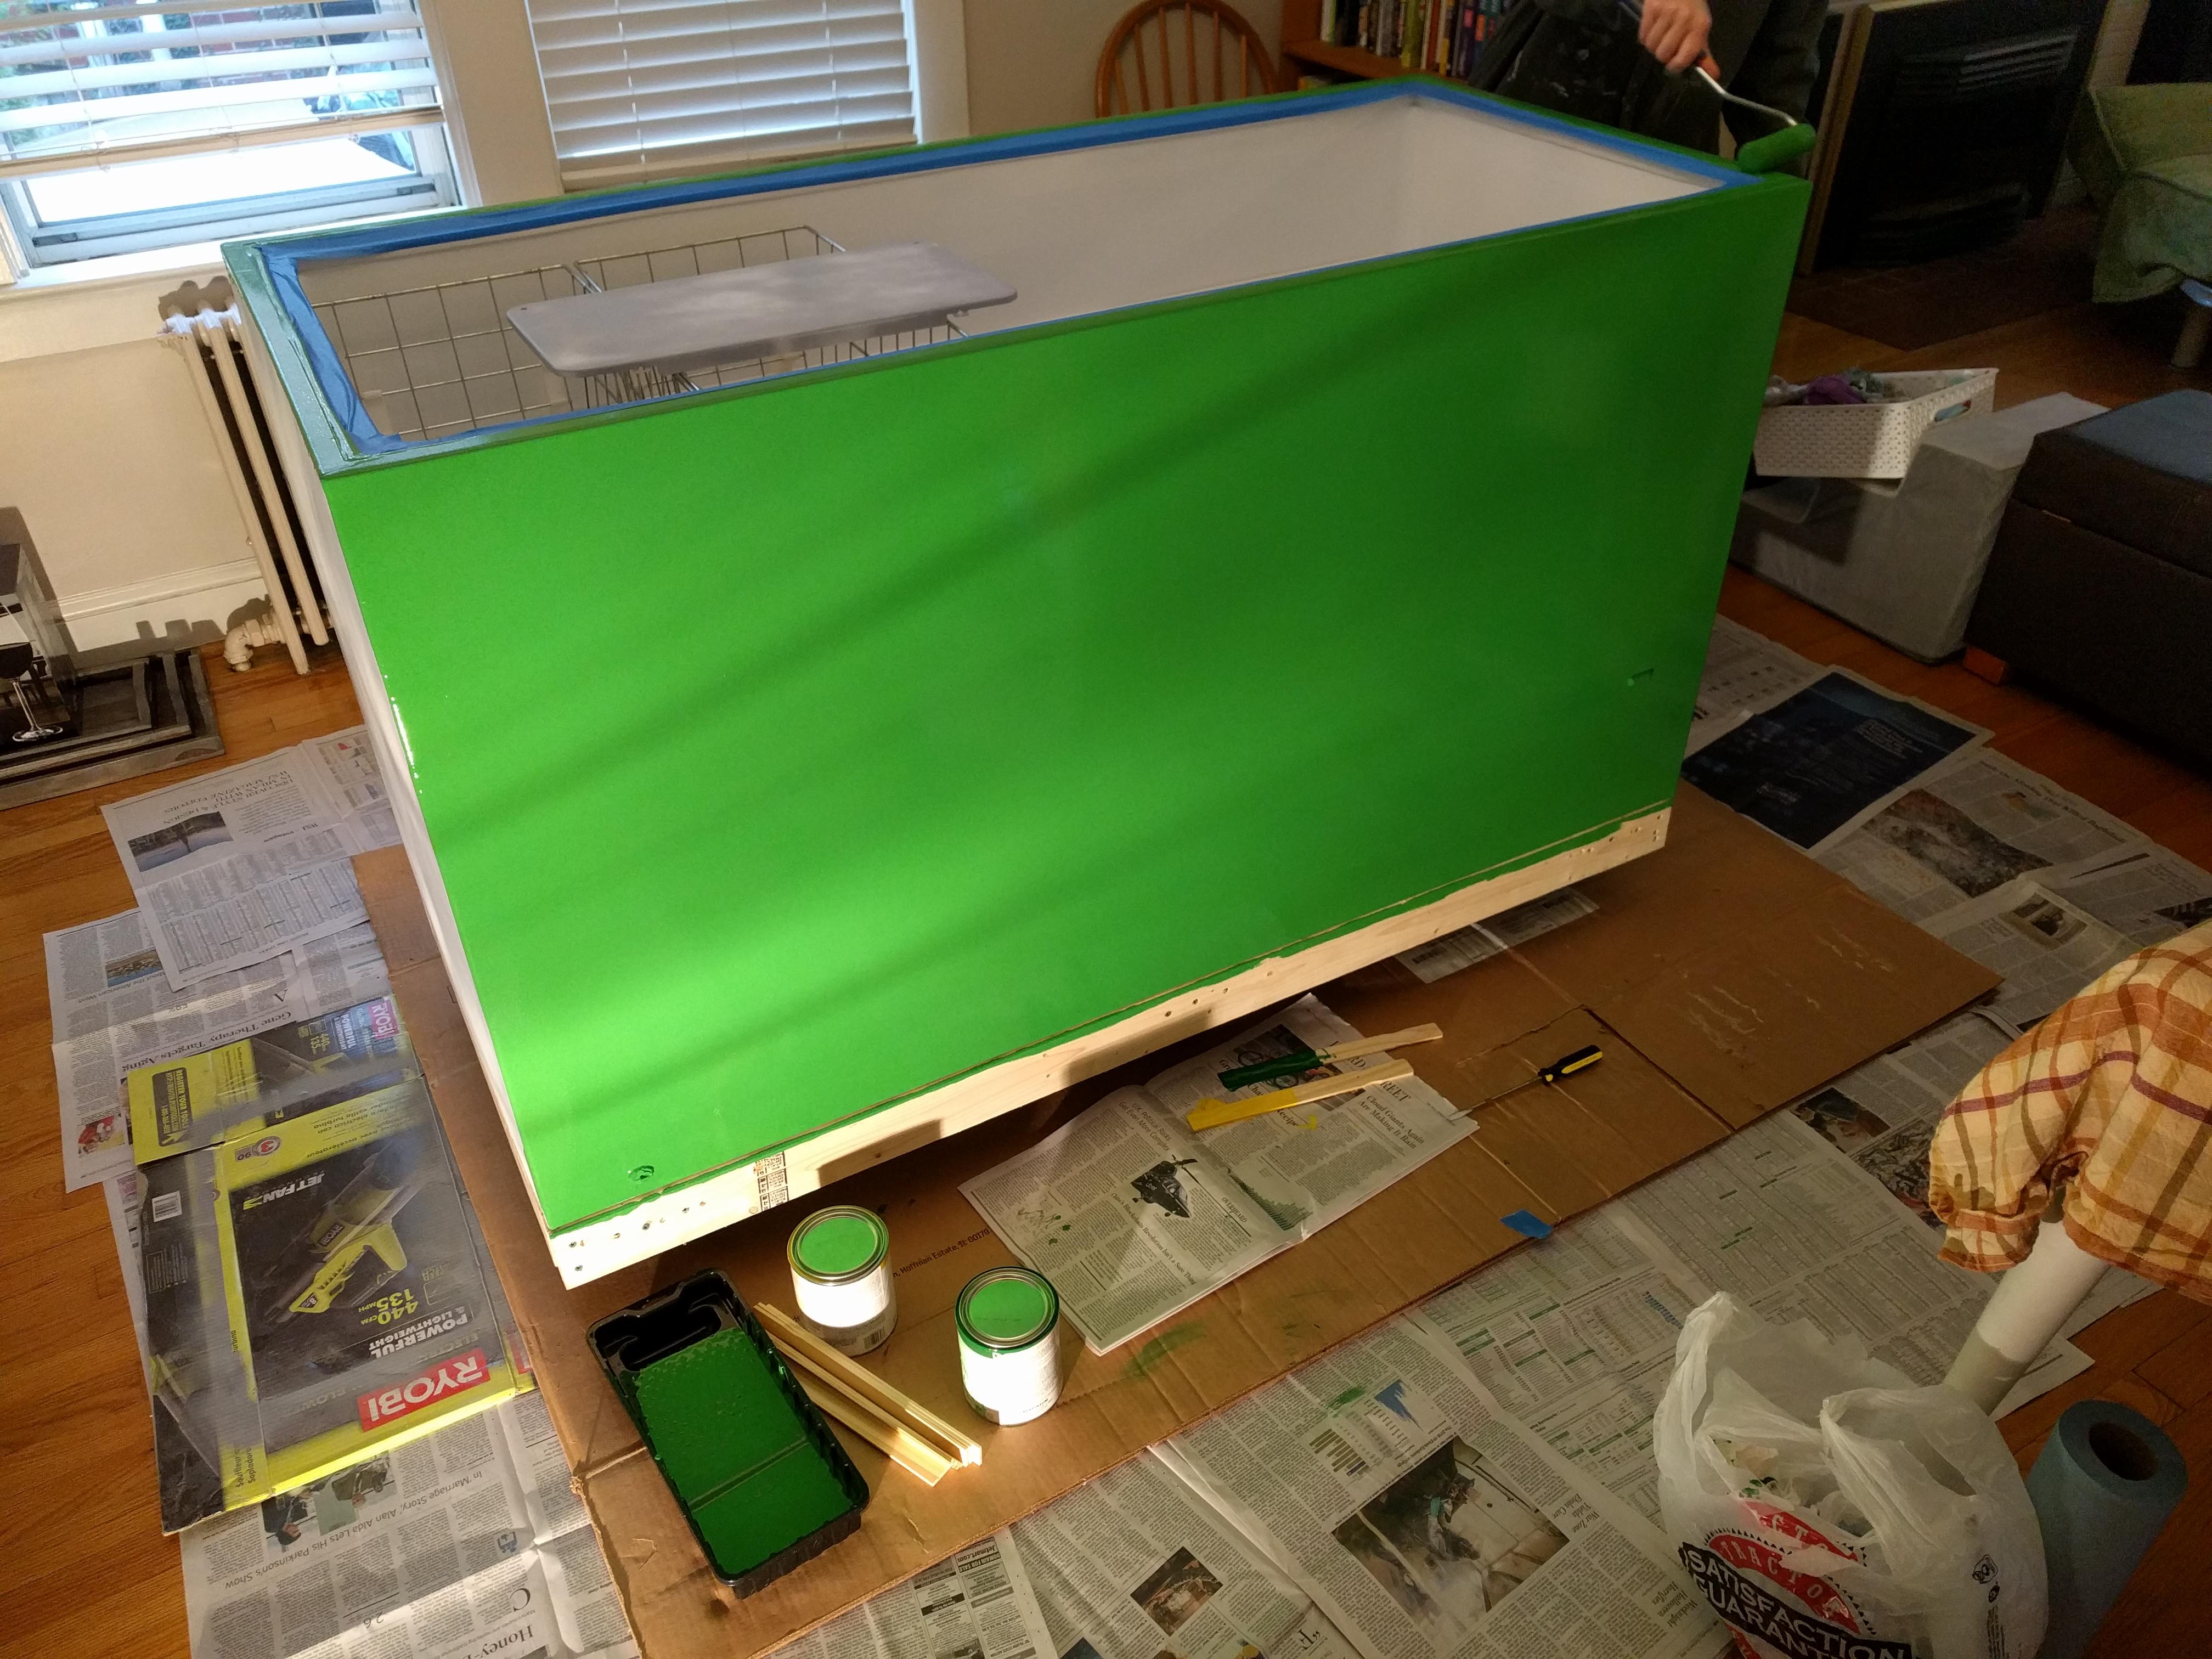
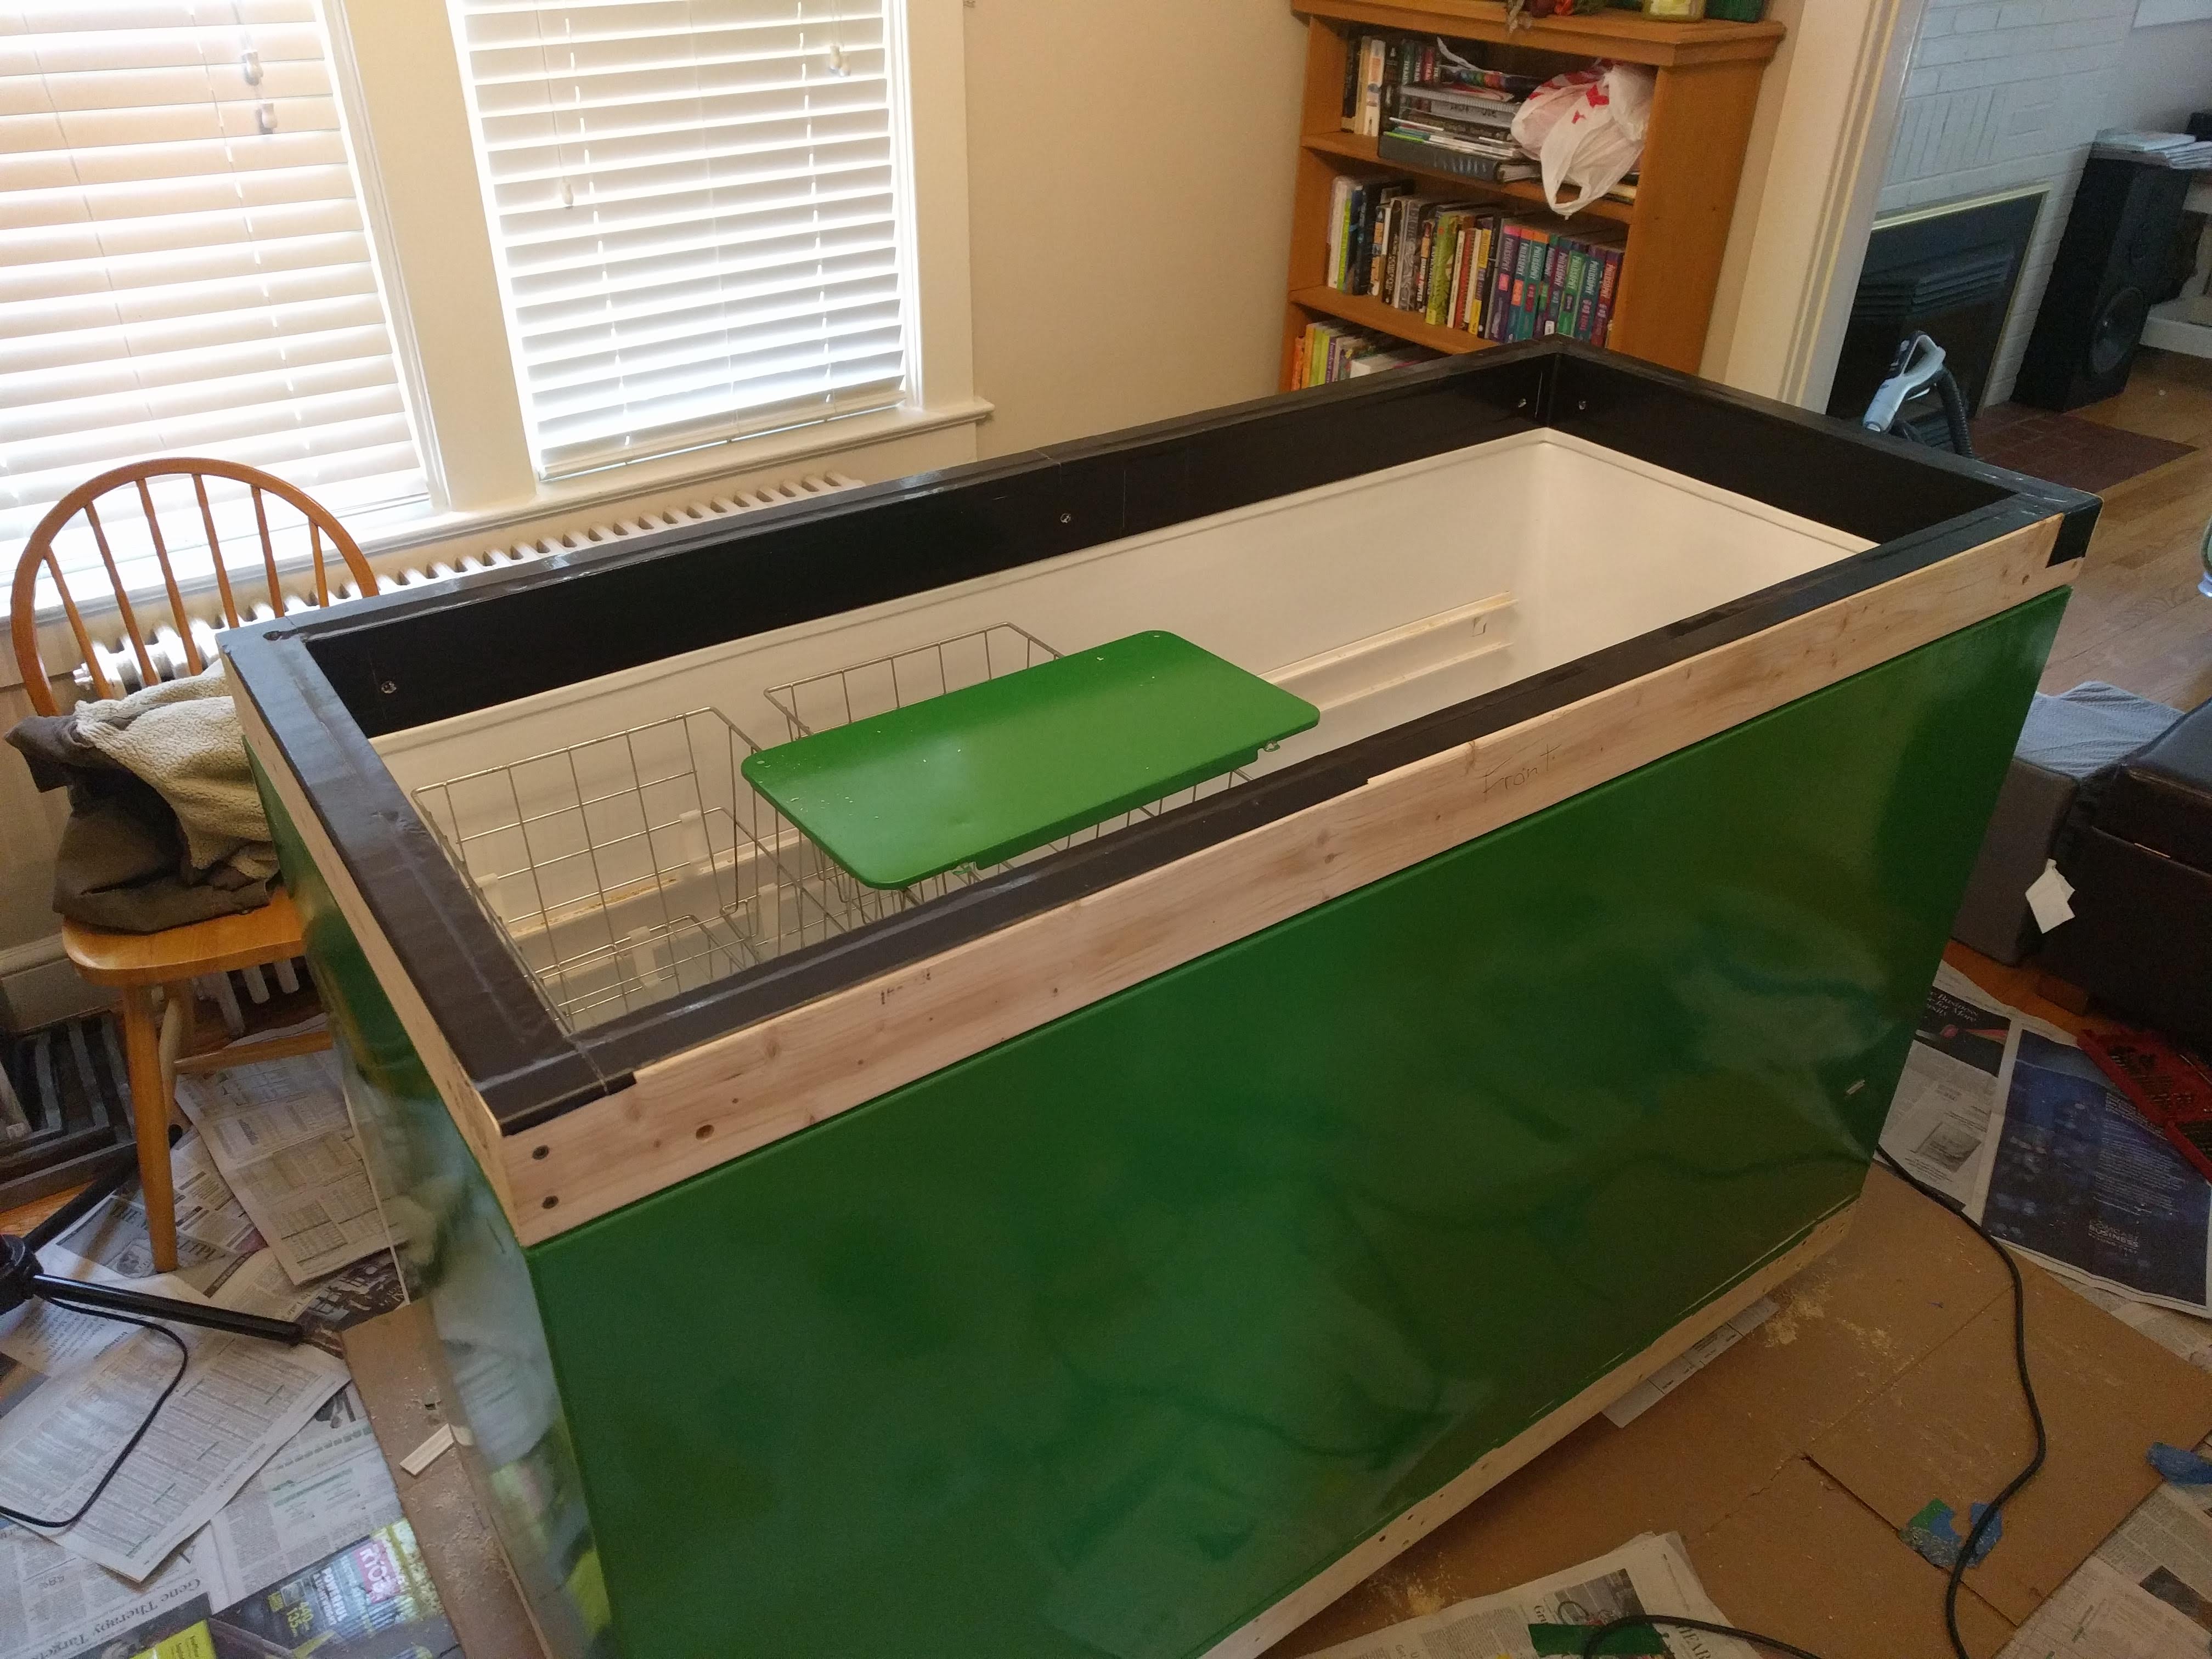
Our goal was the color green of the stove in the above picture. This is a hard color of green to find and I wasn’t ready to spend the money on custom mixed paint, although in retrospect I think I probably should have. I ended up deciding that a 2:1 mixture of Rustoleum JD Green and Yellow would be close enough.
The result wasn’t quite what we wanted but it’ll do. I was thinking eventually I would polish the paint, but you’re not supposed to polish enamel paint for a few weeks after applying. I’m not sure if I will or not.
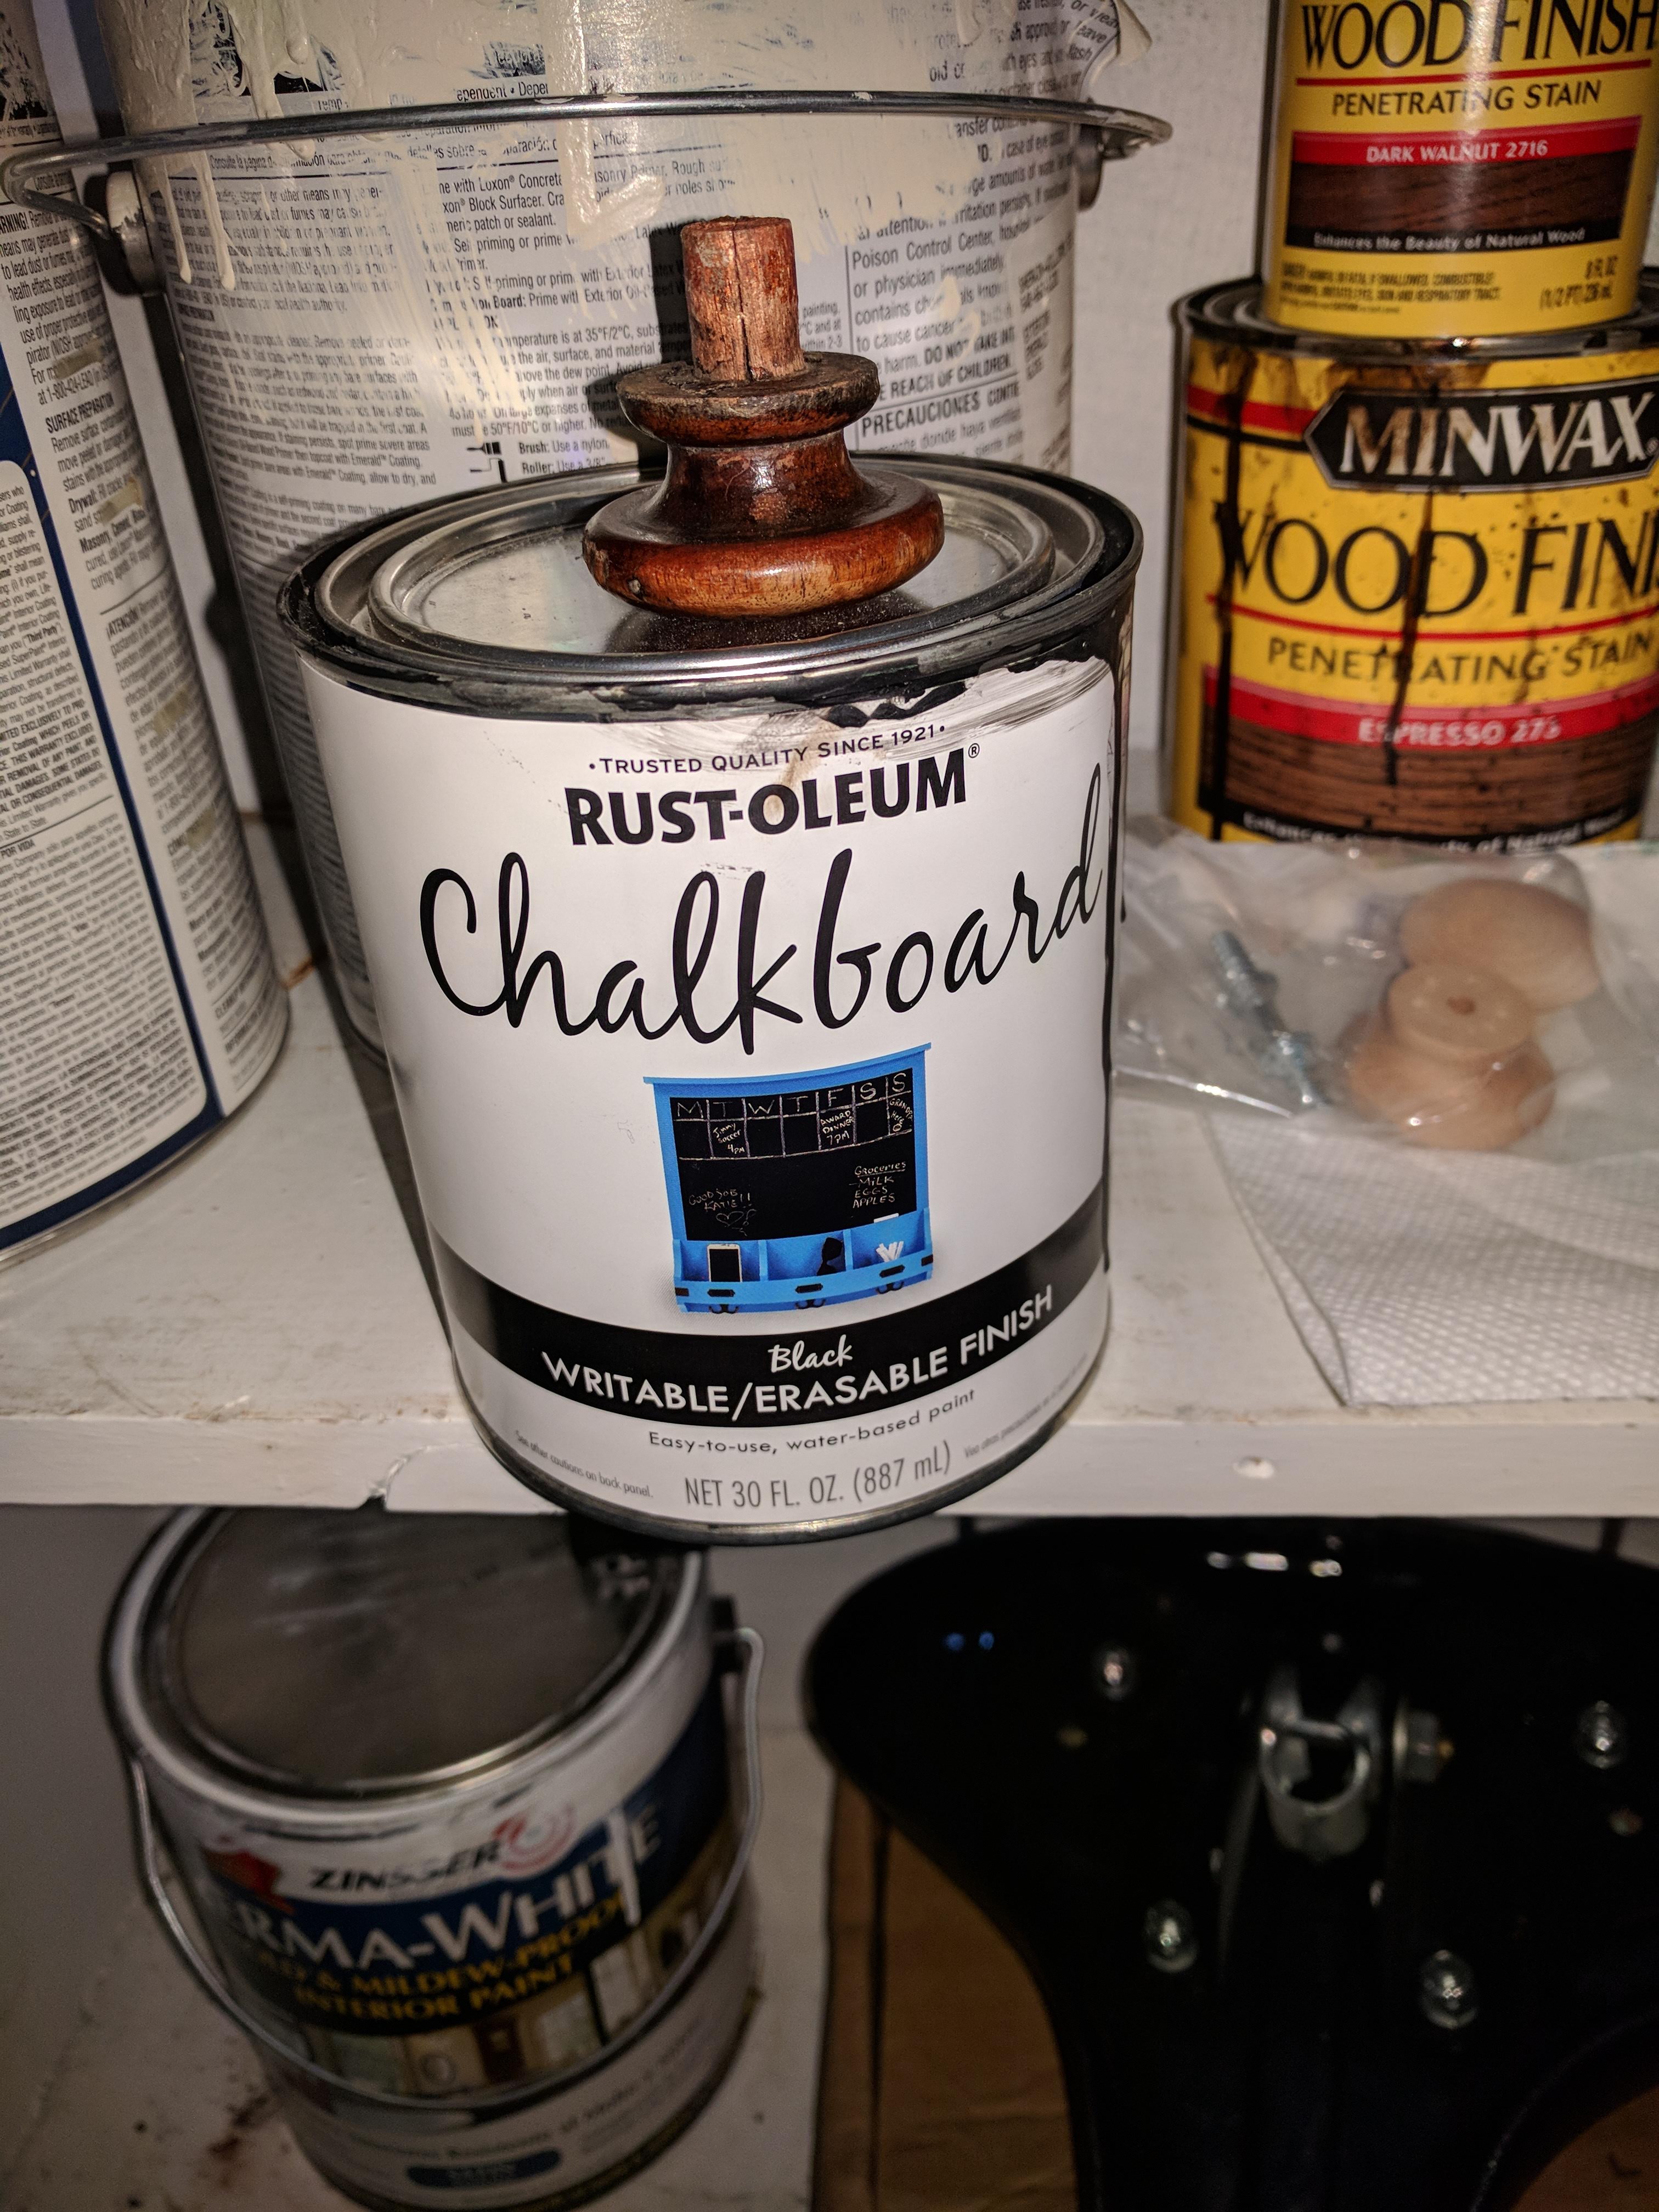
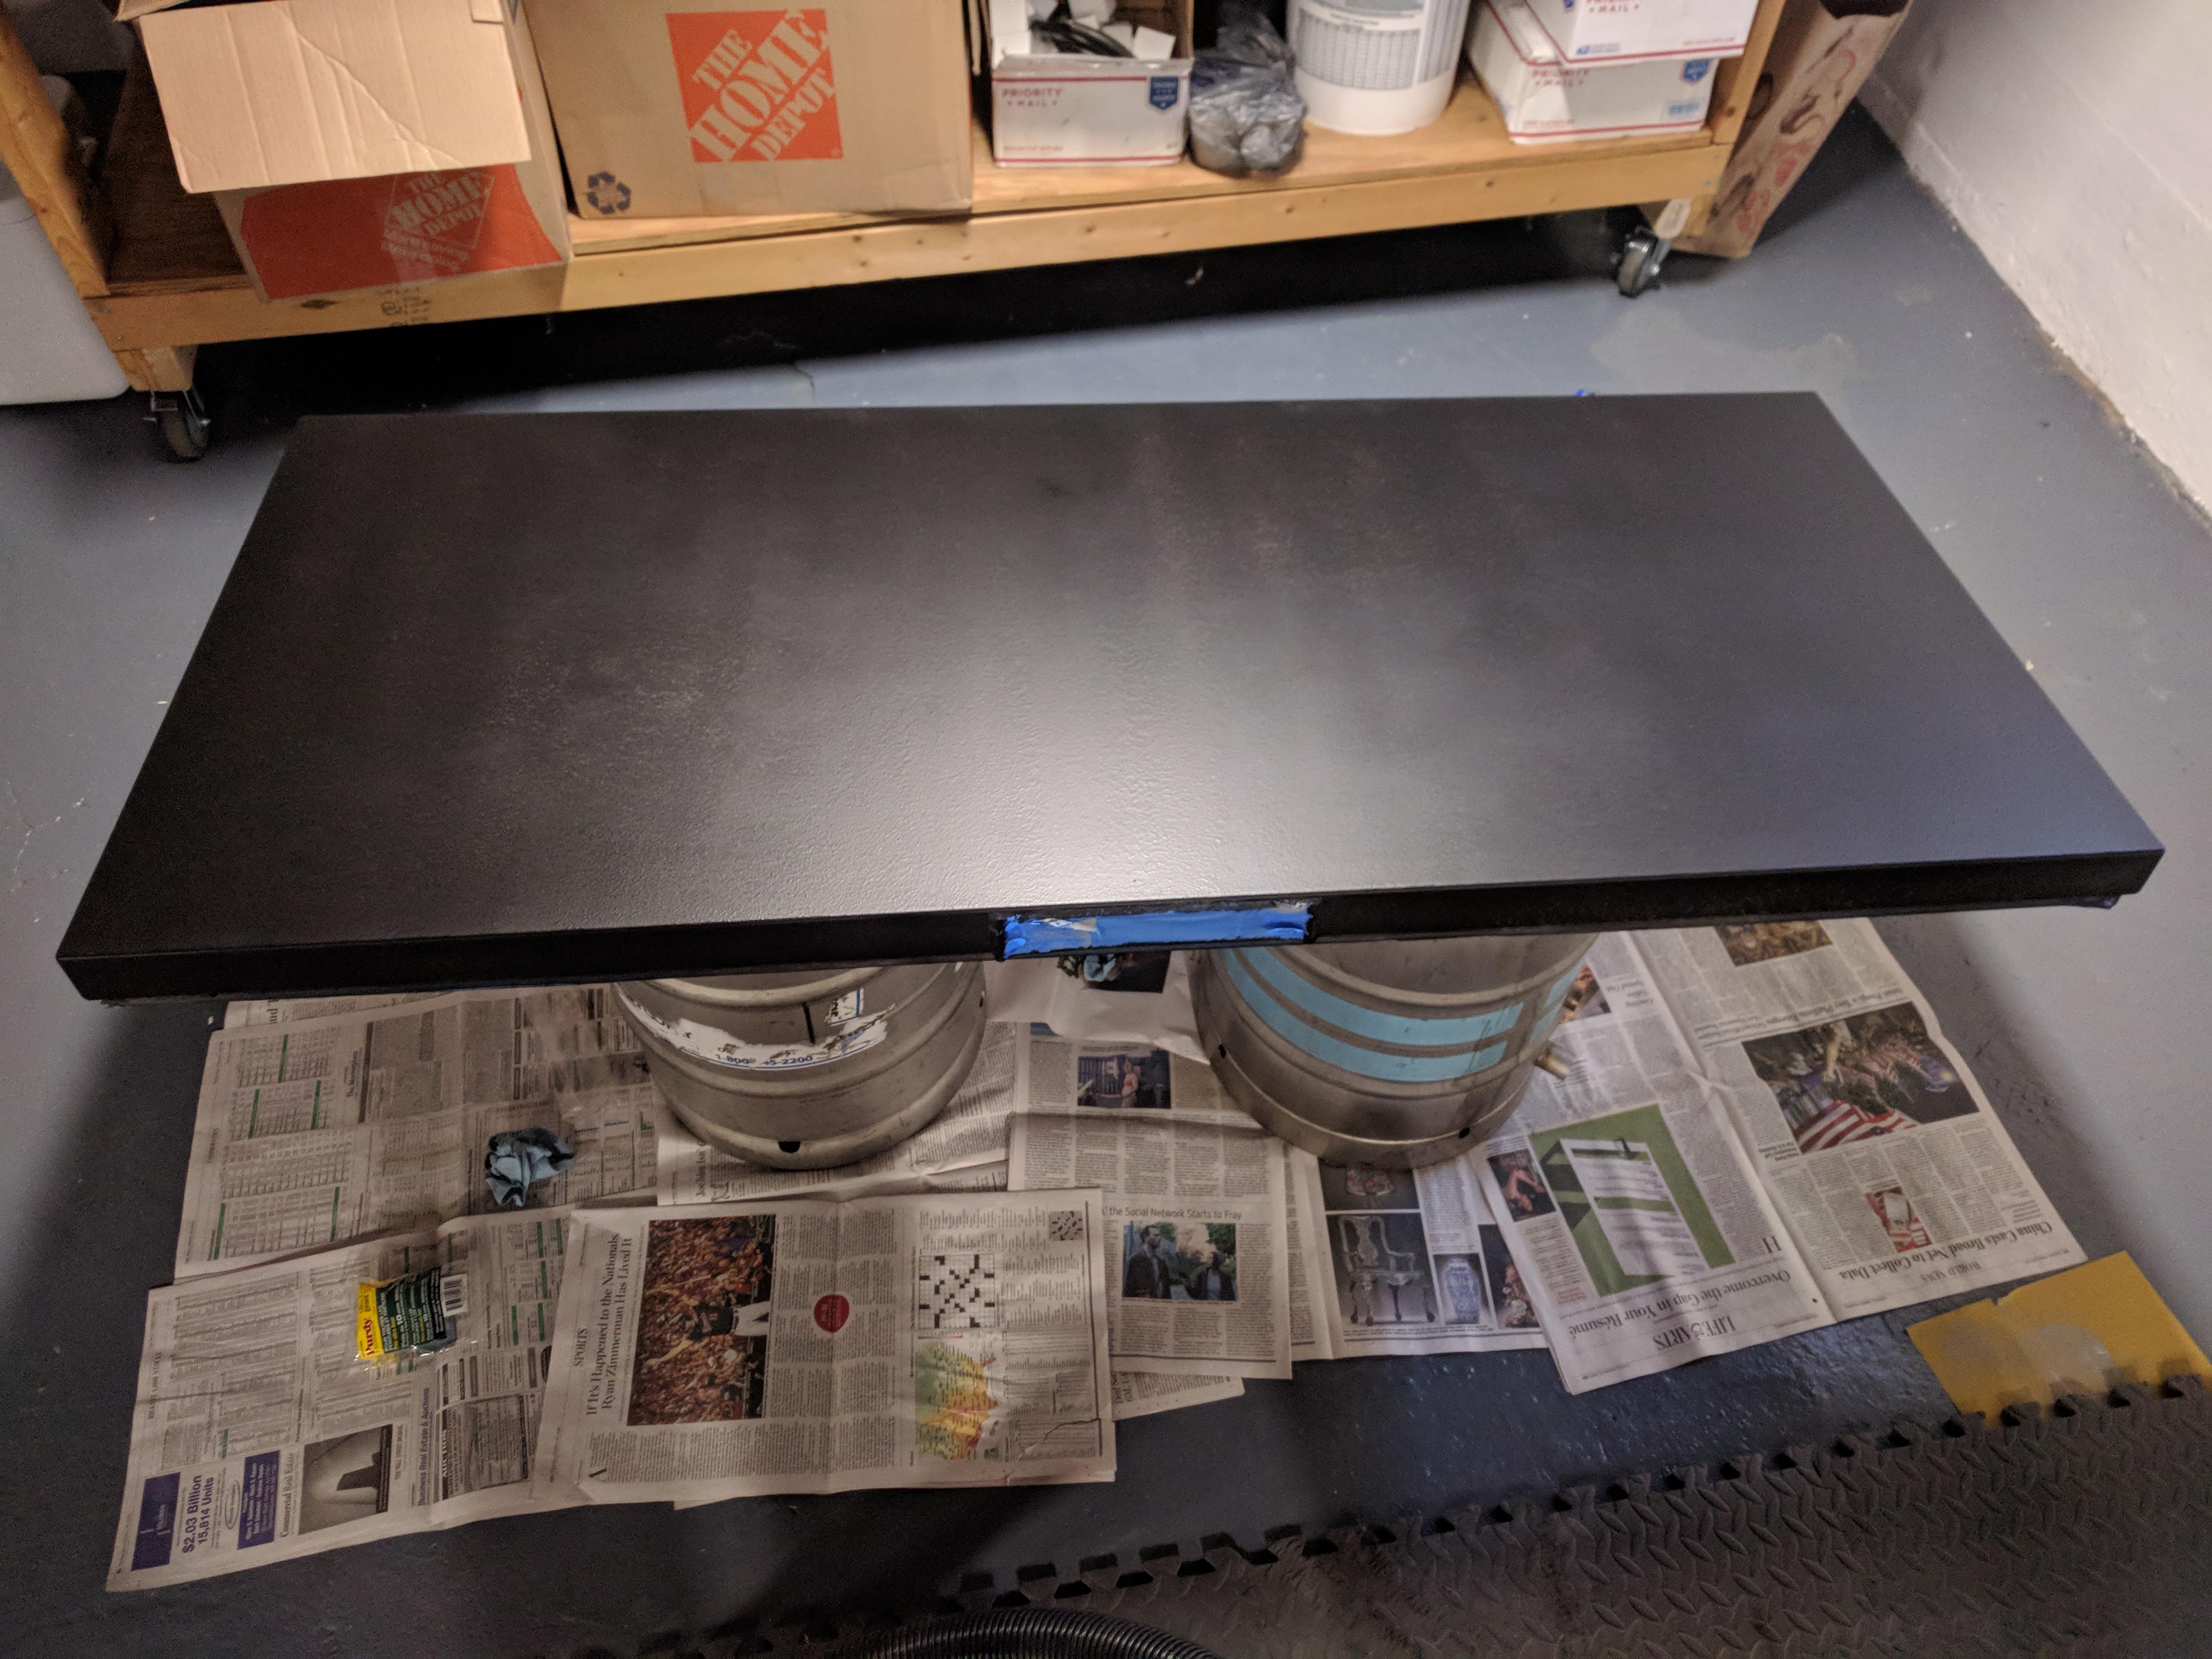
I used Rustoleum Chalkboard paint for the lid:
The Collar
The collar was built with a 2x4 and a piece of particle board. Since I wanted trim on both the outside and inside, I needed a board to fill the leftover space the 2x4 didn’t fill. A piece of 5/8” particle board ended up fitting perfectly. There was also a dip inside of where the lid sits that this helped to fill.
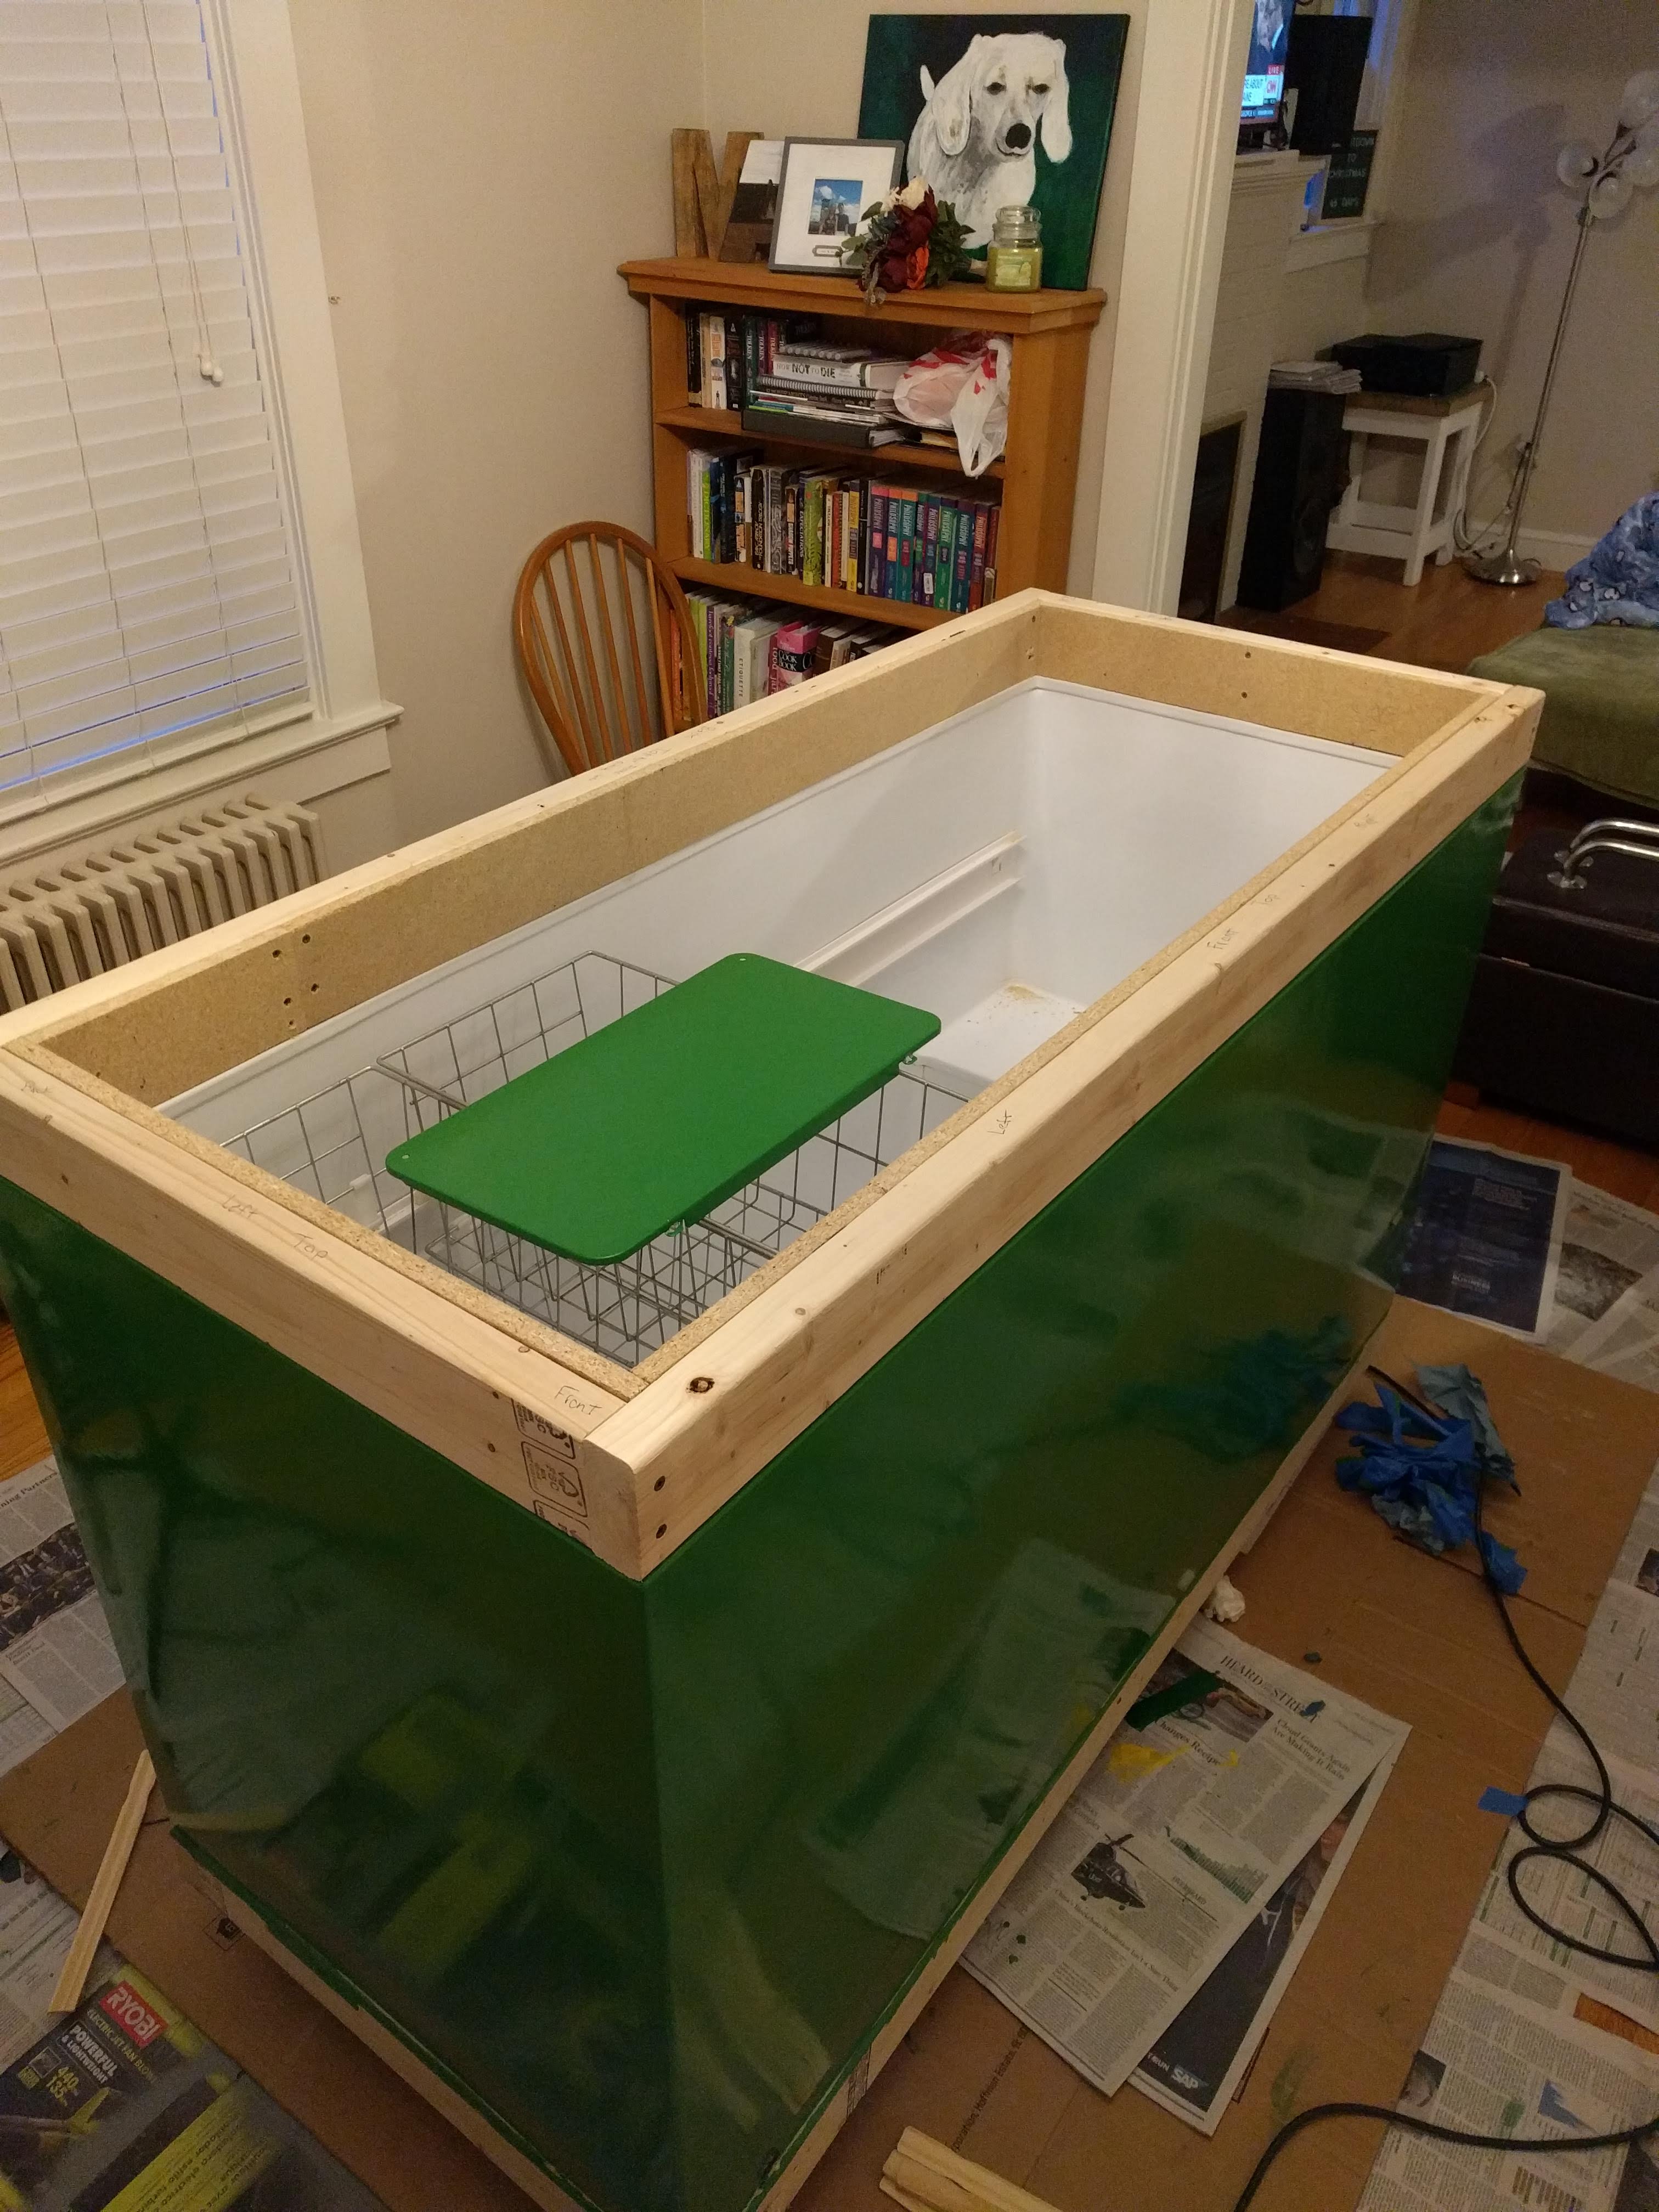
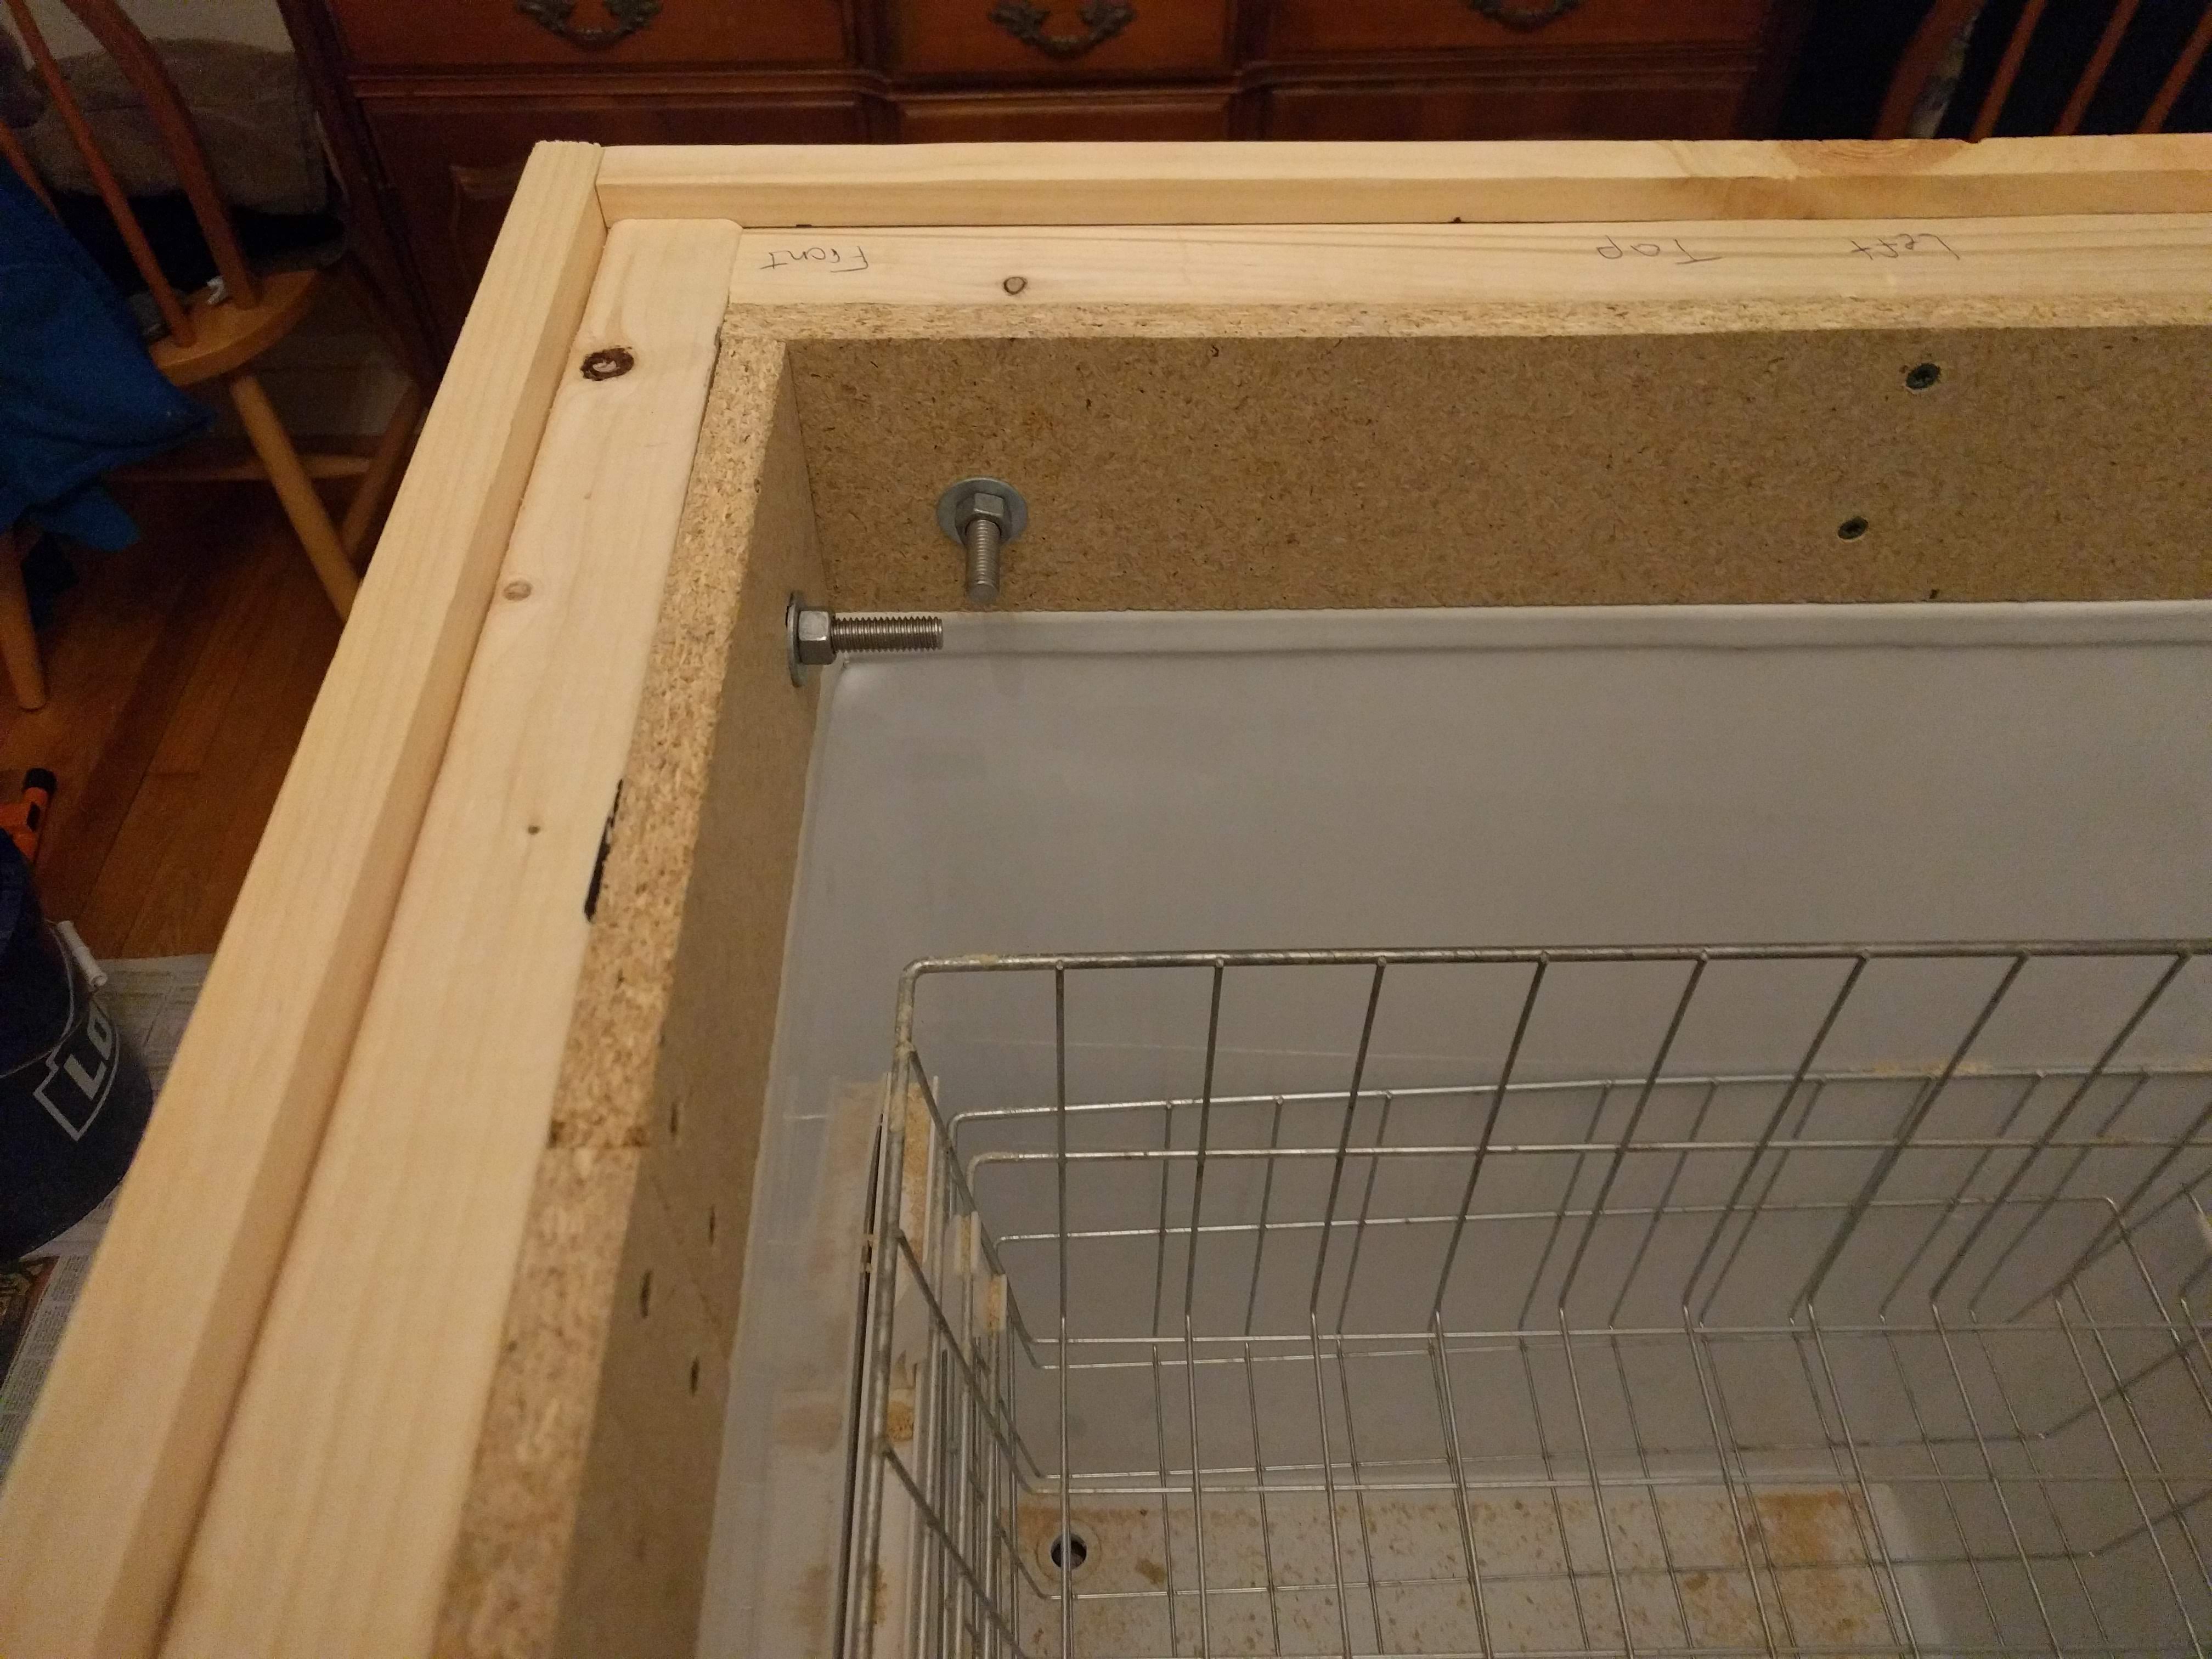
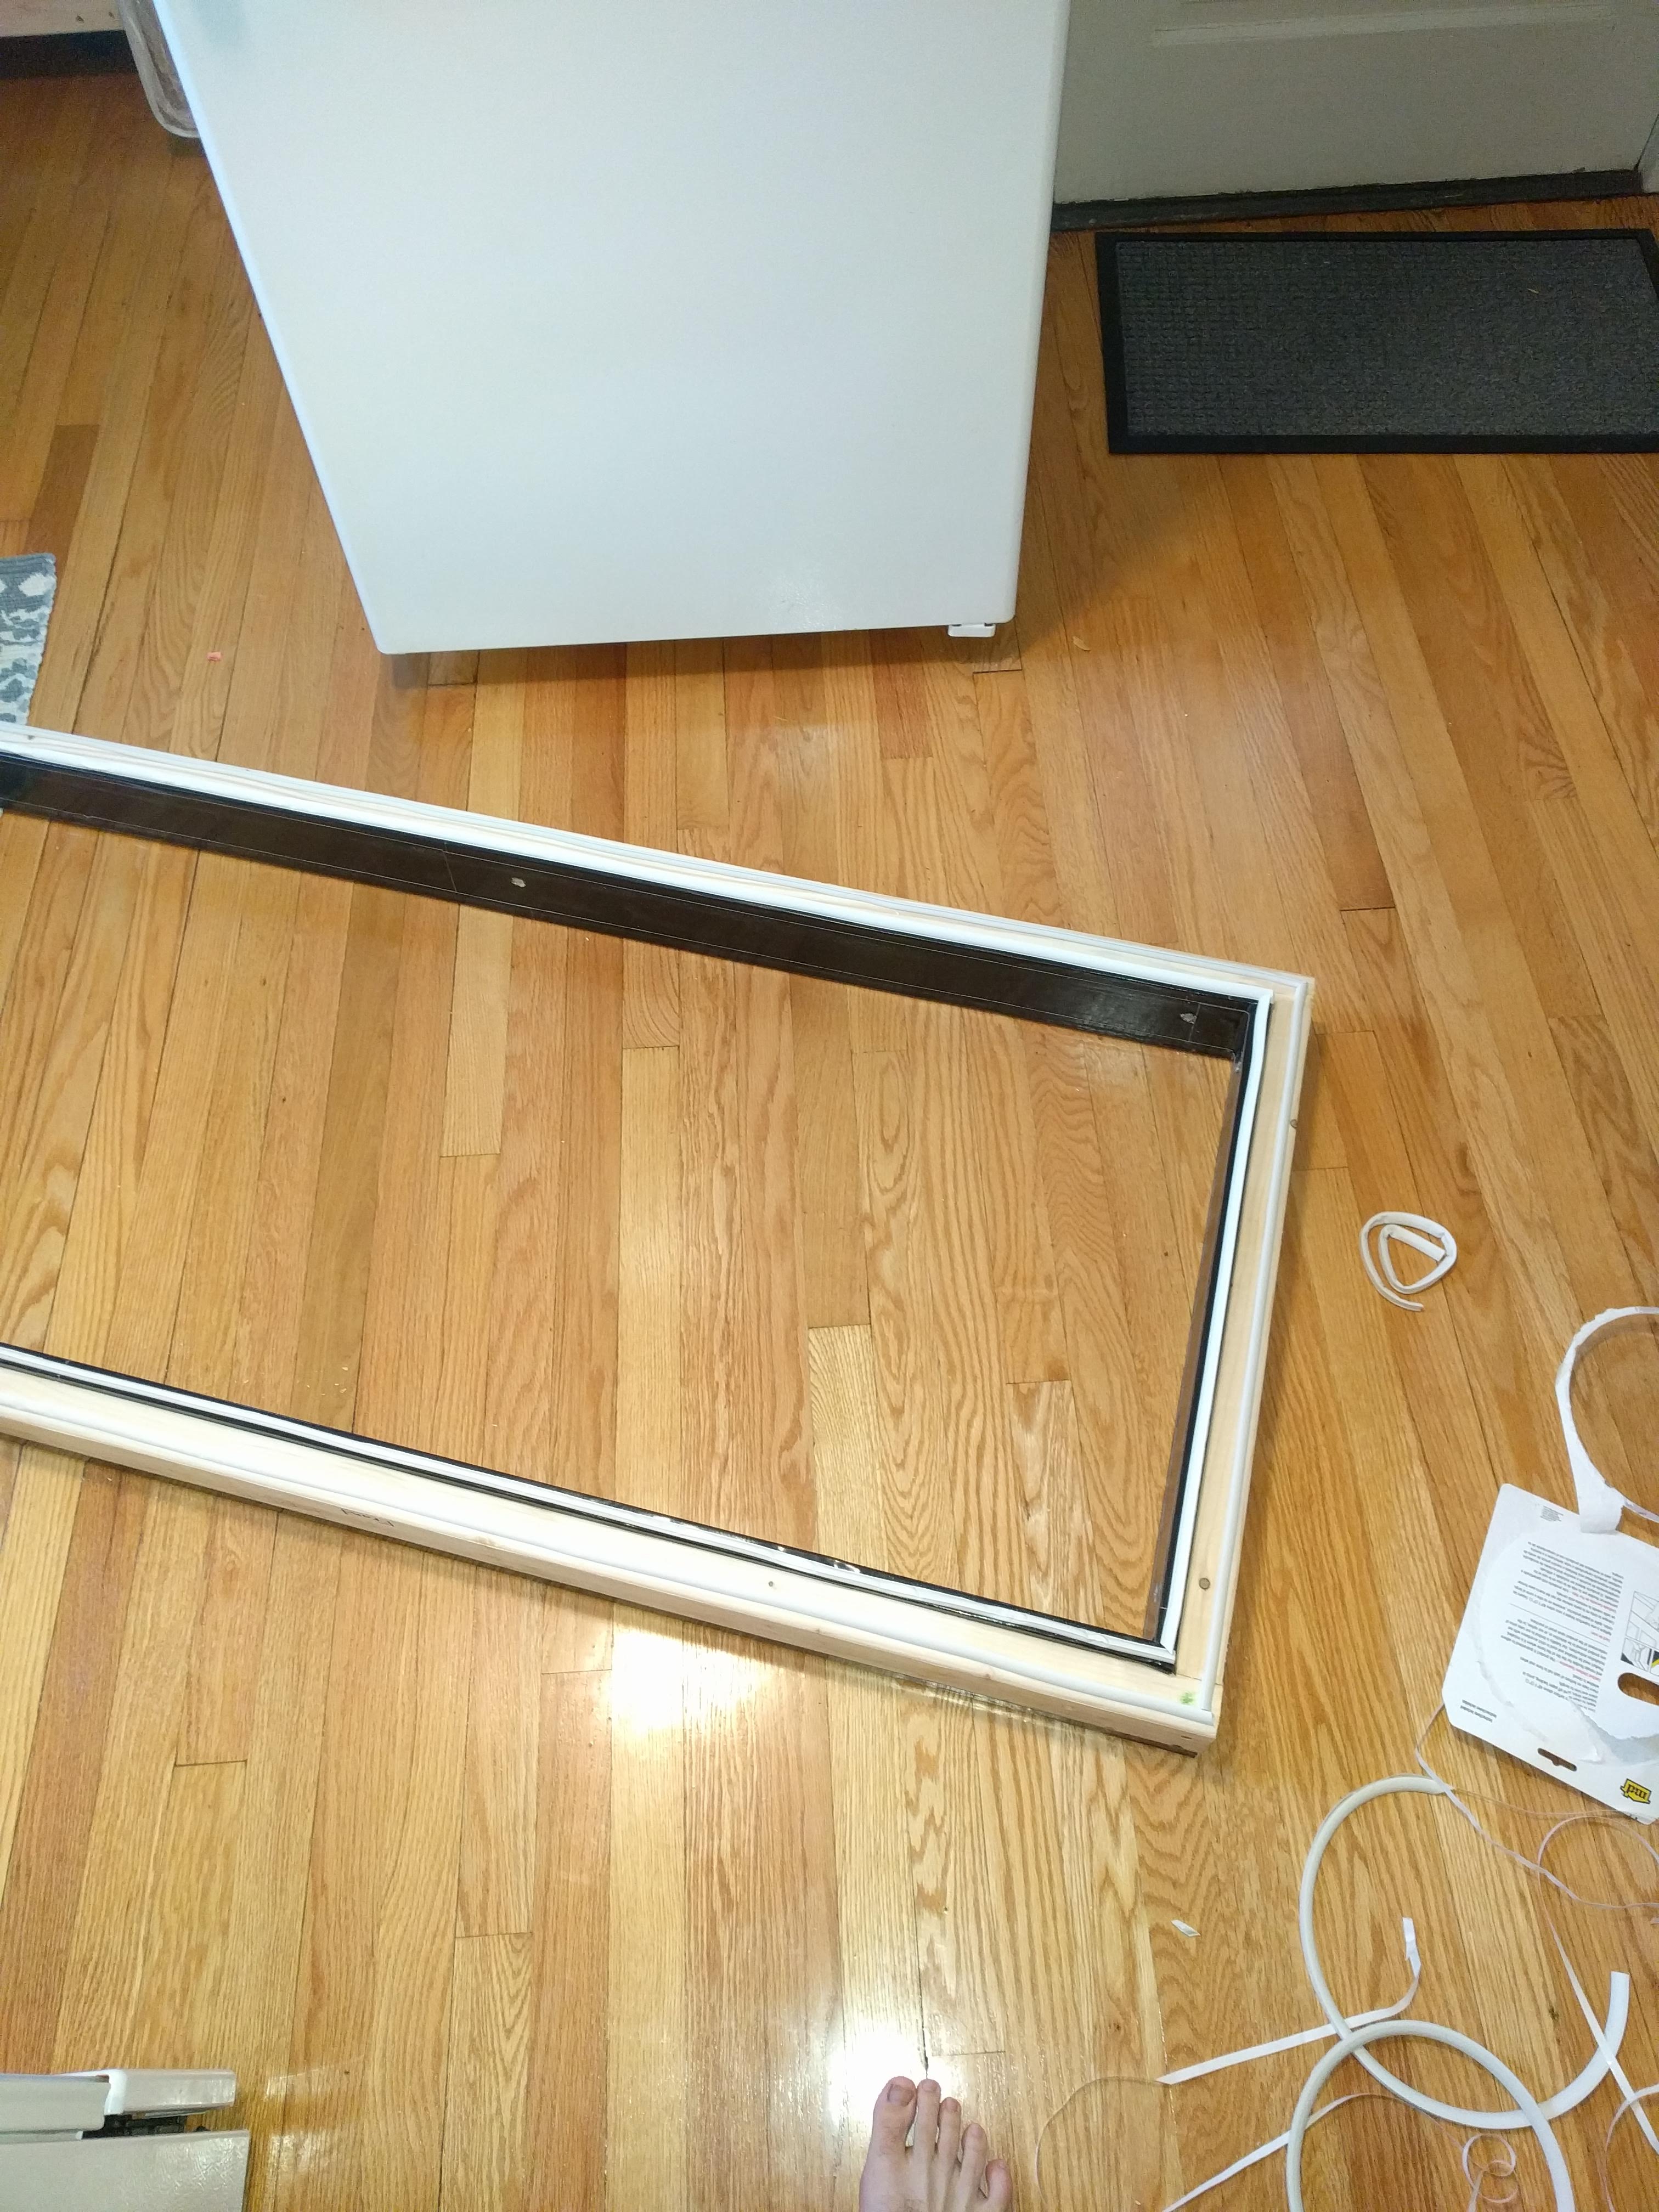
I was worried about how the particle board would stand up against moisture so I wrapped the whole thing in Gorilla tape. I also thought the Gorilla tape would help to form a seal with the rubber of the lid.
In order to get a good seal to the freezer and still be able to remove the collar easily, I used two strips of rubber weather stripping that go around the bottom of the collar.
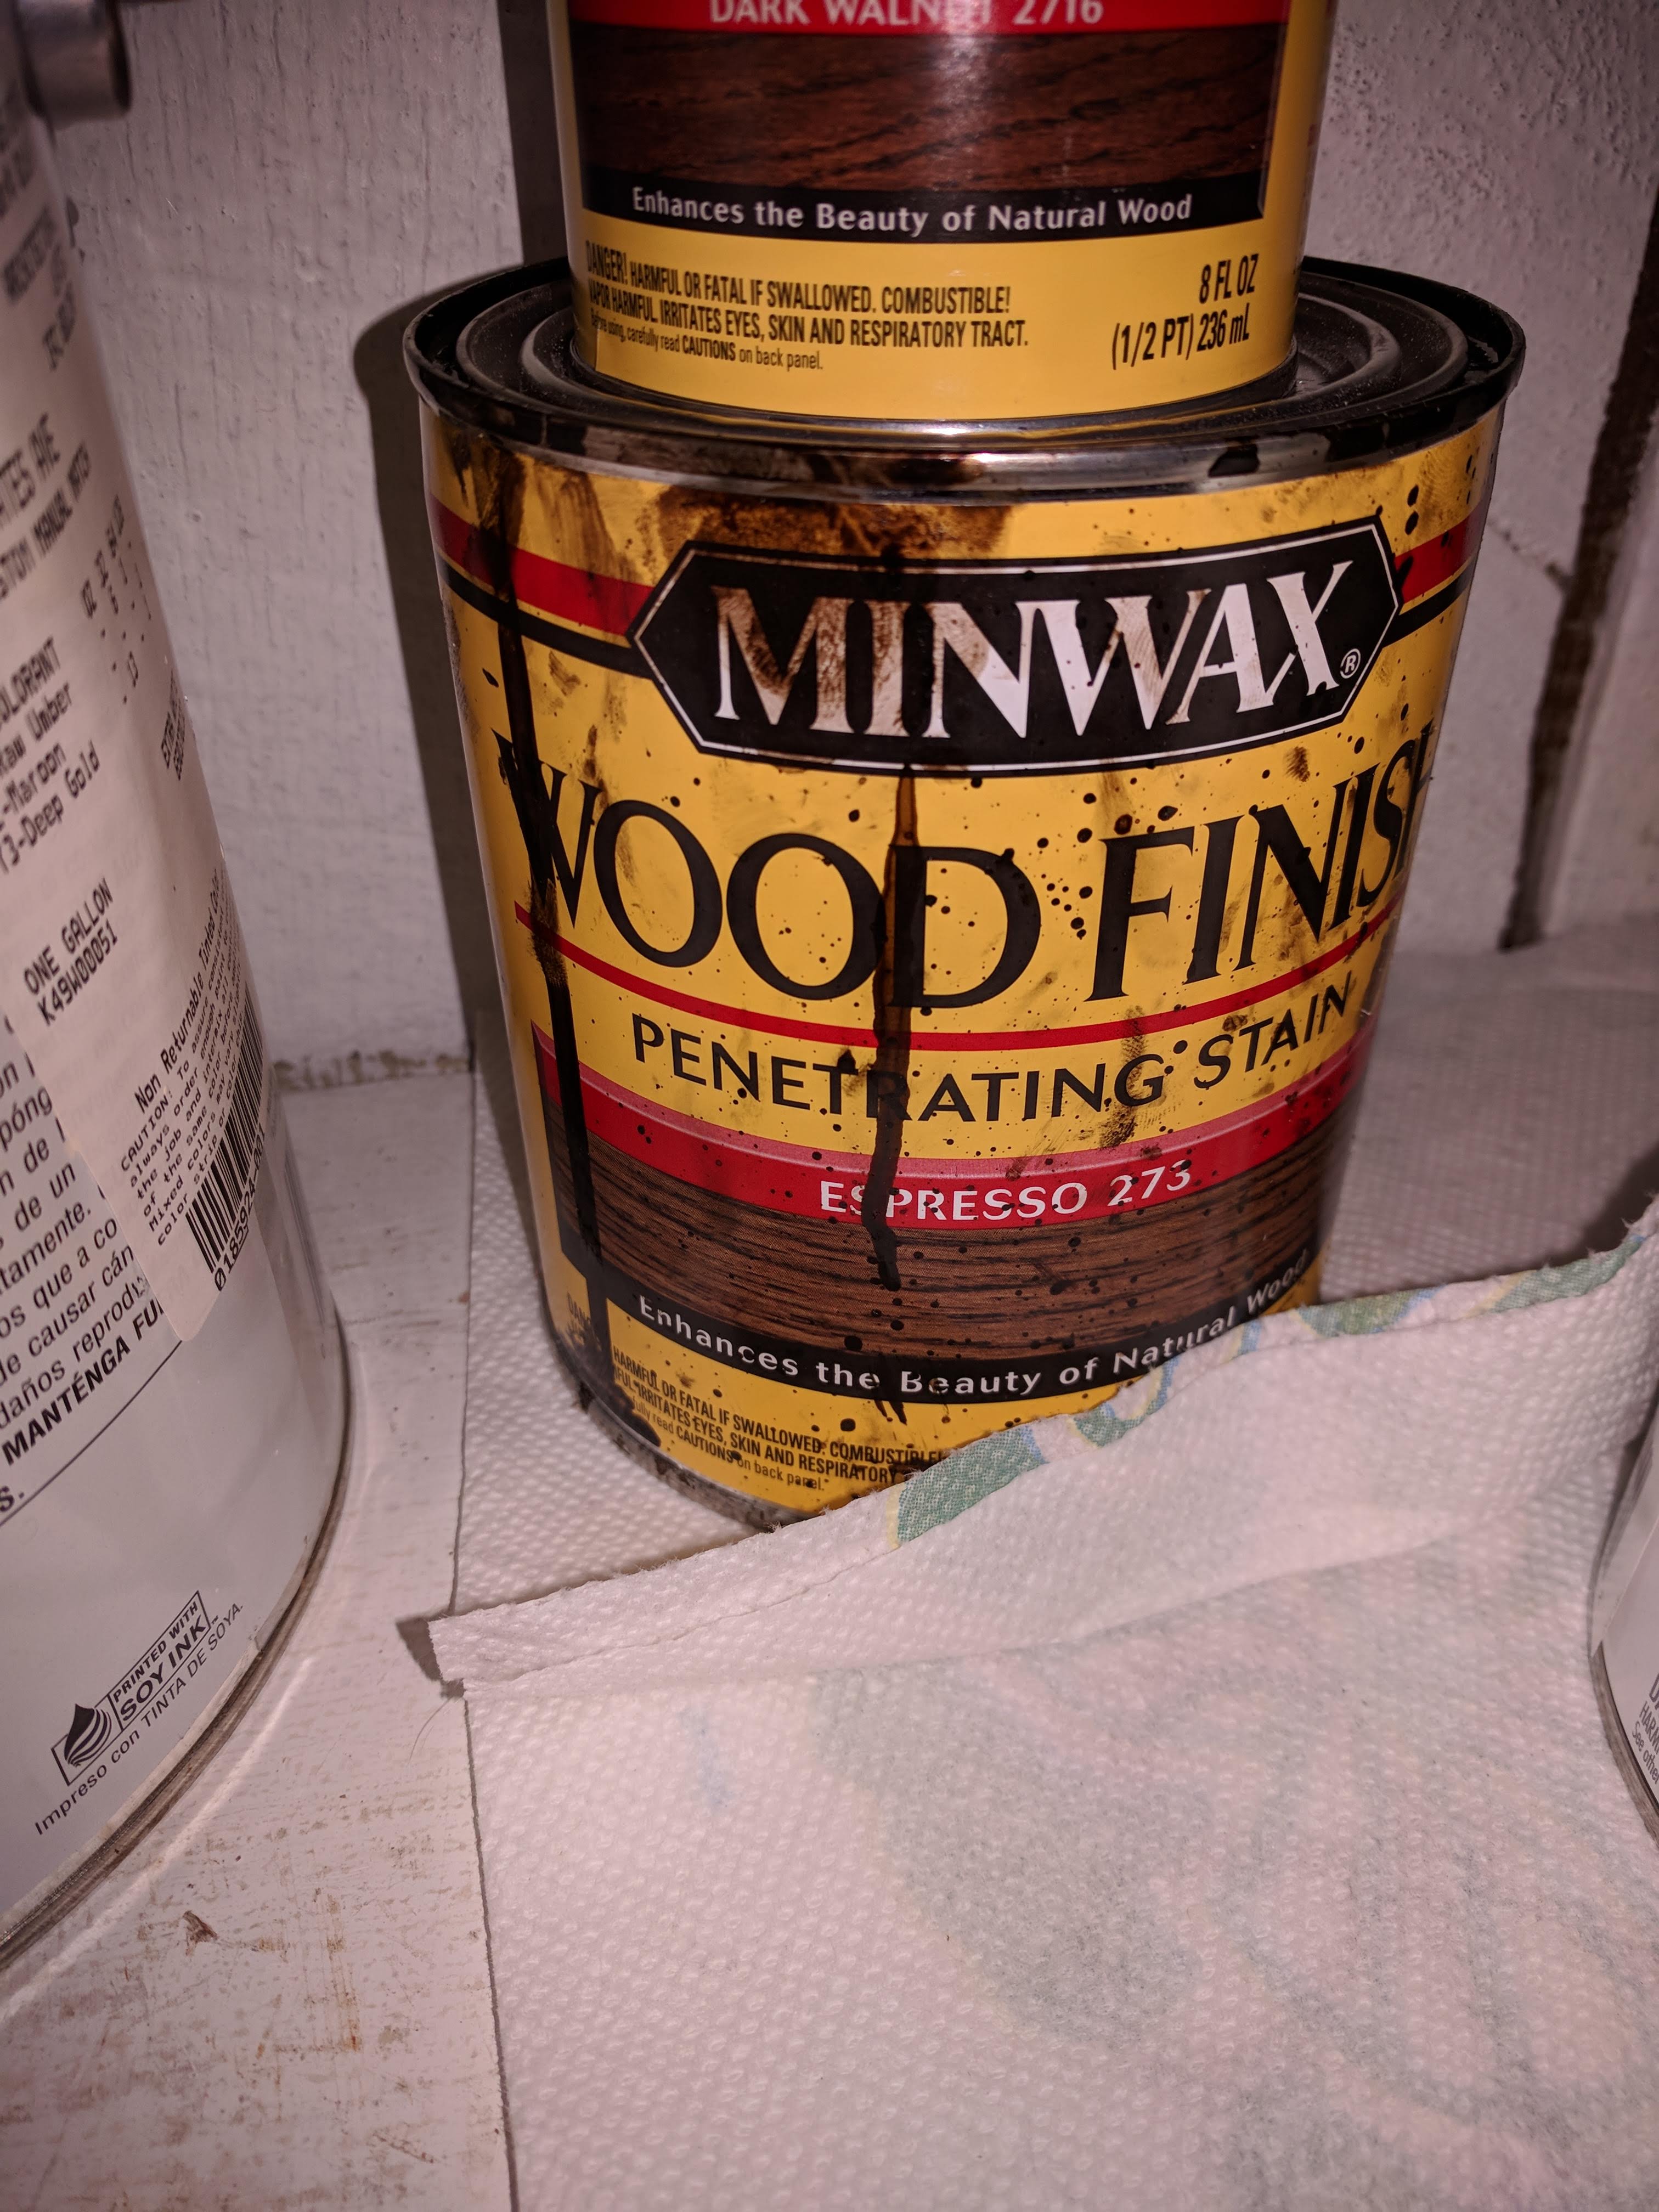
I used 1x6 pine boards and Minwax Espresso stain for the trim pieces.
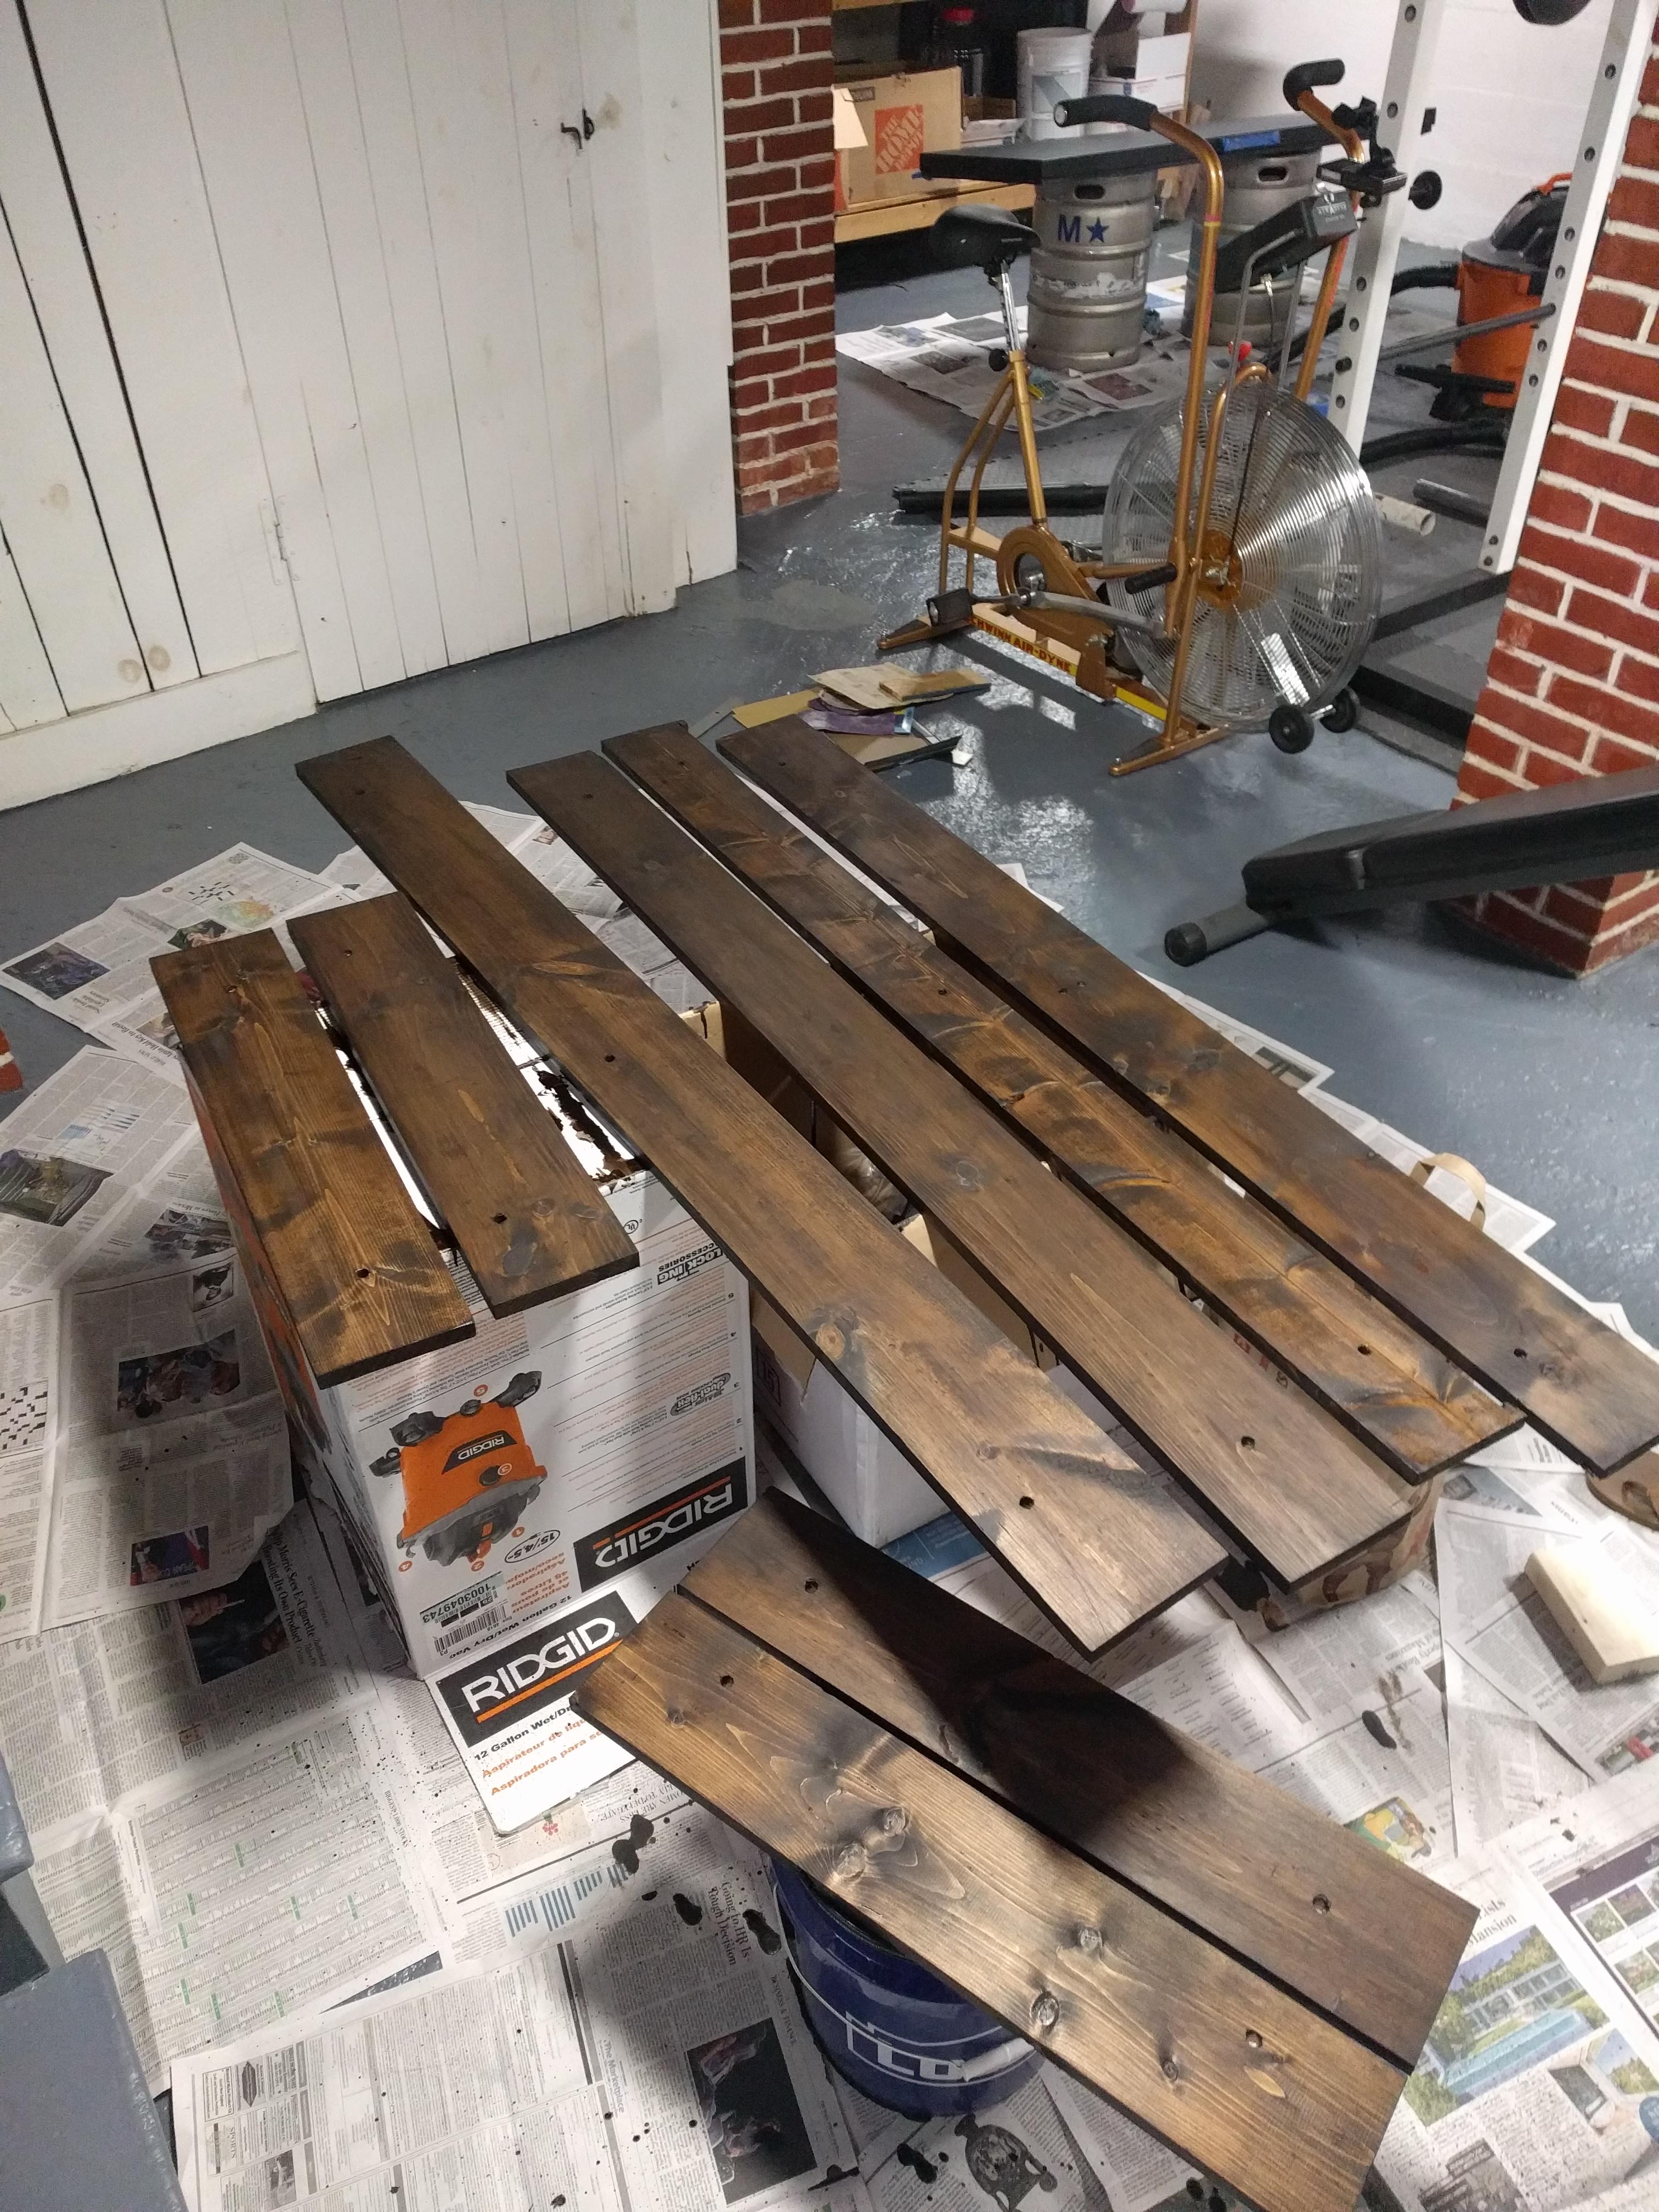
I really hate using polyurethane because I think it makes the wood look plastic, but against my better judgment I finished the trim pieces with a coat of polyurethane and attached to the collar using 3/8” stainless steel carriage bolts.
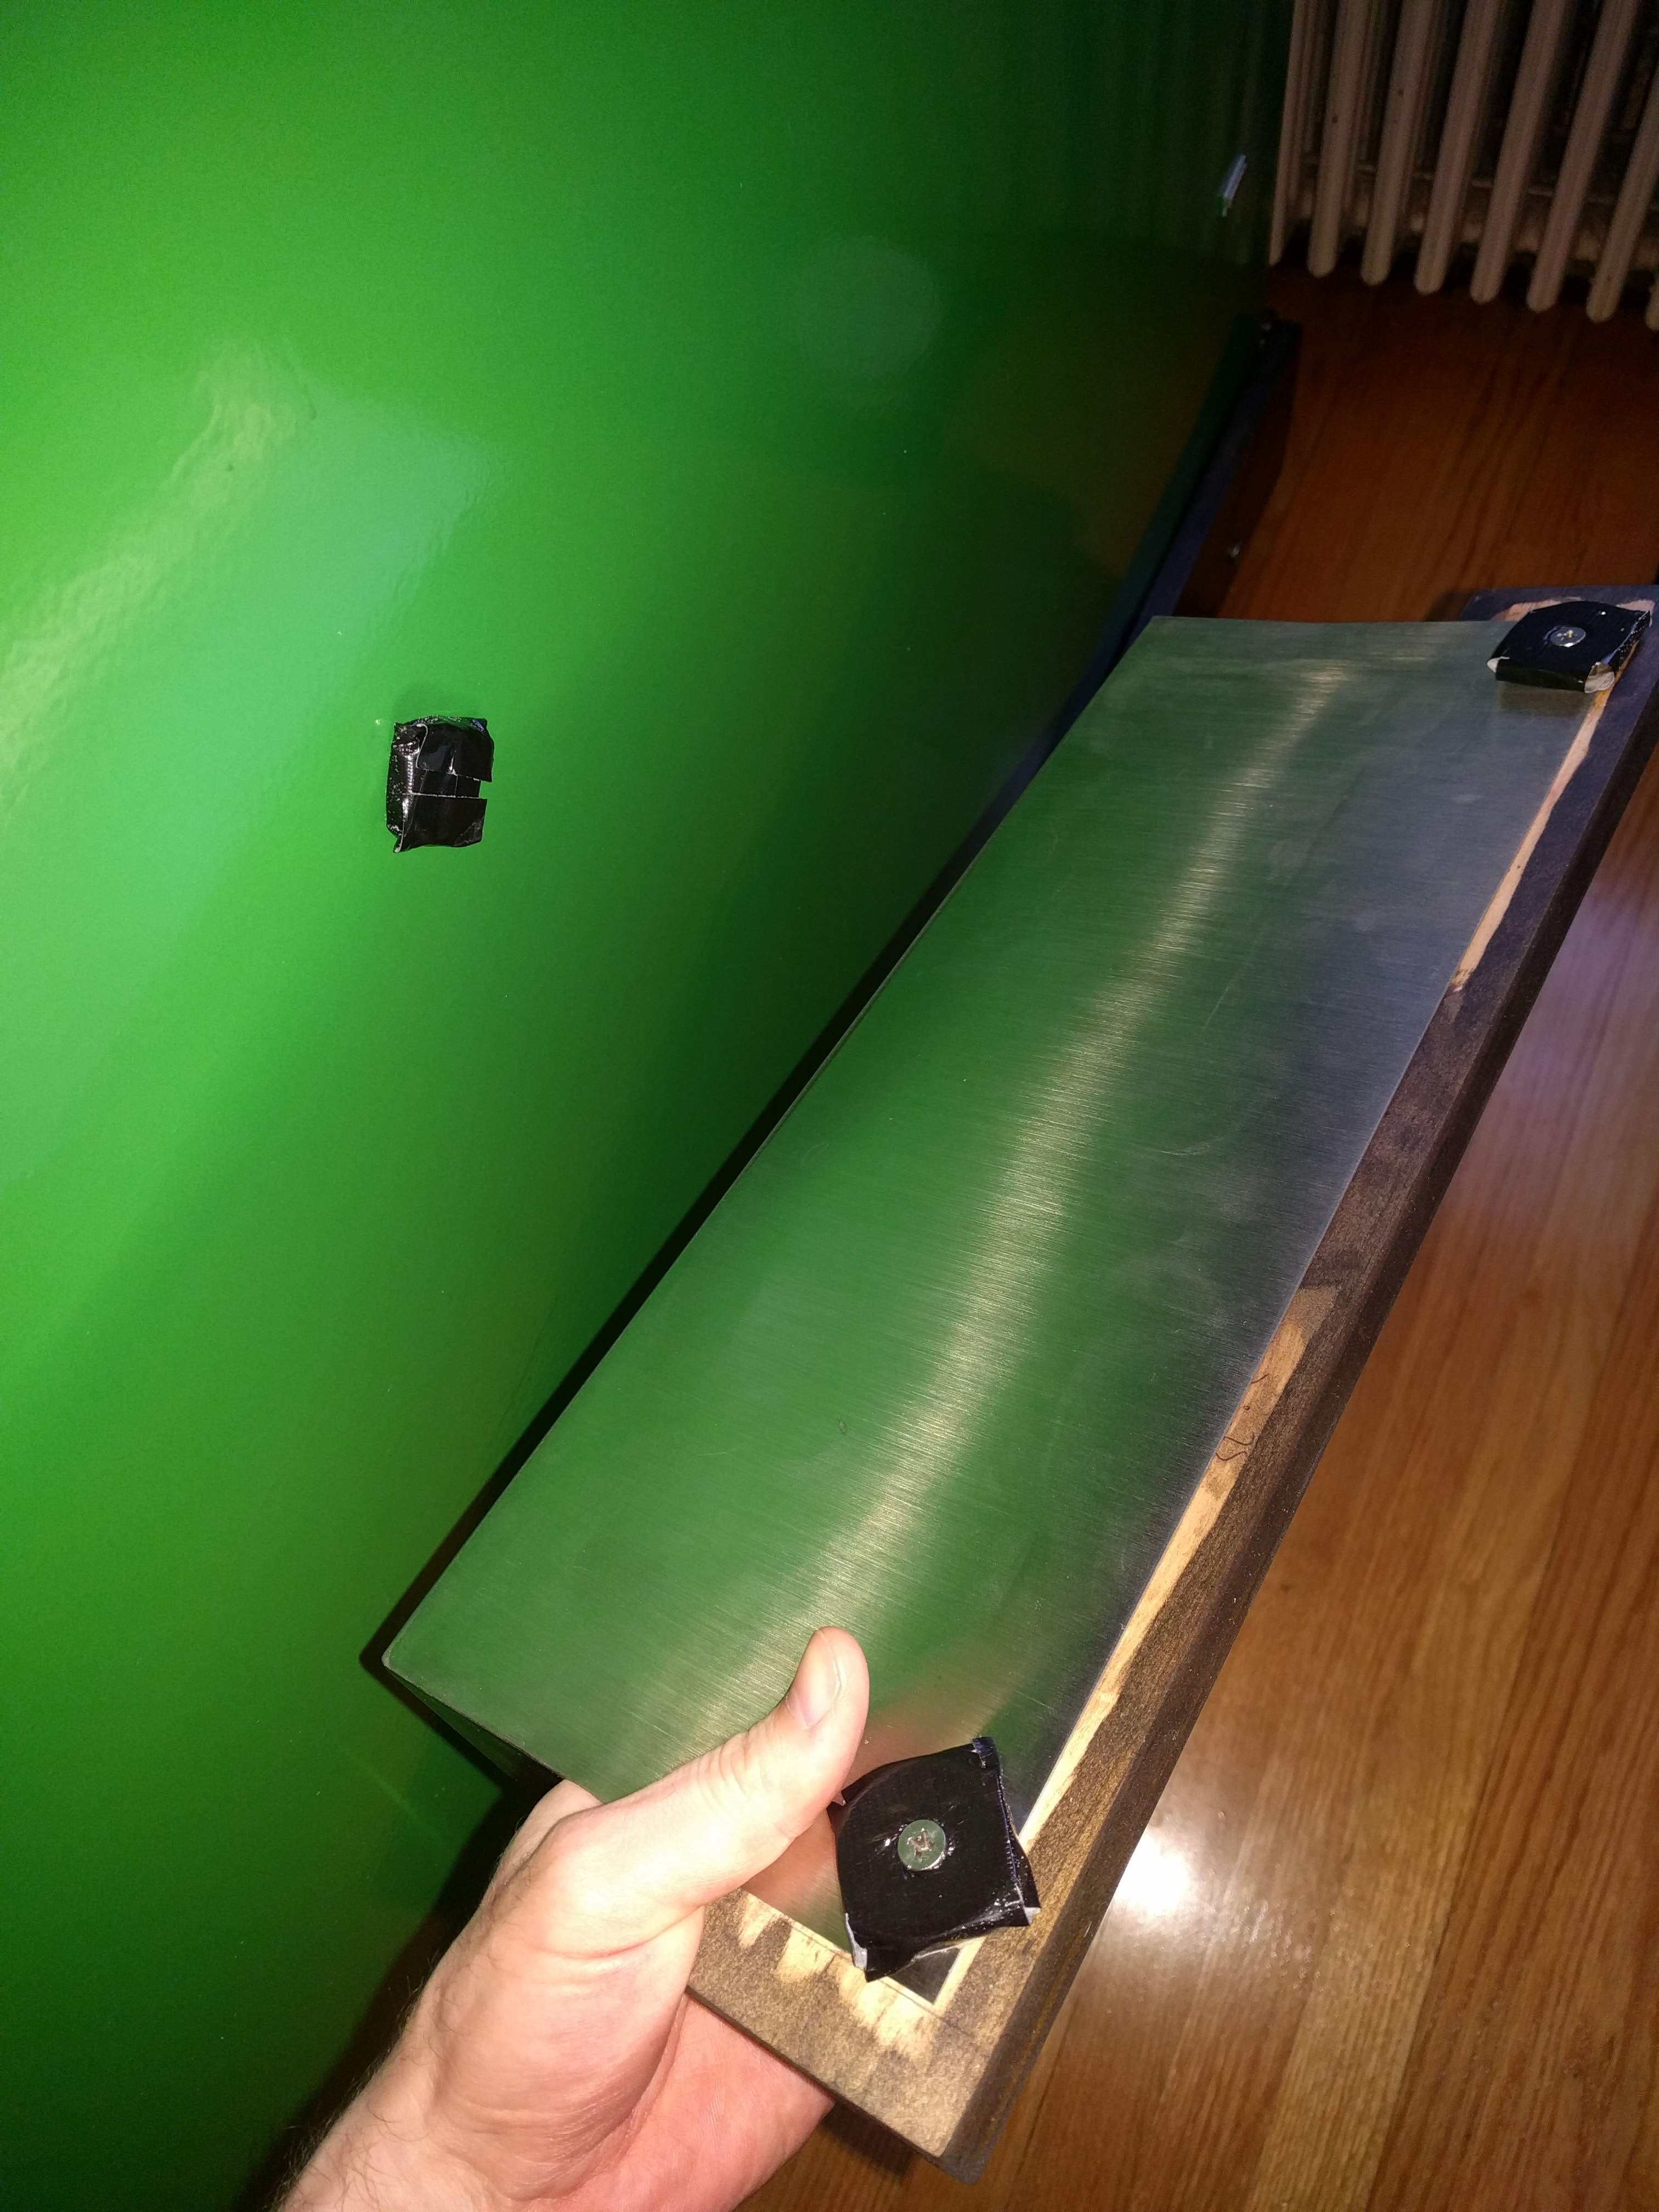
The Drip tray
I found a 16” stainless steel drip tray on eBay that I attached to a small wooden board stained with the Minwax Espresso. I wanted this to be removable and did not want to drill through the wall of the freezer so I attached it to 3 rare earth magnets with tape on them so that they wouldn’t scratch the paint.
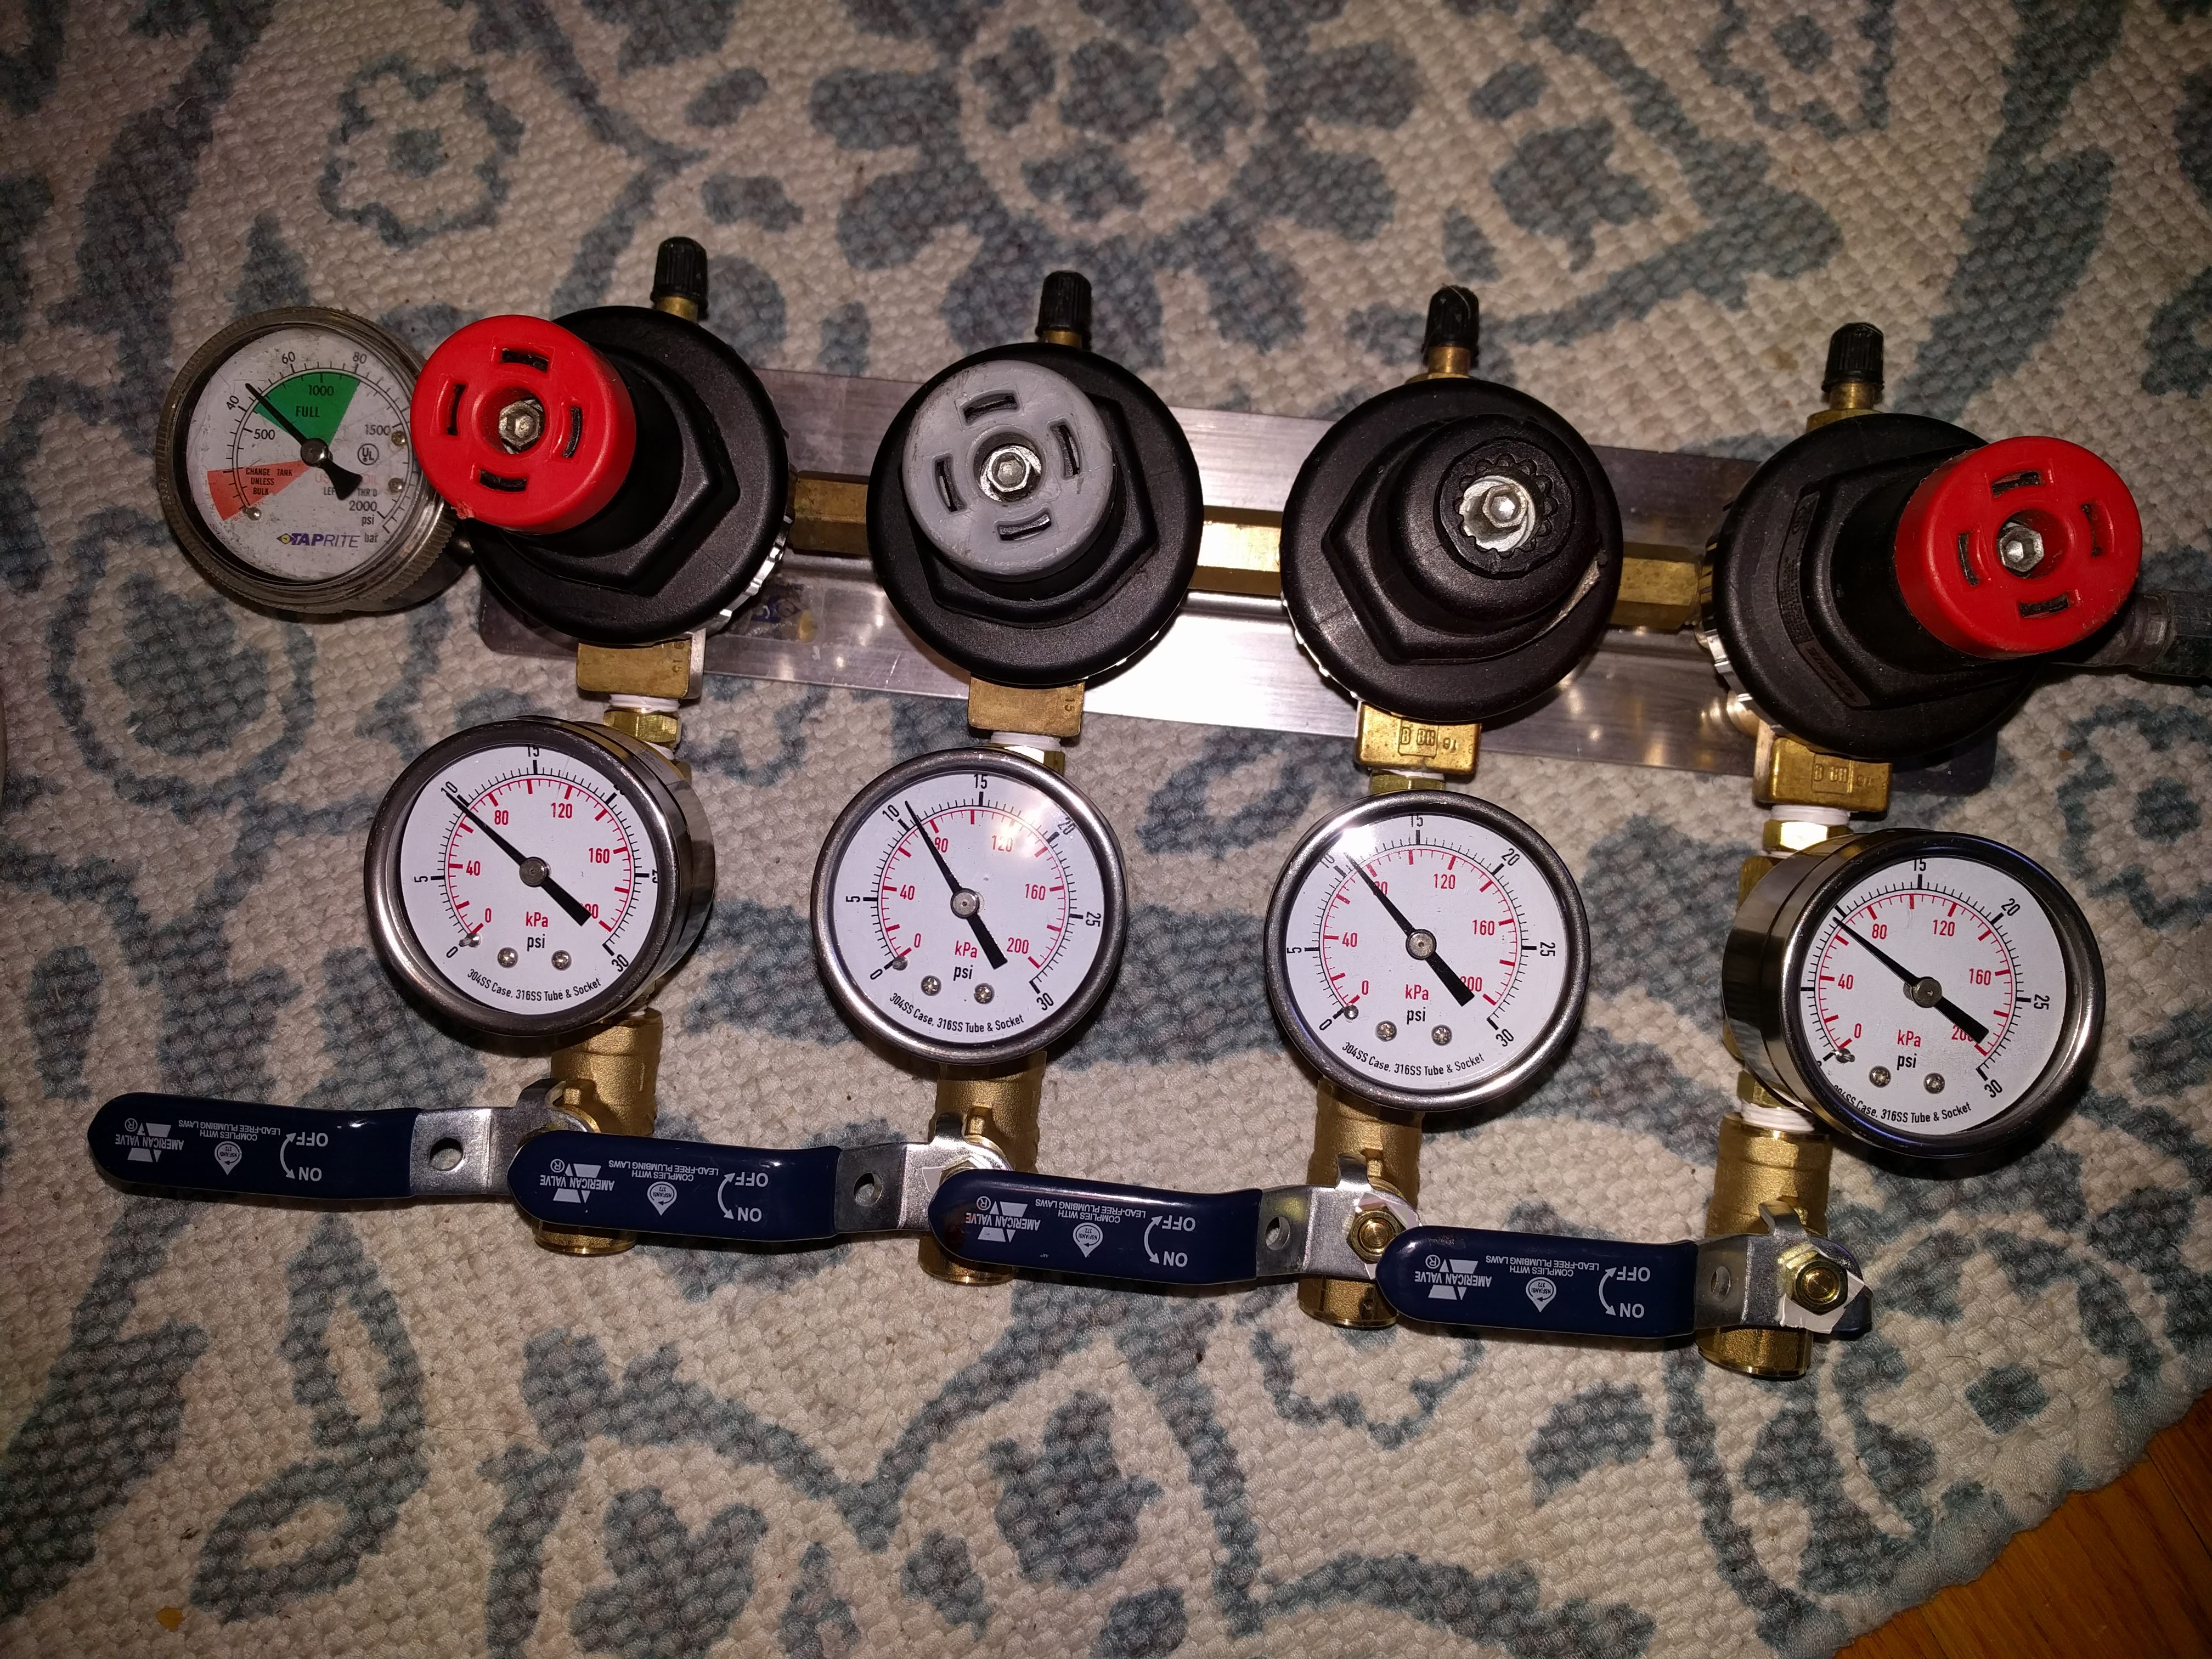
Gas Distribution
I was able to find two 2 body primary regulators on eBay that I bought and ganged together to make a 4 body primary regulator. I also found a lot of 10 stainless steel 30 PSI gauges on eBay for cheap. I used Bevlex 1/4” ID tubing for the gas lines.
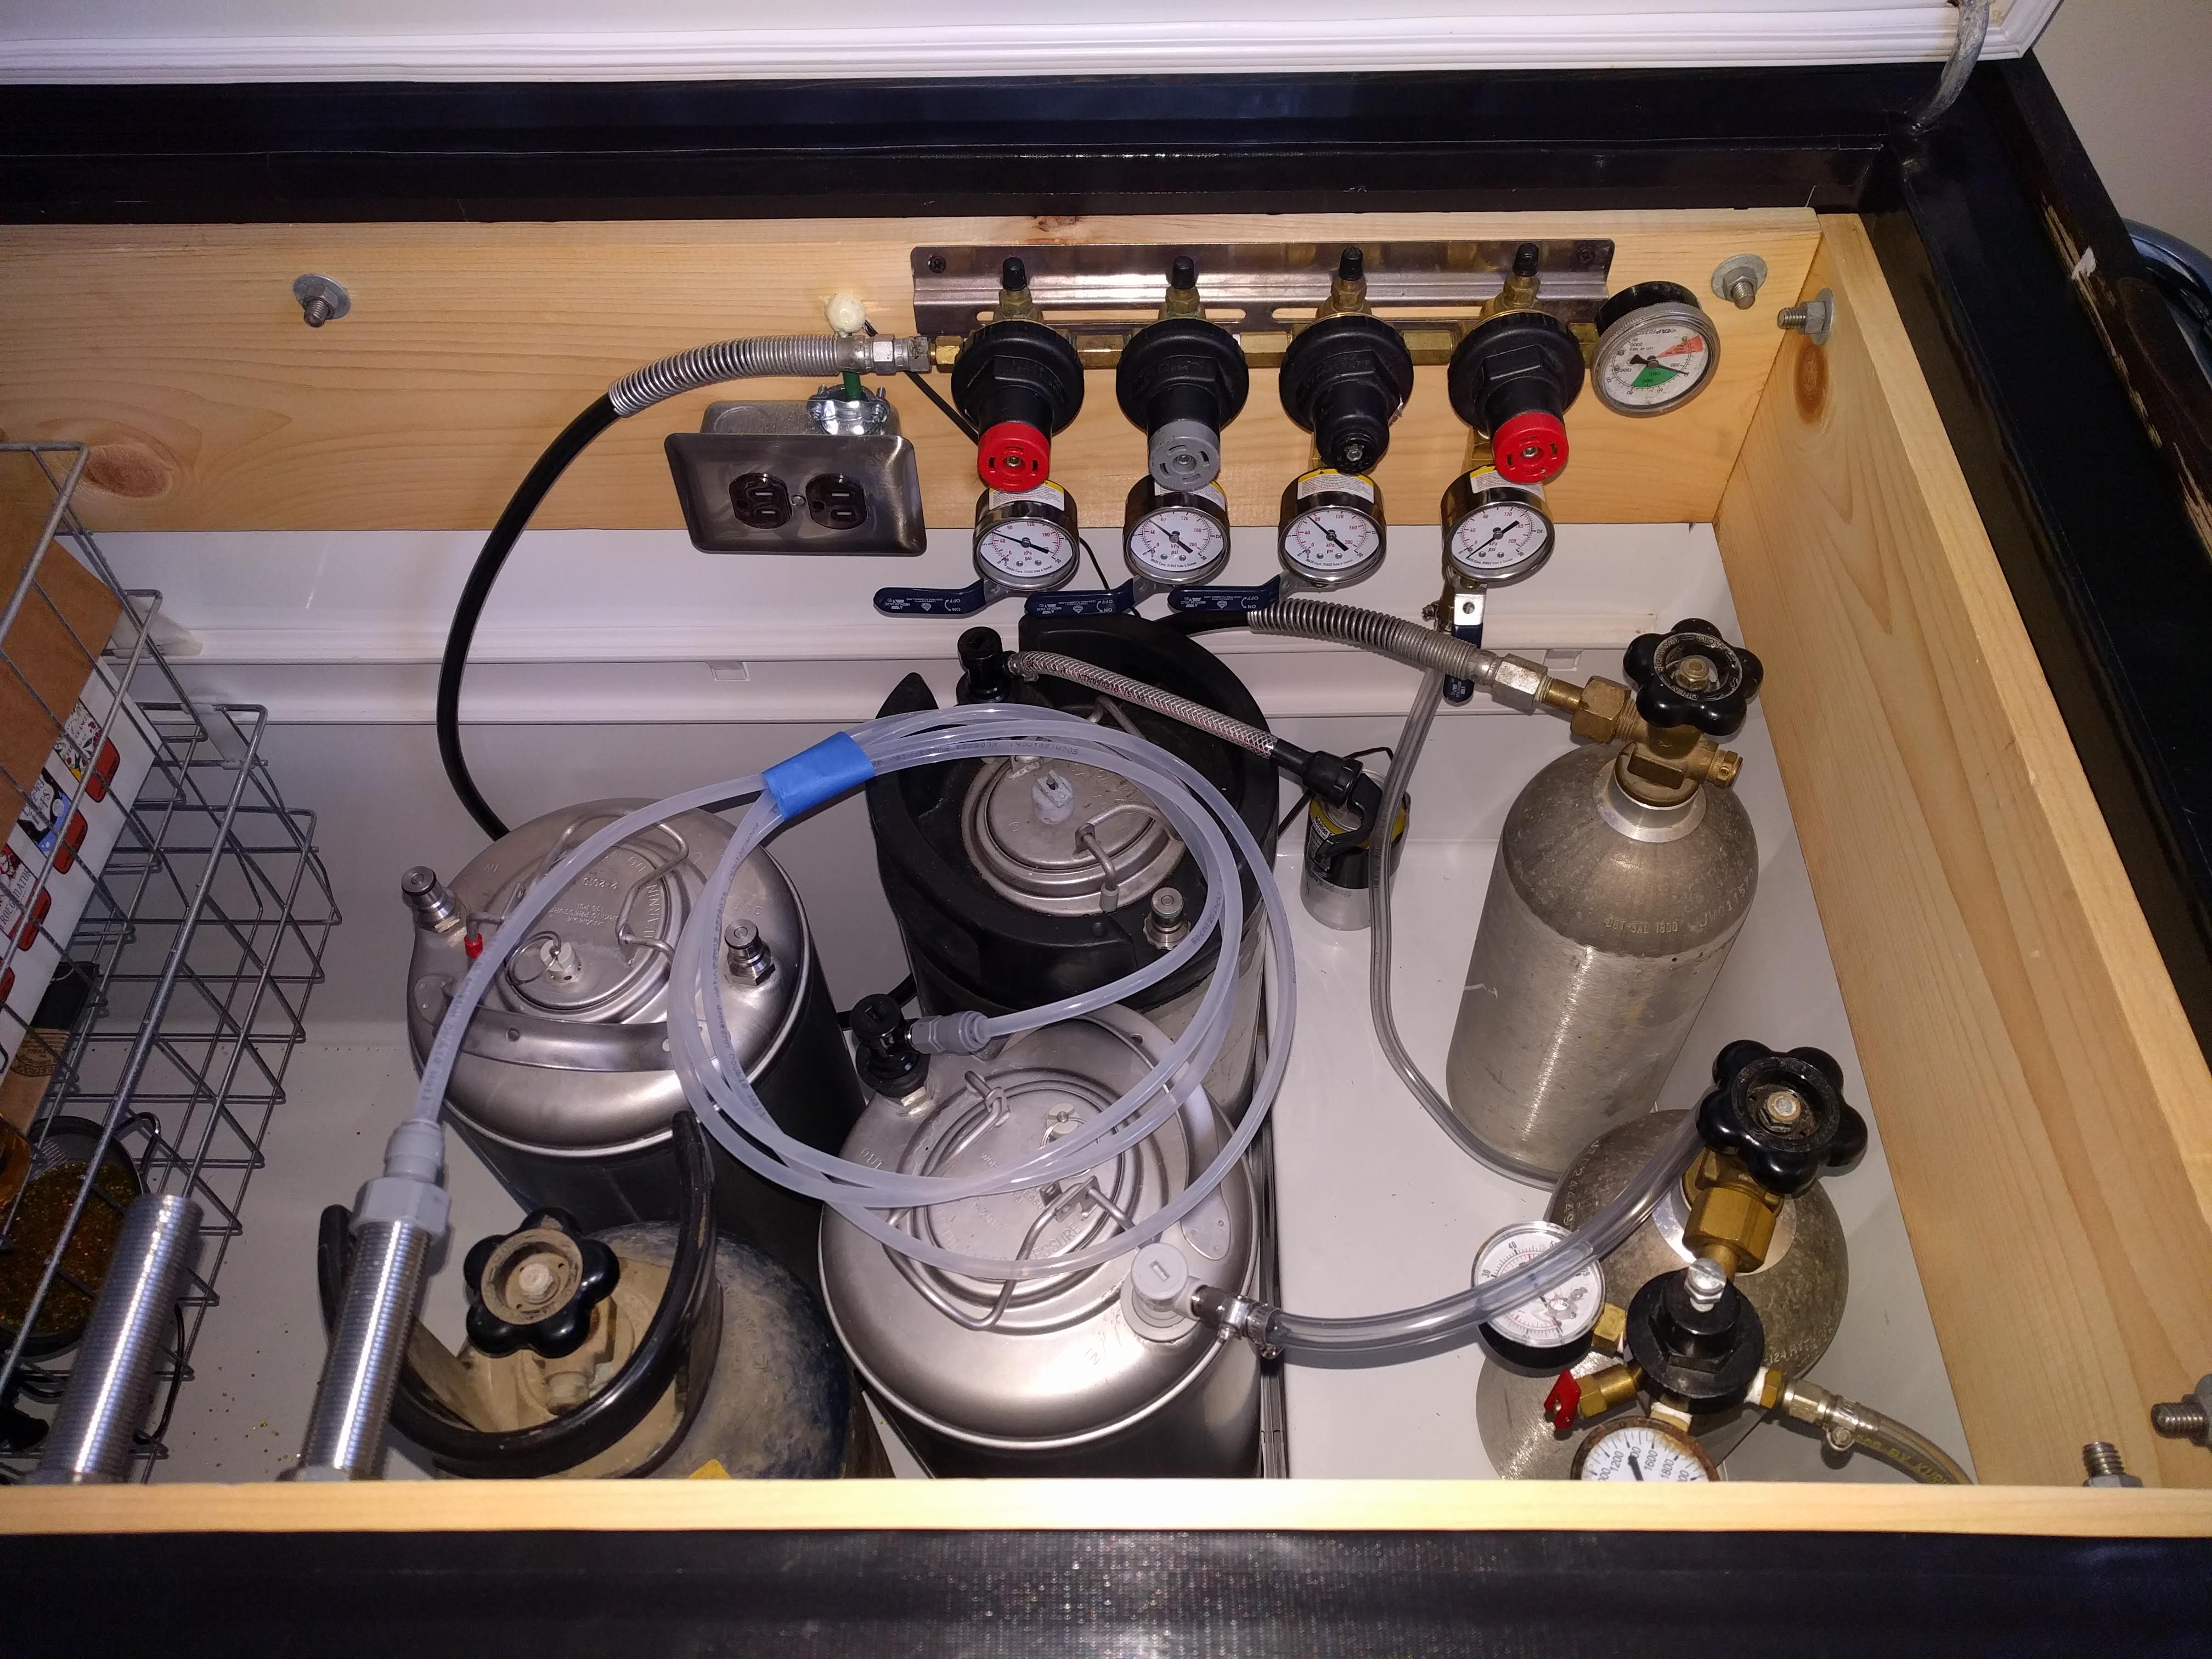
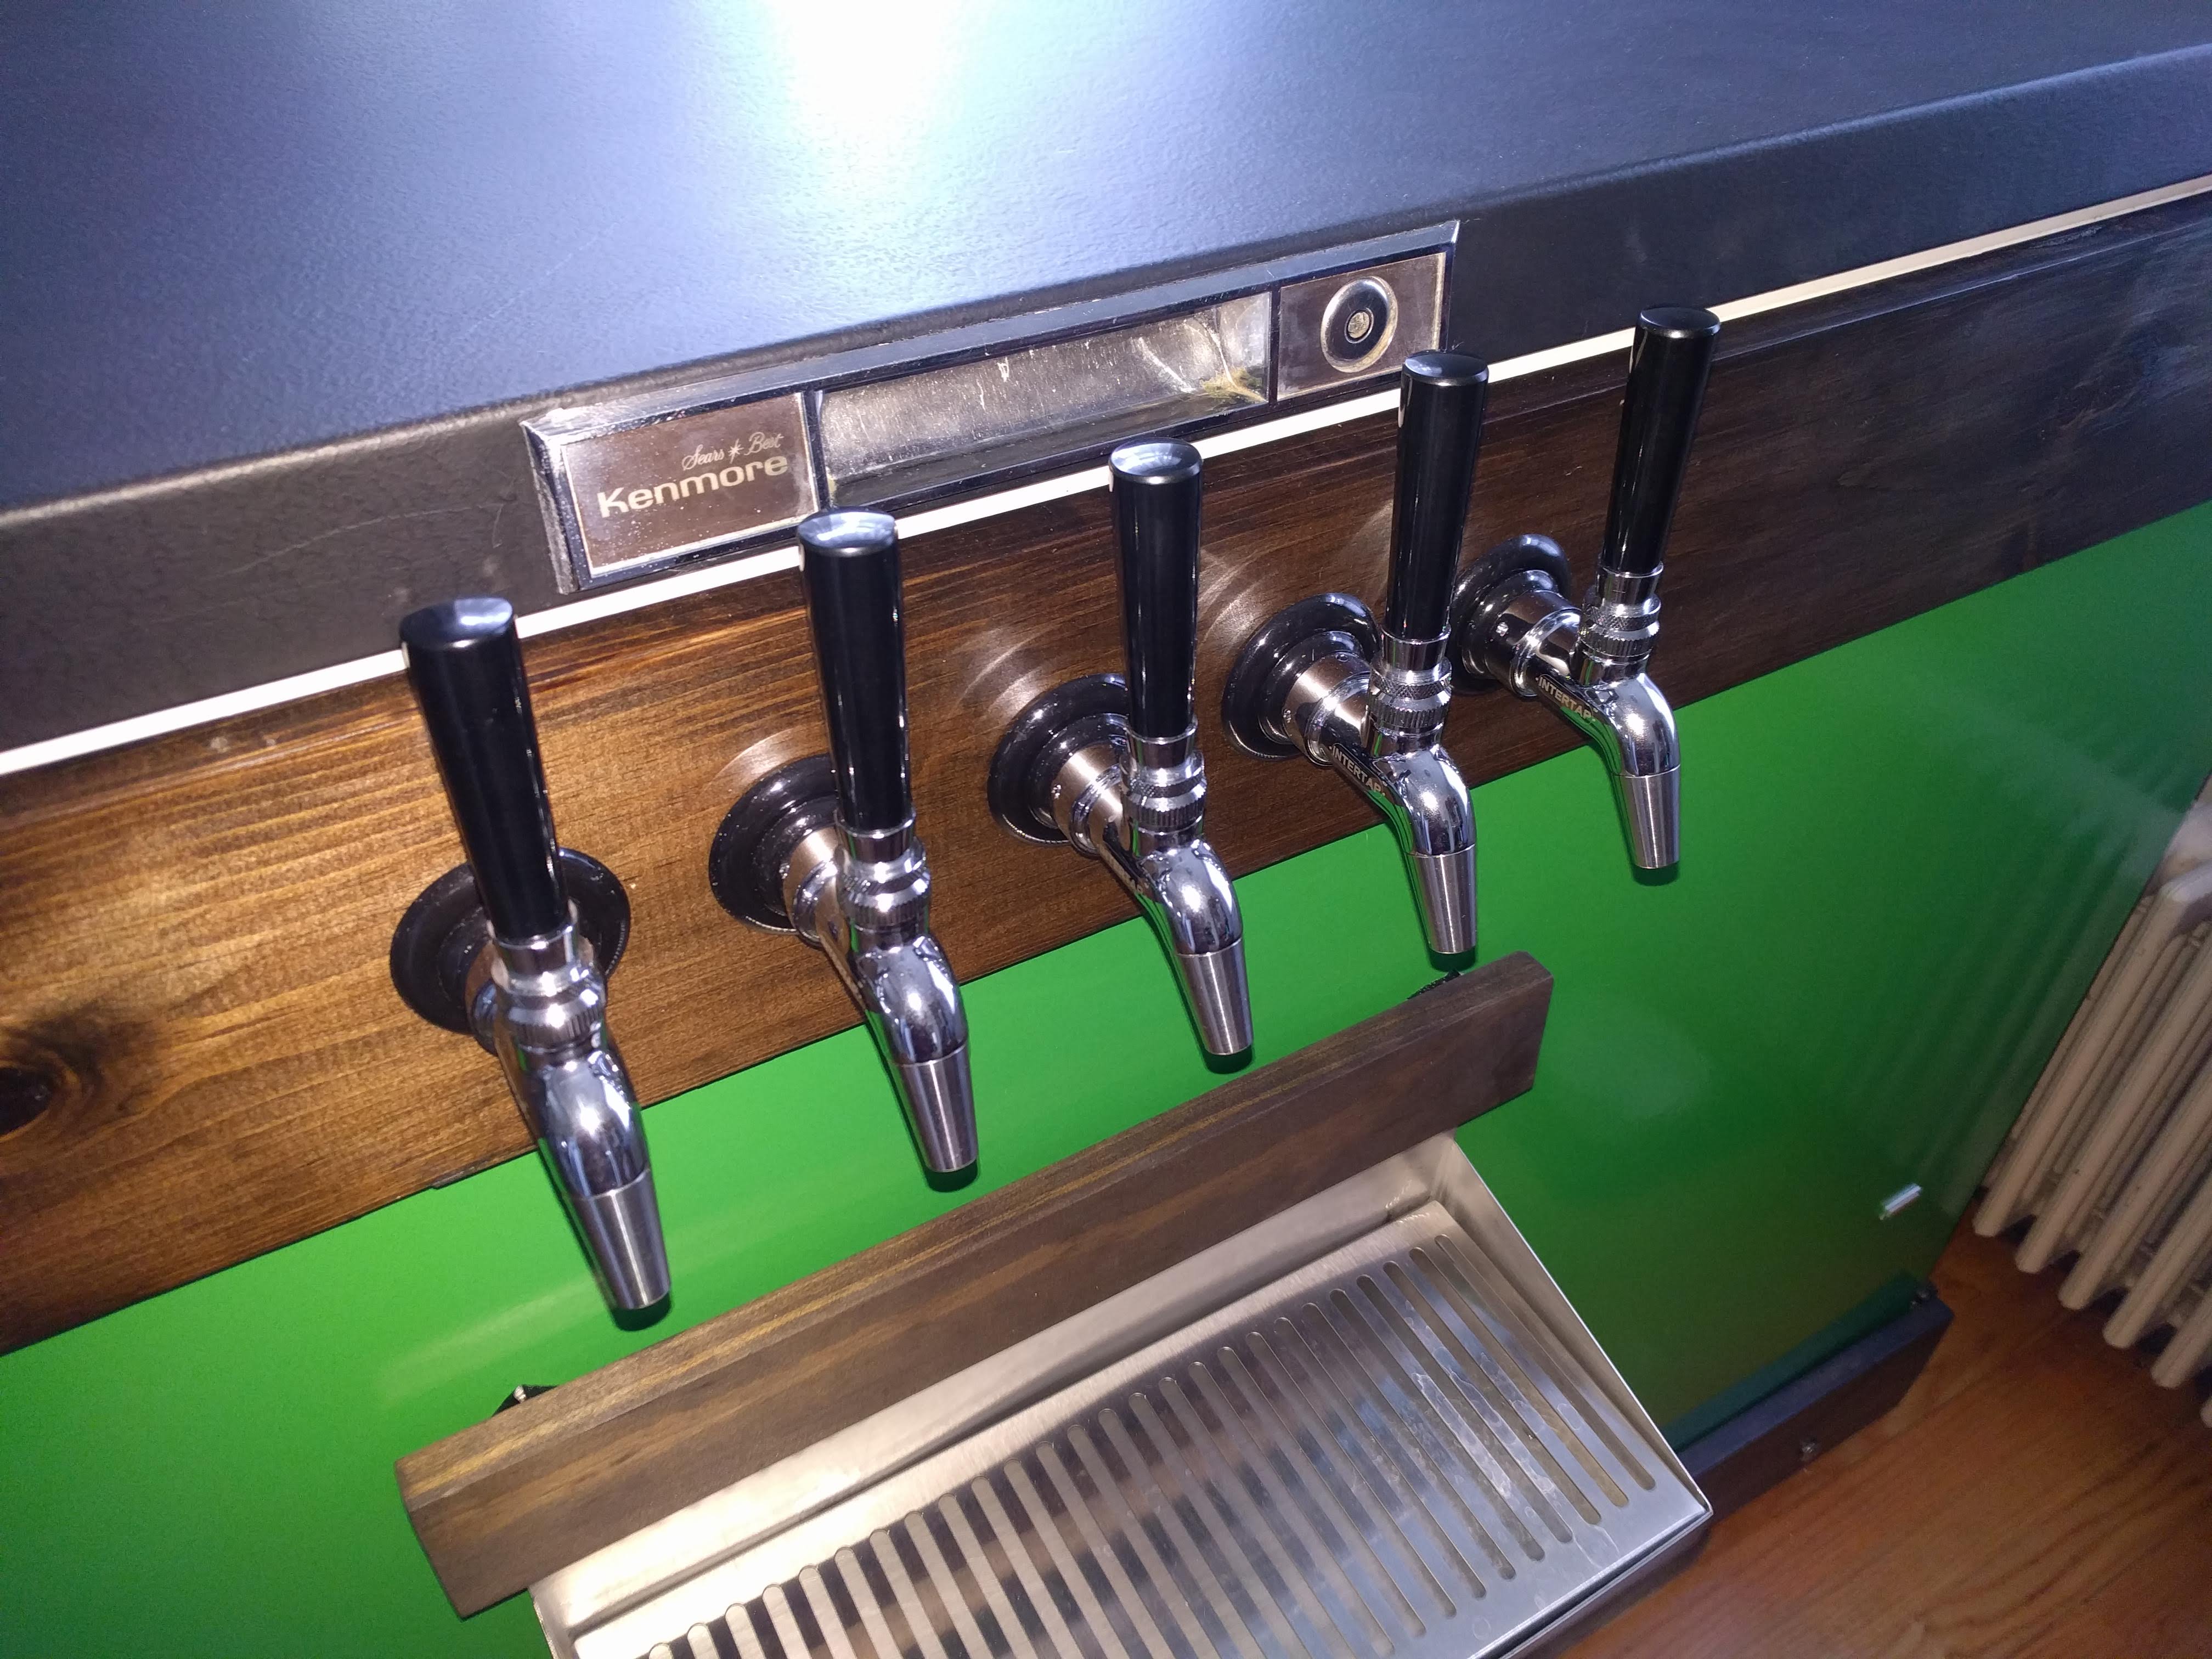
Beer Lines/Shanks/Faucets
I used Intertap faucets with 8” stainless steel shanks from brewhardware.com. I used 4mm ID EVAbarrier tubing for the beer lines.

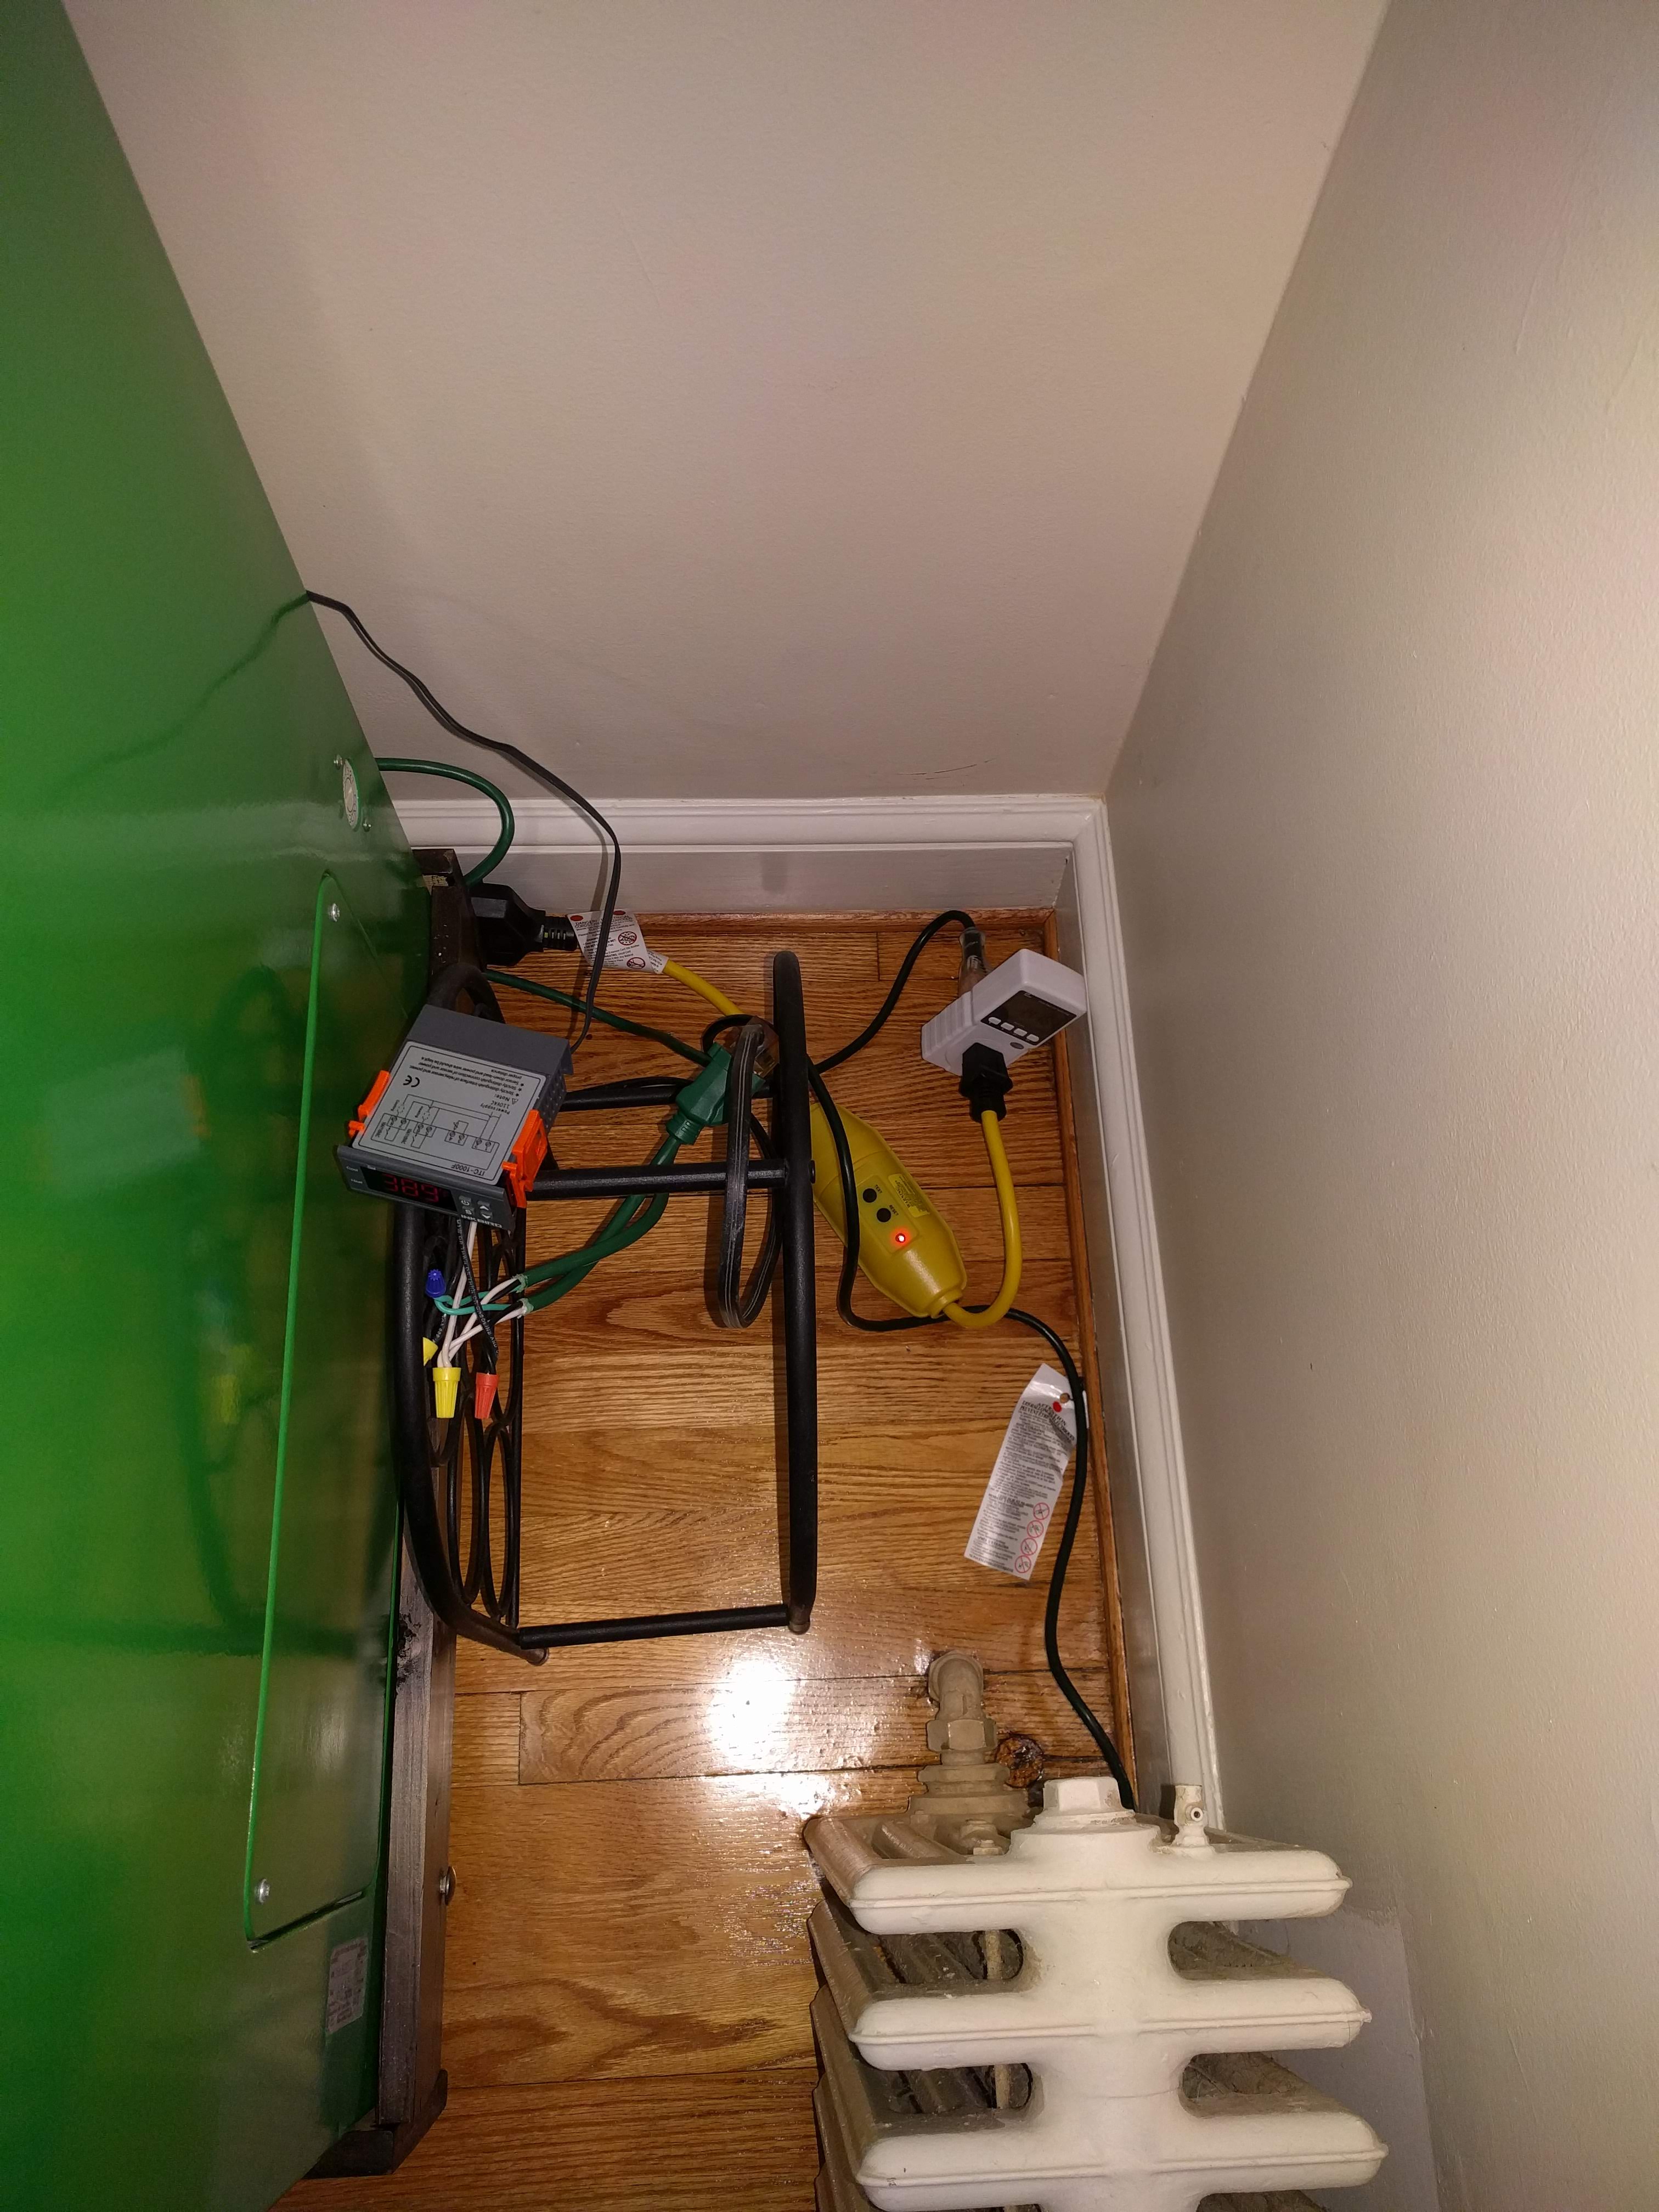
Temperature Controller
I used the standard Inkbird ITC-1000 temperature controller to set the temp. I also used an inline GFCI since I have a 110v receptacle inside of the keezer. At some point I will probably move all of these wires into a project box to clean things up.
Finished Product
What’s On Tap